How to Use the Audio Interface
Автор: 23dB Productions
Загружено: 2026-02-26
Просмотров: 31
Описание:
Audio Interface Training Manual: Lewitt Connect 6
Overview
This manual provides step-by-step instructions for setting up and using the Lewitt Connect 6 audio interface with laptops, tablets, or smartphones. The Connect 6 allows you to connect professional microphones to your devices and ensure high-quality audio recording for classes, podcasts, or video projects.
1. Understanding the Audio Interface
The audio interface acts as a bridge between your recording devices (microphones) and your laptop, tablet, or phone. It ensures that your audio input is clear, powered, and properly transmitted to your device.
Device Used: Lewitt Connect 6
Function: Converts microphone signals to digital signals for laptops, phones, or tablets.
Cables Required:
USB-C to USB-C (power and connection to computer/device)
XLR cables (microphones)
3.5mm or 1/8” cable (optional, for camera audio output)
2. Powering the Connect 6
The audio interface requires power to function correctly.
Steps:
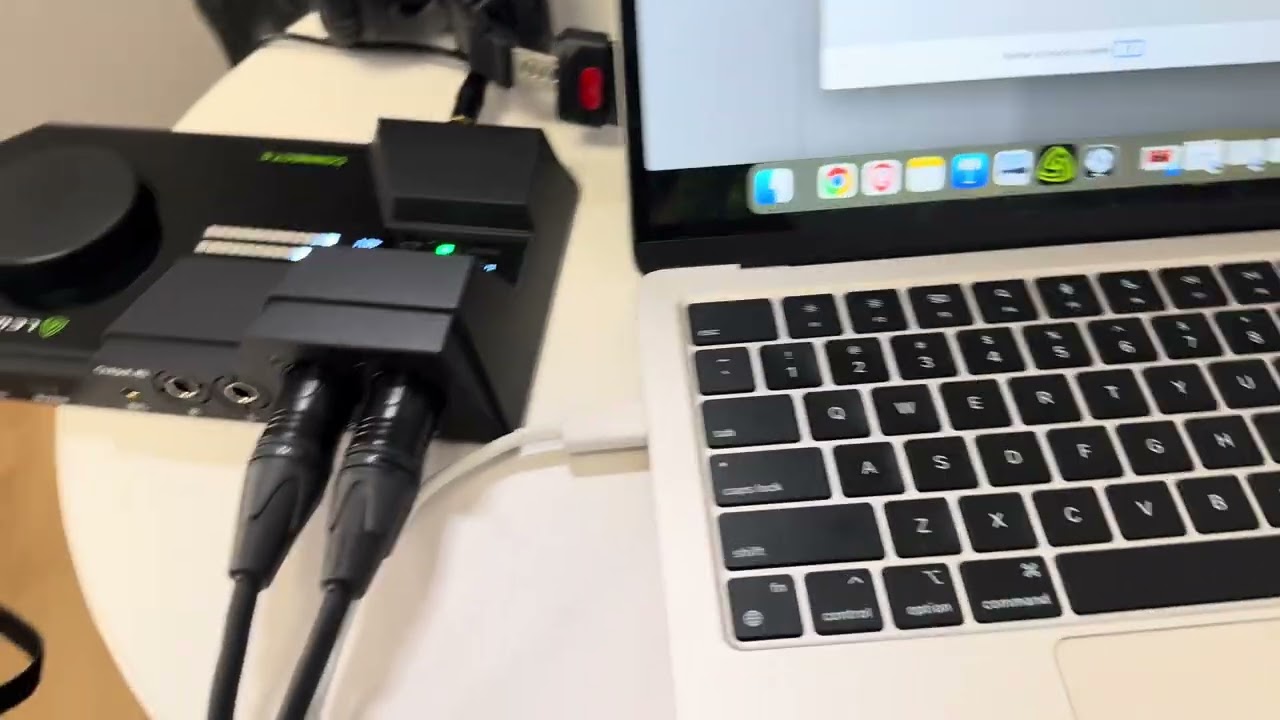
Connect the USB-C to USB-C cable from the Connect 6 to your laptop, tablet, or phone.
Ensure the cable is fully connected; if it isn’t, the interface will not power on.
The Connect 6 display should indicate “Power On” when correctly connected.
Use a sufficiently long USB-C cable (6–10 feet recommended) for mobility around the room.
3. Connecting Microphones
The Connect 6 supports professional microphones using XLR cables.
Steps:
Plug one XLR cable into each microphone.
Connect the other end of each XLR cable into the mic inputs on the Connect 6.
Verify that microphones are connected properly:
Speak into the microphone and ensure the Connect 6 detects input (LED indicators or input meter).
Note: If microphones are already connected and powered, no further setup is required.
4. Connecting to Devices
You have multiple options for output depending on your recording setup:
Laptop or Tablet (Computer Output)
Connect via USB-C cable.
This allows the audio to be recorded directly into recording software on your device.
Video Camera Output
Connect the 1/8” (3.5mm) output to your video camera.
This provides high-quality audio for video recordings.
5. Using Headphones for Monitoring
Monitoring ensures your audio is neither too soft nor too loud.
Steps:
Connect headphones to the headphone output on the Connect 6.
Use the main control button to toggle between headphone channels:
Headphone 1
Headphone 2
Adjust headphone volume to comfortably monitor audio levels.
6. Adjusting Gain and Input Levels
Proper gain ensures your recording is balanced and clear.
Steps:
Locate the input gain controls for each microphone channel.
Adjust according to speaker volume:
Whispering or soft speaking: increase gain.
Loud speaking: decrease gain to prevent distortion.
Verify adjustments via headphone monitoring or device audio meters.
Tip: Always test levels before starting a full recording session.
7. Quick Troubleshooting
No audio detected:
Confirm USB-C connection is fully inserted and “Power On” is displayed.
Ensure XLR cables are connected and microphones are powered.
Audio too quiet or loud:
Adjust gain on the Connect 6 input controls.
Check headphone monitoring to confirm levels.
Using a video camera:
Confirm the 1/8” cable is securely connected to the camera’s audio input.
8. Best Practices
Always have the Connect 6 powered and ready before connecting devices.
Test microphone levels before recording to prevent issues.
Keep cables organized to avoid accidental disconnections.
Use headphones to actively monitor audio quality.
This manual provides all the essentials for getting started with the Connect 6 for professional audio recording with minimal setup issues.
23dBProductions.com
Повторяем попытку...

Доступные форматы для скачивания:
Скачать видео
-
Информация по загрузке:


![Best of Deep House [2026] | Melodic House & Progressive Flow](https://imager.clipsaver.ru/Il-ZpBuC8tA/max.jpg)