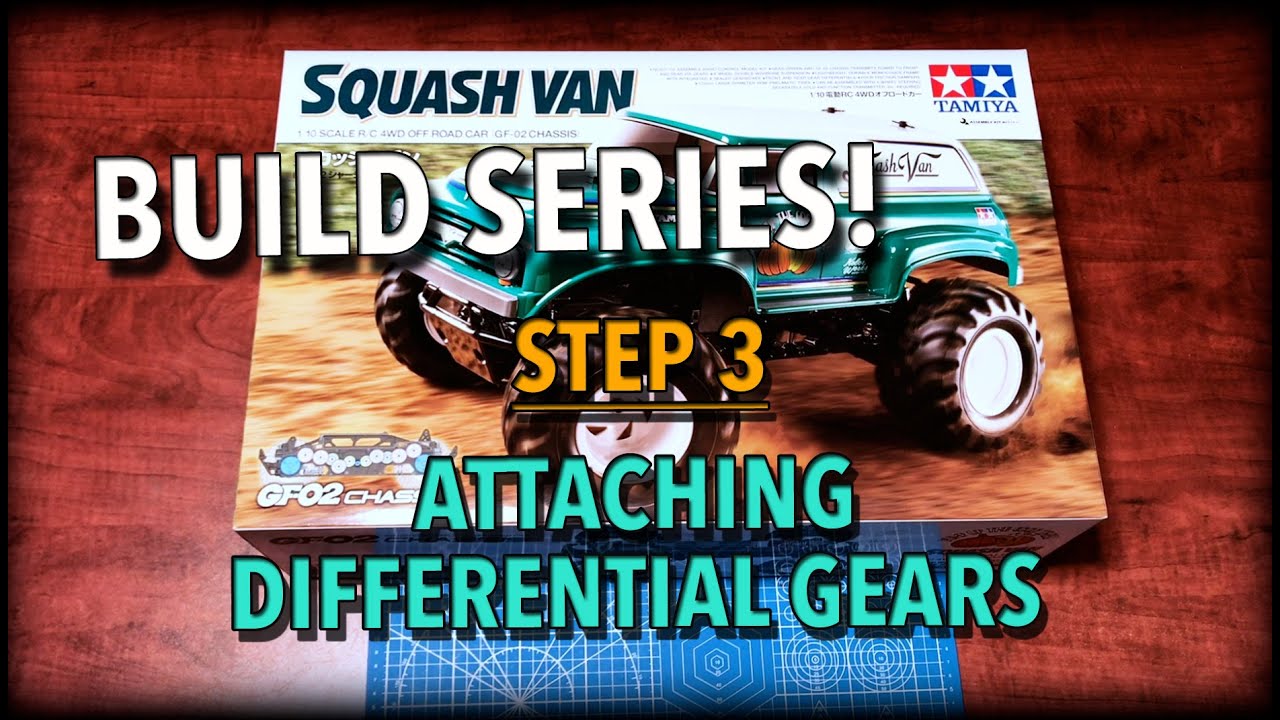
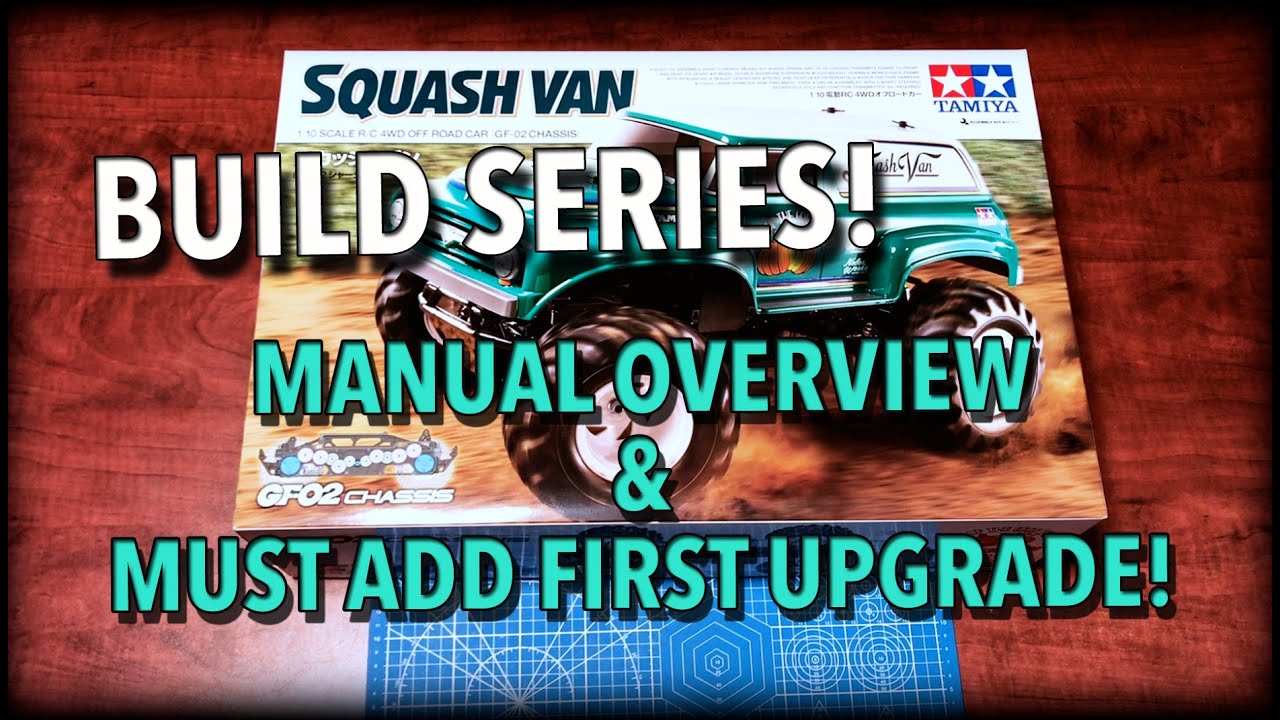
Tamiya Squash Van Build Series! - Steps 1 & 2 - The Battery and the Differential Gears -
Автор: FastFreddyRC
Загружено: 2023-12-09
Просмотров: 513
Описание:
It's time to start building the NEW Tamiya Squash Van on the NEW GF-02 Chassis!!
Welcome to the R/C Community Build Project! During the course of this build series you will be introduced to some great channels along the way and I know that if you subscribe to them too they will be most appreciative.
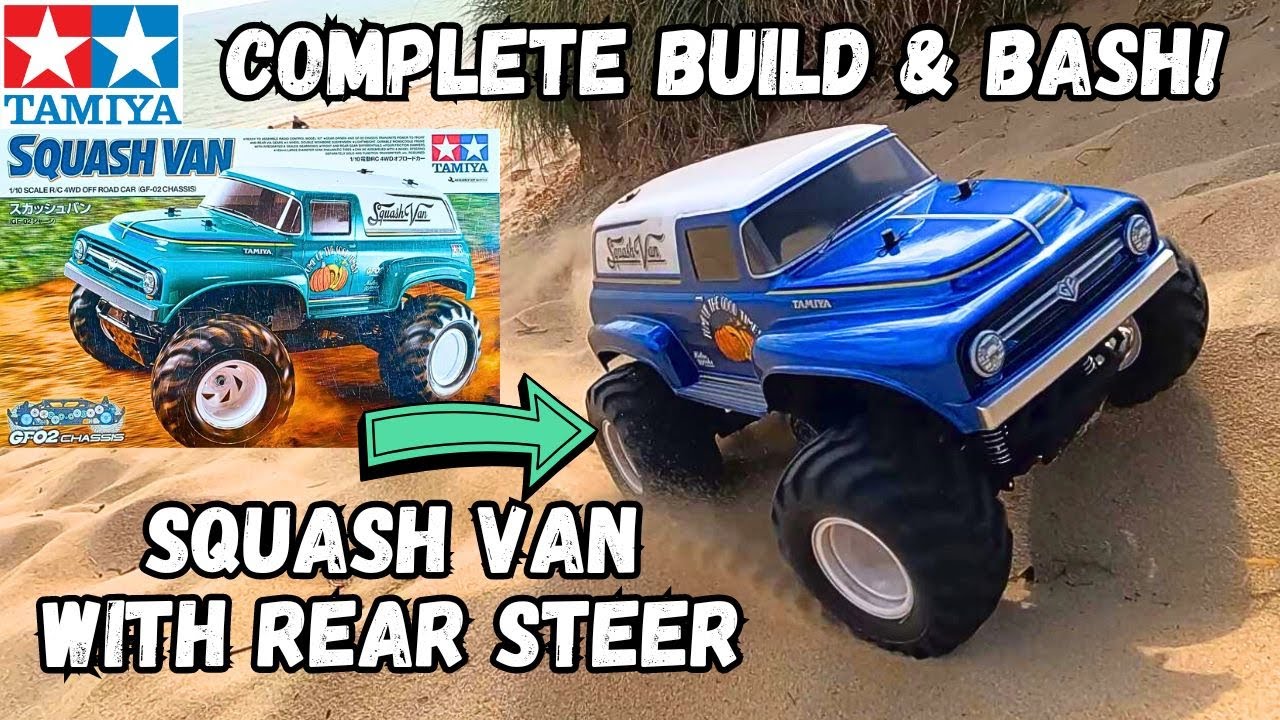
The Squash Van is the newest 4x4 monster truck offering by Tamiya. It is built on a brand new Chassis called the GF-02 and is a modified version of their GF-01 comical line of vehicles. The main difference is it has a more realistic wheel base than their comical GF-01 chassis and has the same wheel base as the CC-02L meaning that if you have a body on a CC-02, you can can put it on this chassis with no problem. In fact, because they mention this in their promo material I suspect that Tamiya have further plans with this chassis in the future.
One big feature that I was not aware of after seeing the first photos of this van is that this chassis can be built with 4WS (Four Wheel Steering). Very cool! I'm not sure which way I'm going to build this, 2WS or 4WS, but maybe you and I will know more at the end of this video :) Anyway, I believe we will be seeing more vehicles coming out on this chassis in the future.
One other big thing about the Squash Van is that it is completely GEAR DRIVEN!! The GF-01 chassis, the G6-01 chassis (Kong Head and King Yellow for example) and now the GF-02 chassis are completely driven by gears rather than drive shafts. That means that this kit comes with an incredible amount of plastic and brass bushings! DON'T USE THEM! - I can't stress this enough. With a kit like this you should upgrade to ball bearings BEFORE you start building this kit. If you decide to switch to ball bearings at a later date, you'll need to take the whole truck apart to be able to do that. So PLEASE ADD THE BALL BEARINGS FIRST. If you don't it will be an exercise in frustration!
So...let's get started on this build series!!
In this video we will do steps 1 and 2 of the build process. Step 1 we will literally glance over as it's not something I tend to do right off the bat. However, Step 2 is building the two differential gears so this is where I will spend most of my time in this video.
Throughout the build process, if you have any questions or need clarification on anything, don't hesitate to reach out. I'm here to assist and wish you great success in assembling this kit. Let's get started!
Steps 1 and 2: Shout out to @RCBirds
Повторяем попытку...

Доступные форматы для скачивания:
Скачать видео
-
Информация по загрузке: