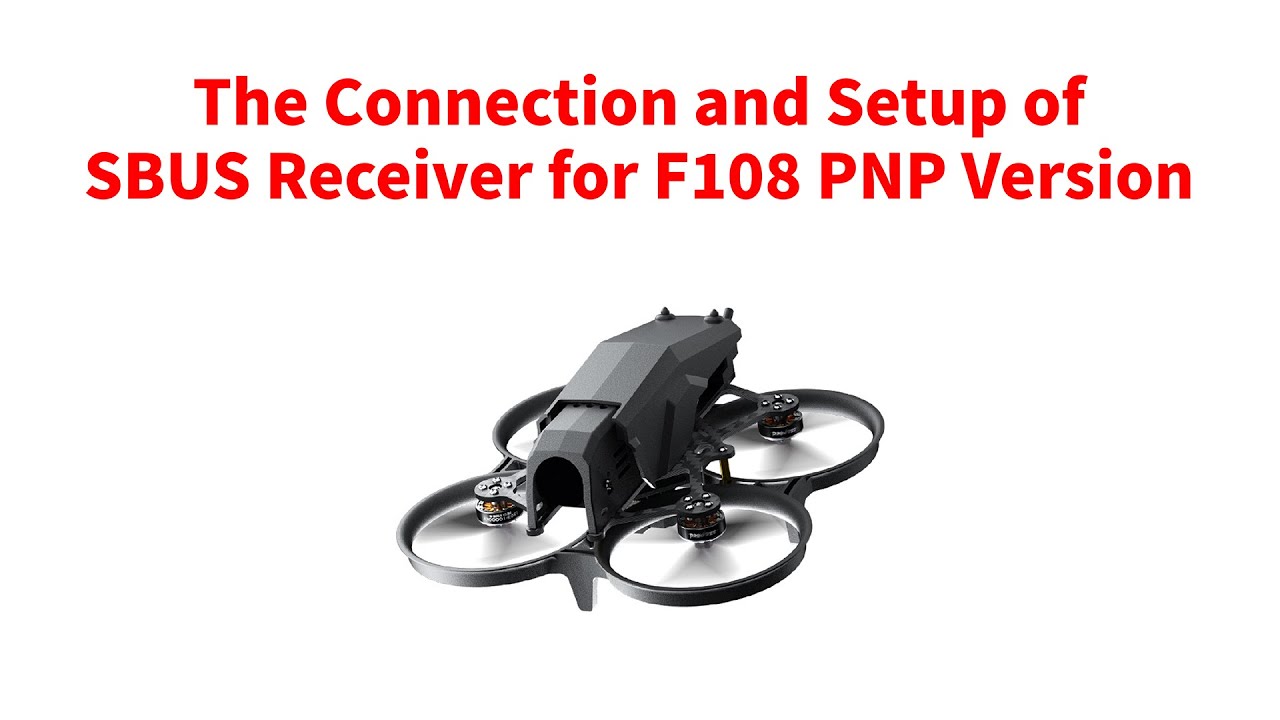
The Connection and Setup of SBUS Receiver for F108 PNP Version
Автор: RadioLink
Загружено: 2025-09-03
Просмотров: 213
Описание:
The Connection and Setup of SBUS Receiver for F108 PNP Version
F108 PNP version does not come with transmitter or receiver, so the users need to prepare the receiver that supports SBUS or ELRS protocol
In this tutorial, I’m going to introduce how to connect SBUS receiver to F108, and how to set the parameters in Mission Planner.
I take RadioLink R8SM mini receiver as an example. It supports SBUS signal. And it can also be connected to the flight controller of F108 directly.
To better show you the connection, I use a separate flight controller of F108. Here it is.
You can check the socket introduction of the flight controller of F108 on the screen.
This is the port to connect to SBUS receiver. I can use this cable to connect R8SM and the flight controller.
The connector of the SBUS port of the flight controller is PH1.0 (PH 1 millimeter) 3 pin connector. You can buy the PH1.0 (PH 1 millimeter) 3 pin connector online to modify the cable to connect the flight controller and your receiver.
We need to plug the cable according to its definition.
RC means the signal. The cable is always in light color. So it is the yellow cable.
VCC is the positive pole. The cable is always in red.
GND is the negative pole. The cable is always in black.
So here is the connection of the flight controller.
Now connect the receiver.
We can check the definition of the pins from the sticker.
The upper pin is the negative pole, and then positive pole, and the SBUS signal at the bottom. So we need to connect the cable like this.
Here is the right connection of the flight controller and R8SM receiver.
R8SM is already connected and installed to this F108. Here it is. And the flight controller is at the bottom. Here is their connection cable.
It is recommended to use the mini receiver, since it can fit the receiver compartment. So before you connect the SBUS receiver, please make sure it fits.
After the connection, we need to set the parameters on the computer. We also need the Type-C cable that comes with F108. It is used to connect the flight controller to the computer.
Remove the cover of F108. Remove the battery. Here is the Type-C port of the flight controller. Connect one end of the cable to it. Connect the other end to the computer.
The flight controller of F108 is connected to the computer now.
To set the parameters, we need to install the Mission Planner.
Enter RadioLink official website
(RadioLink official website: https://www.radiolink.com.cn/)
AIRCRAFT---F108--Click Firmware & MP.
You can download the Mission Planner here. (F108 supports RadioLink Mission Planner, ArduPilot Mission Planner and QGC Mission Planner.)
I have already installed the mission planner on the computer. Here it is. Click and open it.
Select COM port. The baud rate is 115,200. CONNECT.
Click CONFIG--Full Parameter List. We need to set two values. First, Search for SERIAL1, We need to set the value of SERIAL1_PROTOCOL to 23.
Then search for SERIAL 3, We need to set the value of SERIAL3_PROTOCOL to 2.
And then click Write Params. Parameters successfully saved. Then we can disconnect and unplug the USB cable.
(When SBUS receiver is connected to F108, please set the value of SERIAL1_PROTOCOL to 23, and set the value of SERIAL3_PROTOCOL to 2.)
The setup is done. Let’s check if the connection and setup are successful.
I use RadioLink T8S transmitter to control F108. And I have already bound the R8SM receiver to T8S transmitter.
Power on T8S.
Connect the battery to F108. Make sure the positive and negative poles are not reversed. You can see the signs here.
means the positive pole, with red wire,
and - means the negative pole, with black wire.
Connect the battery.
The self-test is done.
(Keep F108 stationary on the ground so the self-test will be complete. )
Put back the cover.
We can see the LED of R8SM in solid light, because it is already bound to the transmitter. (If the LED of R8SM flashes, please bind the receiver to the transmitter again. Long press the binding button to bind it to the transmitter. For more details, please refer to the manual of R8SM: www.radiolink.com.cn/r8sm_manual )
And please make sure the LED of R8SM is in purple, because it is in SBUS working mode. If the LED of R8SM is in red, please short press the binding button twice to change it from red to purple. Here is the binding button of R8SM.
(For more details, please refer to the manual of R8SM: www.radiolink.com.cn/r8sm_manual )
Then I’m going to arm F108.
Put the throttle stick at the lowest position. Then you can push the CH7 switch, the button on the left to arm F108.
Push up CH7. F108 is armed.
The propellers rotate at idle speed indicates arming successful.
Push down CH7. F108 is disarmed. propellers stop rotating
Push up again. It is armed.
F108 can be armed, so it means the connection and setup of the SBUS receiver is successful.
More details about F108:
https://www.radiolink.com/f108
#dji #transmitter #radiolink
Повторяем попытку...
Доступные форматы для скачивания:
Скачать видео
-
Информация по загрузке:


