HP Chromebook 14a G5 to Linux - Part 3: Using RescueZilla to restore a Linux Image
Автор: Terry Scott 2nd Chance computers
Загружено: 2026-02-20
Просмотров: 50
Описание:
Optional - using RescueZilla for restoring an image which is a snapshot file containing the operating system, applications, and settings used for system backup, recovery, or mass deployment to multiple computers. This process is non-specific and can be used for all chromebooks except steps 8, 9,
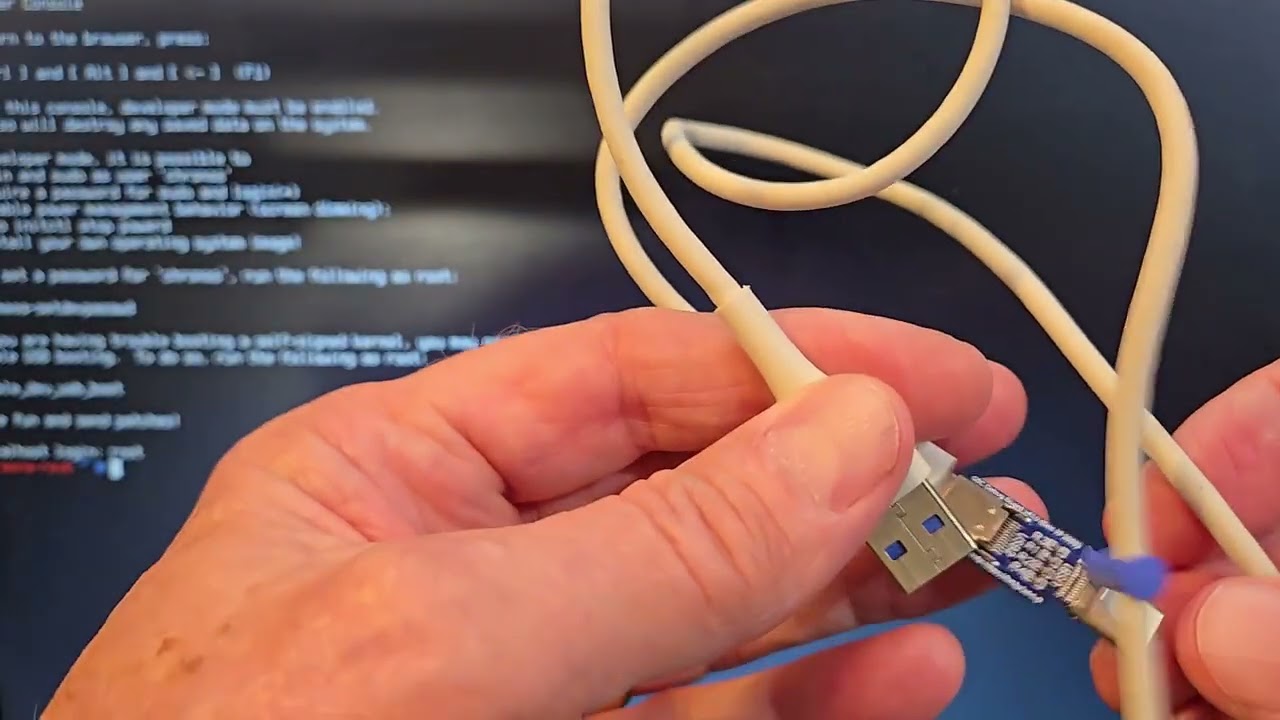
1. Boot from RescueZilla USB drive. Also insert a USB drive containing the image.
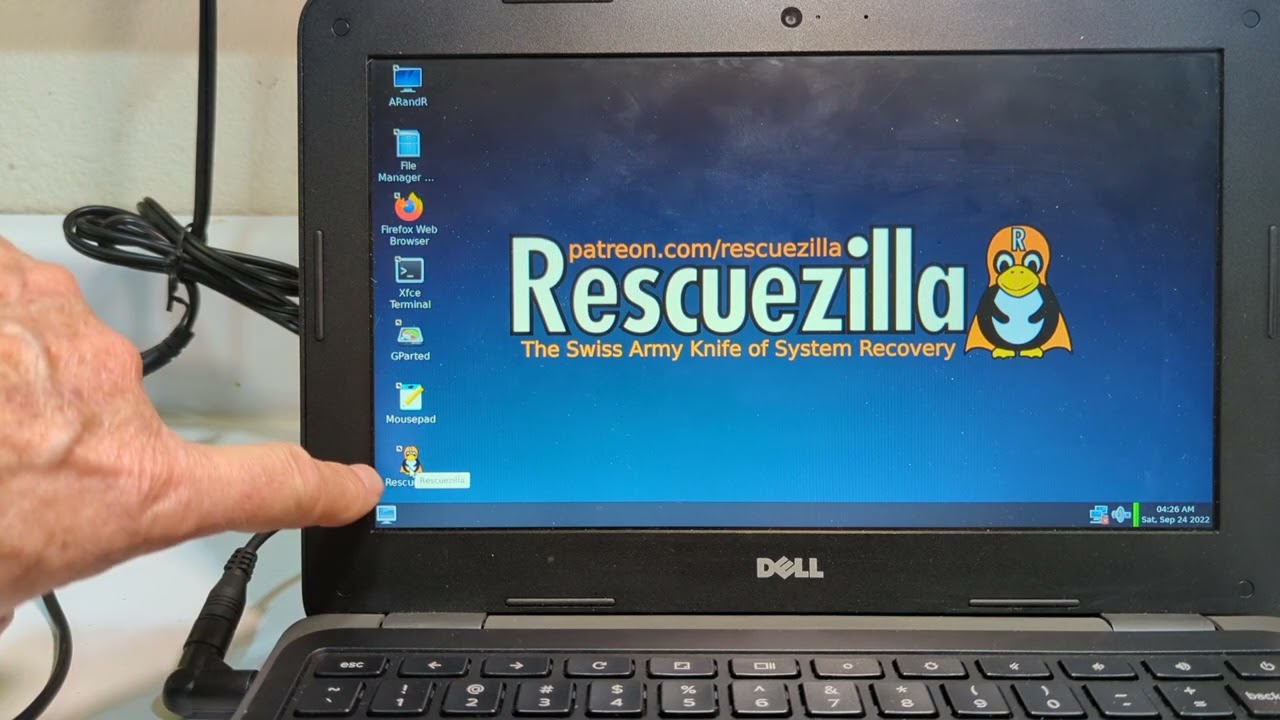
2. After RescueZilla boots, choose Restore.
3. Choose the location of your USB drive with the image.
4. Choose the named image to restore.
5. Choose the drive with “mmc..” or “emmc..” which is the chromebooks SSD or hard drive.
6. Accept any other questions, then start the process to restore the image.
7. When restore is complete, X out of the RescueZilla window, back to the RescueZilla desktop. If not doing steps 8, 9, 10 below, just hold down the power button to turn off the chromebook.
======================================================
These directions are specific for our image on the HP Chromebook 14a G5
1, At the RescueZilla desktop, choose the File Manager, then the name of the USB drive with the image. Double click on the file named “initfix.sh”. Select all the text in the file (ctrl-A), copy the text to the clipboard (ctrl-C). Minimize this window to get it out of the way.
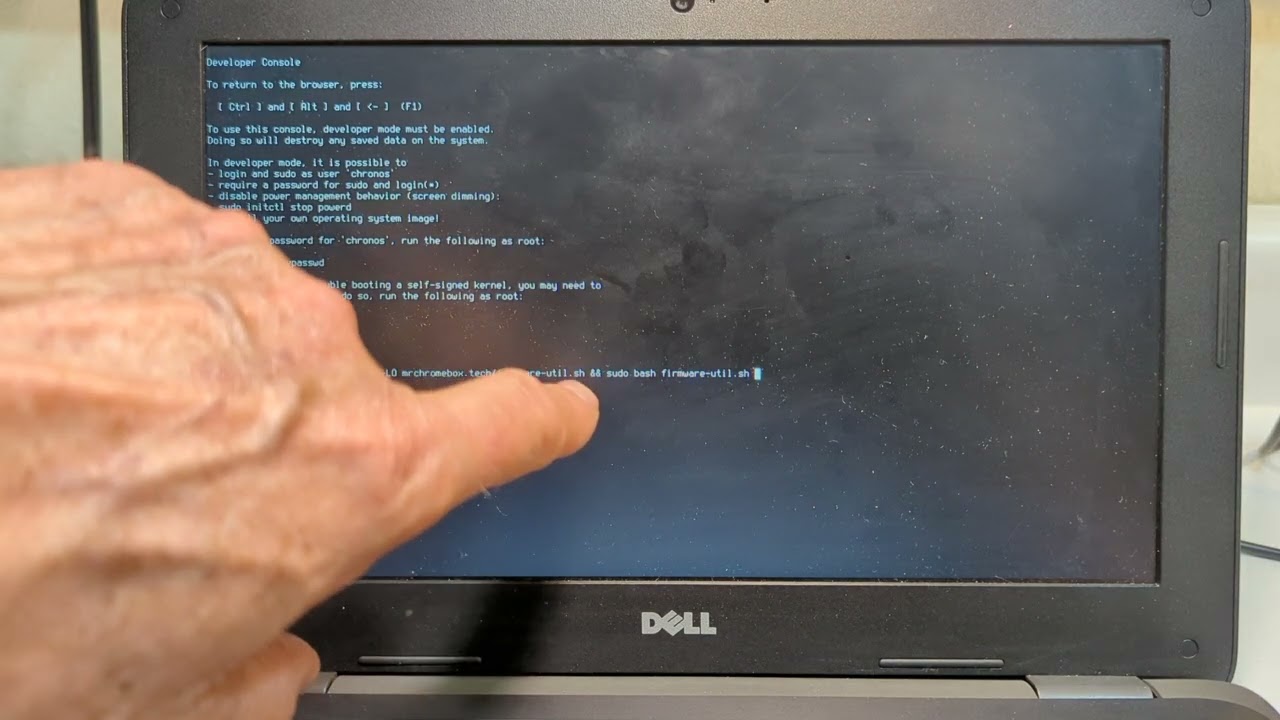
2. At the RescueZilla desktop, choose Terminal.
3. At the terminal (command prompt), paste in the text in the clipboard (ctrl-V). Confirm if needed. Then press enter. Script should run. Wait until it completes, then hold down power until chromebook turns off.
4. Remove USB drives and turn on chromebook again. Chromebook should run the image you just installed.
Повторяем попытку...

Доступные форматы для скачивания:
Скачать видео
-
Информация по загрузке: