Chrysler Pacifica Starter Replacement (2004-2008) | How to Change a Starter the Easy Way
Автор: Sell Those Flipping Cars
Загружено: 2020-05-29
Просмотров: 41137
Описание:
Is your Chrysler Pacifica clicking but not starting? Or maybe it’s completely dead when you turn the key? Chrysler didn't make it easy—the starter is buried behind the cooling fans and under the radiator crossmember. Most shops will quote you several hours of labor for this, but you can do it in your driveway with basic hand tools if you know the "shortcuts."
In this comprehensive guide, I show you exactly how to replace the starter on a 2007 Chrysler Pacifica. I walk you through the "surgery" required: removing the trim clips, the upper shroud, and the radiator crossmember to gain the clearance you need to pull the cooling fans. Once those are out, I show you the trick to reaching the starter bolts without stripping them.
I reveal the exact bolt sizes you'll need (15mm top, 17mm bottom, and 12mm for the solenoid) so you aren't guessing. I also share a critical safety tip about disconnecting the negative battery terminal first—unless you want to see some serious fireworks under your hood!
The bottom starter bolt "unscrews for days." Don't panic if it feels like it's spinning forever; it’s a long bolt! Also, when reinstalling the solenoid connector, make it snug but do not over-tighten it, or you’ll crack the plastic housing on your brand-new starter.
Tools & Parts Used
Replacement Starter (Pacifica 3.5L/4.0L): https://amzn.to/3N3S1DG
Tresalto Trim Tool Set (The Lifesaver!): https://amzn.to/4bdfbRa
15mm & 17mm Ratcheting Wrenches: https://amzn.to/4s6WzYK
Hose Pinch Pliers (To save your coolant): https://amzn.to/4kYo5VT
Magnetic Work Light: https://amzn.to/4aYXd3J
Don't let a dead starter ruin your week. Join the Wrench Army by hitting Subscribe for more deep-dive repair guides and "Dealer Secrets" that save you thousands on labor.
Video Chapters:
[01:23] Why we disconnect the Negative Battery terminal first
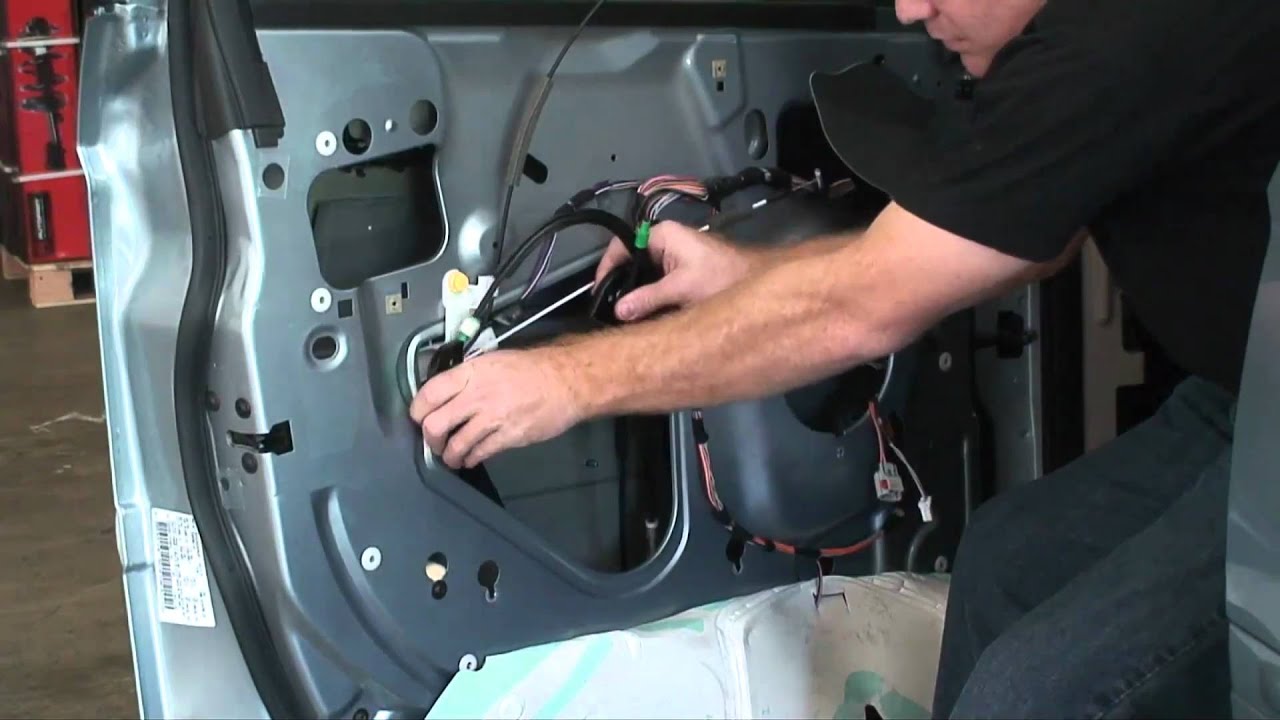
[02:47] Using the Trim Tool on those "Annoying" plastic clips
[04:44] Unplugging the Cooling Fan Harness & Relays
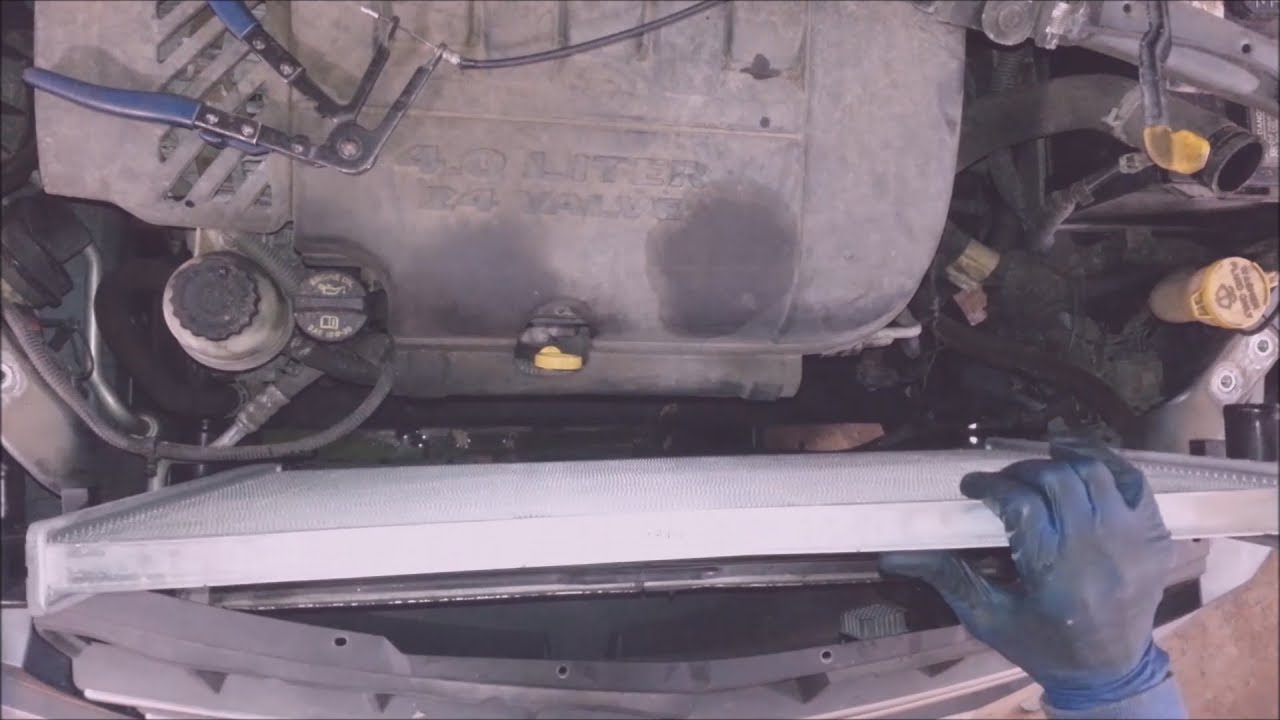
[08:11] Removing the Radiator Crossmember (The Space-Maker)
[09:41] First look at the buried Starter
[11:49] Bolt Sizes: 15mm (Top) and 17mm (Bottom)
[13:40] Installation Warning: Do NOT over-tighten the solenoid!
[21:29] Final Inspection: Ensuring a "Dealership Quality" Repair
#ChryslerPacifica #StarterReplacement #WrenchArmy #DIYAutoRepair #CarMaintenance #MechanicTips #AutoRepairTutorial
→ Become a Channel Member for Exclusive Content! / @sellthoseflippingcars
→ Become a Sellthoseflippingcars Subscriber: / sellthoseflippingcars
→ Help Support the Channel with our Merch Store: https://sellthoseflippingcars.com
→ Pinterest: / sellthoseflippingcars
→ Facebook: / sellthoseflippingcars
→ Website: https://sellthoseflippingcars.com
→ My Channel Home Page: / sellthoseflippingcars
→Business Enquiries send to:
[email protected]
*If the video was helpful, remember to give it a "thumbs up" and consider subscribing.*
Disclaimer:
Due to factors beyond the control of Sellthoseflippingcars, I cannot guarantee against improper use or unauthorized modifications of this information. Sellthoseflippingcars assumes no liability for property damage or injury incurred as a result of any of the information contained in this video. Use this information at your own risk. Sellthoseflippingcars recommends safe practices when working on vehicles and or with tools seen or implied in this video. Due to factors beyond the control of Sellthoseflippingcars, no information contained in this video shall create any expressed or implied warranty or guarantee of any particular result. Any injury, damage, or loss that may result from improper use of these tools, equipment, or from the information contained in this video is the sole responsibility of the user and not Sellthoseflippingcars.
Повторяем попытку...
Доступные форматы для скачивания:
Скачать видео
-
Информация по загрузке: