Tutorial for Using Enlarger Lenses in Macro Photography and Image Stacking Part 4
Автор: RabbitWarrenPro
Загружено: 2014-03-13
Просмотров: 9899
Описание:
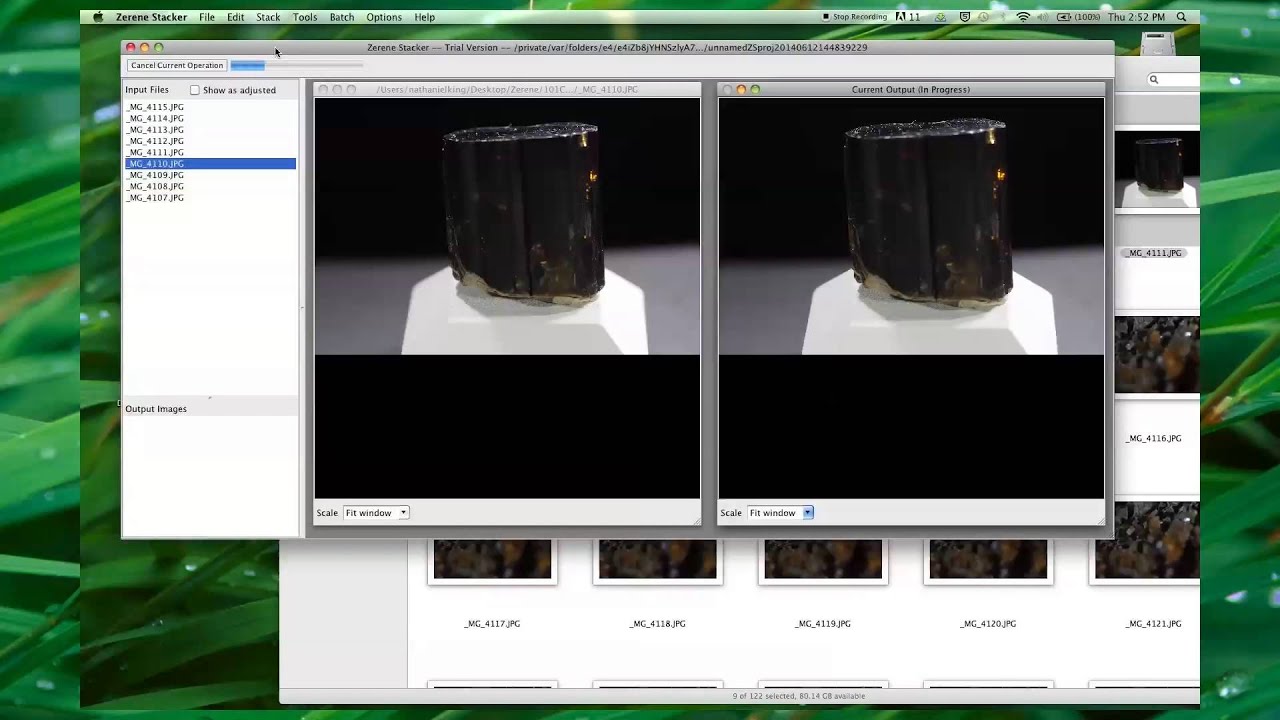
This is a nuts and bolts explanation about adapting enlarger lenses to a common digital camera that accepts interchangeable lenses. The example camera is a Canon 60D DSLR. Part Three and Part Four describe the important preparations such as setup lighting issues when using enlarger lenses for macrophotography. Part Three was originally planned to cover all of the uses of these lenses. The detailed approach has proven to be popular and so the next topics that were going to be explained in just Part Three have been expanded into additional videos including Part Four and Parts Five. Part Three will discuss setting up the shots you want to take. Your camera needs to be on a tripod. The object needs to have a plain background. The working distance you have will vary from lens to lens. The first setup shows the longest working distance. There will be a small amount of discussion using a motorized focusing rail. The brand of focusing rail being demonstrated is the StackShot. Part Four will show what the camera sees when the set up includes a lens that focuses very closely (only several centimeters instead of nearly 2 meters.) The springiness of the wooden floor is mentioned. Photographs should be taken on concrete floors or similar surfaces. Note the depth of field of the scene. By taking photographs at various increments of closeness, all of the field of view will be photographed. Lighting is important. The object will be photographed using two lights and with seven lights, for comarison. The color of the lights is important and they should be "full spectrum" daylight balanced. Proper lighting prevents a "lost edge". Highlights that are "burned out" have no dynamic range that can be adjusted by a photo editing program. This is part of an extended set of videos about image stacking. Part 5, Part 5A, and Part 5B tutorials show how to take image stacks for combining the depth of field of individual images into into a single extreme depth of field image using Zerene, Helicon, CombineZM, CombineZP, and other computer programs. This tutorial series tells how to use inexpensive, very sharp, non-traditional lenses on your camera to get great results. If you stack images taken with an unsharp lens, you will get unsharp final images. The tutorials contain additional tips about lighting, color balance, floor stability, adjusting the field of view, etc. Video 5A follows that video and shows how to process images that were taken in Video 5, using a computer. Video 5B will show how to take very close-up images using a microscope lens objective, as well as a very close-up enlarger lens. Please be sure to like and subscribe.
Part 2 here http://www.youtube.com/watch?v=Q3Wxpk...
Part 3 here • Tutorial for Using Enlarger Lenses in Macr...
Category
Entertainment
License
Standard YouTube License
Повторяем попытку...

Доступные форматы для скачивания:
Скачать видео
-
Информация по загрузке: