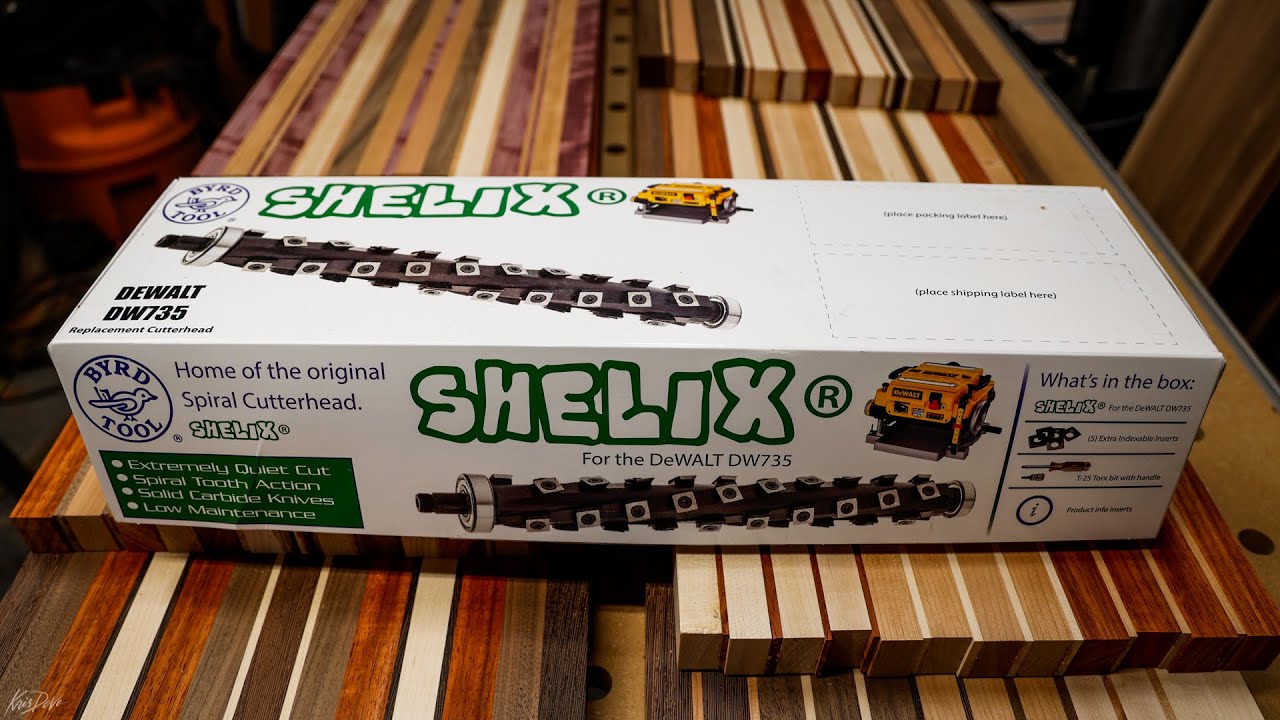
DeWalt DW735 Helical Head UPGRADE
Автор: FourZeroThree Woodworks
Загружено: 2022-11-22
Просмотров: 1012
Описание:
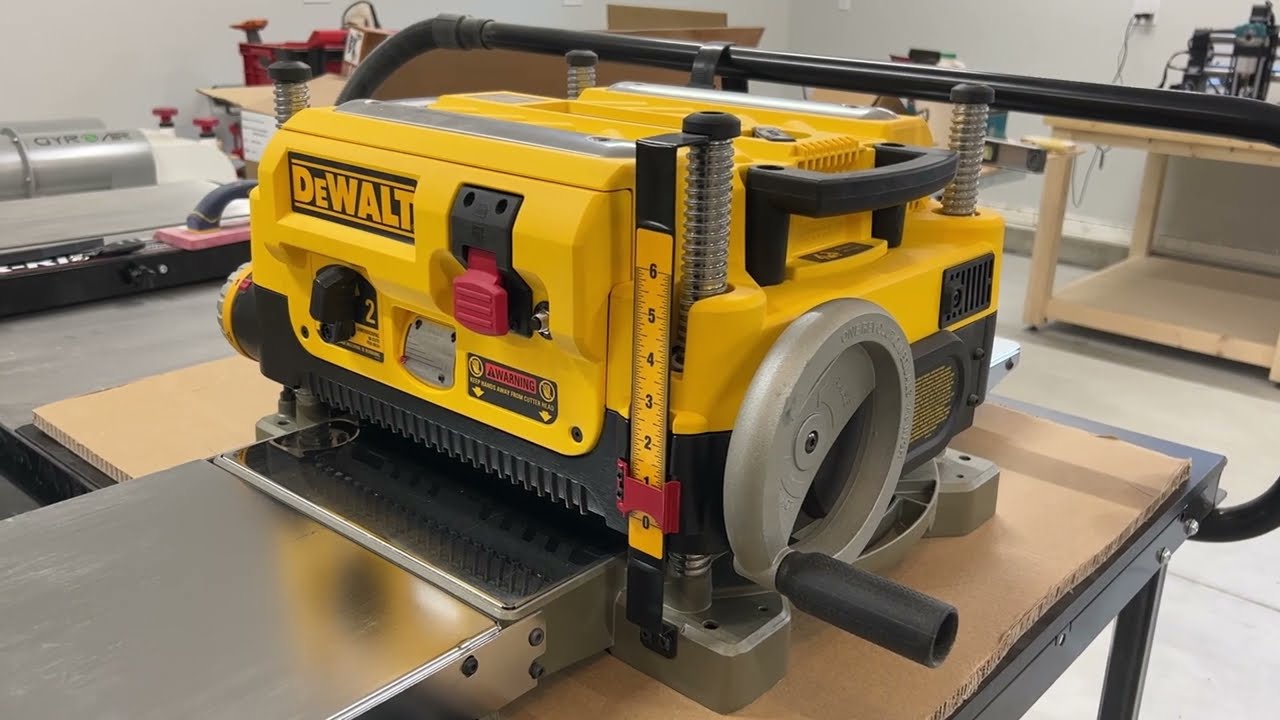
No nonsense, No talk, Just a detailed view on how I changed out the factory 3 blade cutter head for a helical head. The rumors are true, it is much quieter and cuts better with longer lasting blades. My factory blades were only a couple weeks old when I received my new cutter head in the mail. I was already noticing pitting and groves out of my lumber. Although this may be an expensive upgrade I definitely think this will pay off in the long run. The blades can be rotated 4 times each and you can replace them individually if needed.
Be aware this requires about 2+ hours to remove and replace. I think a video like this will help you greatly to save time and applies to replacing any head.
Tools Needed
Wrenches/sockets
Allen/hex wrenches
Torx T30, included with planer
Phillips #2 screw driver
Snap ring pliers, spread and squeeze styles
Hammer and scrap board for hitting head in/out
Planer - https://amzn.to/3LED99C
Contents
Here are some easy to follow Chapters for the content in this video to help you pick up where you left off
Disassembly
0:00 Accessing blade
0:22 Removing factory blades
0:43 Pully cover, Belt and Drive chain
3:34 Pully, snap ring
4:45 Gearbox
6:35 Pushing factory head out
7:00 Removing factory gear for new head
Reassembly
7:51 Ensure bearings are seated against head fully
8:02 Slowly and Carefully wiggle new head into planer without blades installed
8:27 Seat head bearings into planer body with soft wood block
8:45 Check bearings are flush to snap ring slot
8:56 Install Gearbox
9:38 Gear box chain and cover
11:00 Pully side
13:41 Pully side Chain and tensioner
15:50 Installing blades
17:42 Dusts cover and body cover
Повторяем попытку...
Доступные форматы для скачивания:
Скачать видео
-
Информация по загрузке: