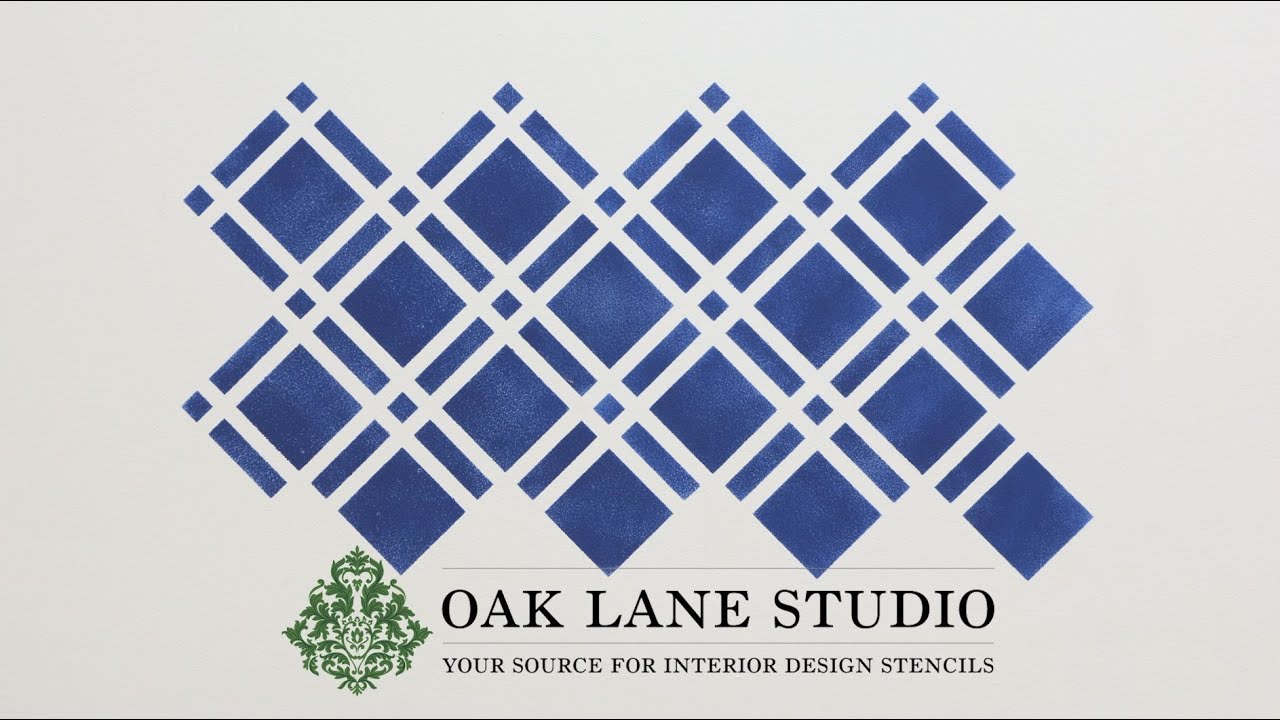
DIY Stenciled Wall Tutorial with Geometric Cornelius Stencil | Oak Lane Studio
Автор: oaklanestudio
Загружено: 2019-10-31
Просмотров: 2186
Описание:
#DIY, #DIY decor, #DIY decorating project, #geometric stencils, #geometric wall stencils, #geometric shape stencils
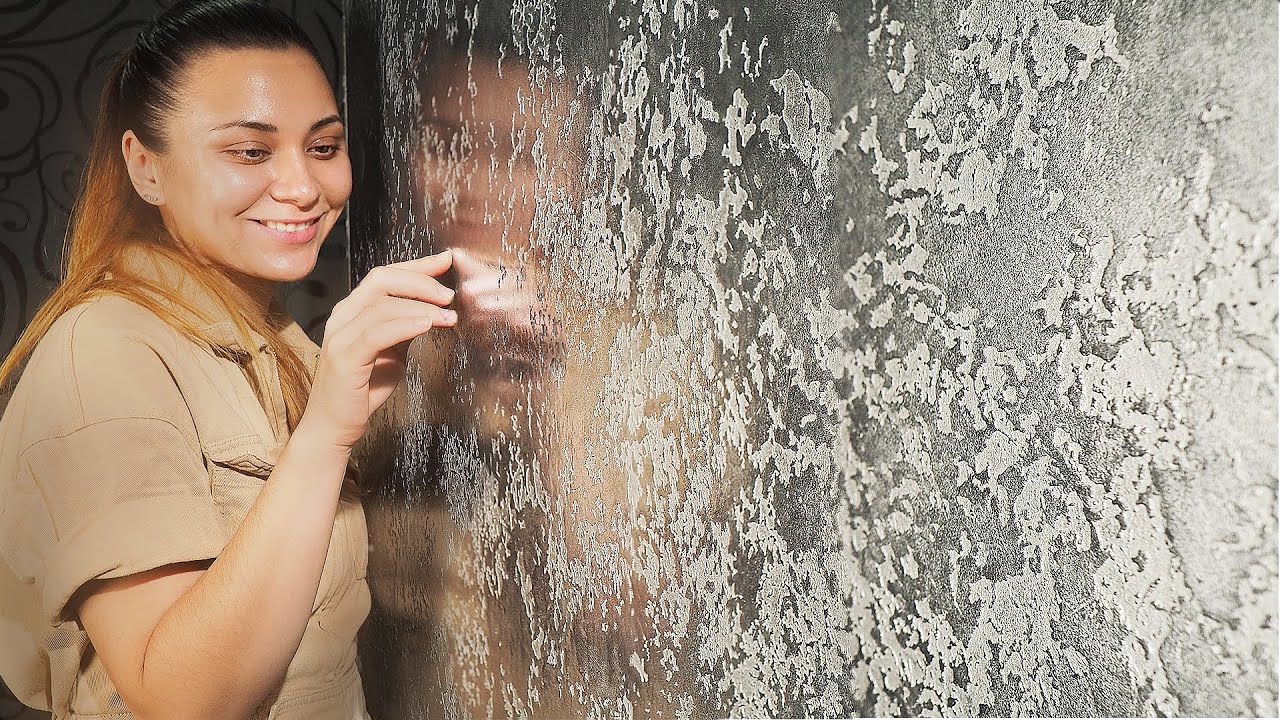
☝️ In this tutorial, Oak Lane Studio shows you how to hand paint your home with our DIY home decor wall stencils. Add an accent to your walls, floors, tiles, or ceilings with our Cornelius wall stencil, a classic geometric lattice stencil design. Floor-to-ceiling and corner-to-corner, stenciled walls are an easy and inexpensive way to decorate your home on a budget!
This modern stencil will brighten any room and is a perfect example of the many gorgeous wall stencils that Oak Lane Studio has to offer.
👉 Visit Oak Lane Studio at https://www.oaklanestudio.com/ to browse more stencil designs from our Antique Farmhouse, American Classic, Modern & Geometric, and Scandinavian stencil collections! Be sure to check out the step-by-step instructions below for the stencil supplies used in this tutorial!
1️⃣ Before getting started, prevent paint from getting onto the ceiling and baseboard by masking them off using Frog Tape Painters Tape. Spray the back of your stencil with Repositionable Spray Adhesive then let the spray become tacky for about 30-60 seconds before you are ready to go.
2️⃣ Press the stencil to the wall, use a level to make sure the stencil is horizontal, and apply Frog Tape Painters Tape around the edges. Roll a 4-inch foam roller in your paint then roll off the excess off onto a piece of paper towel. For this project, we are using navy blue latex paint. With everything prepared, you can begin painting.
3️⃣ It will take a few coats so don't rush by pressing too hard with the roller. If you press too hard or roll on too much paint you will get blurry edges from paint bleed beneath the edges of the design. To prevent this, stencil properly by rolling the excess off onto a piece of paper towel, newspaper, or cardboard each time you load more paint. After each repeat, line the stencil up using the previously stenciled portion of the design OR use the 4 triangle registration marks in the corners of the stencil.
4️⃣ Once you get to the baseboard or corner, use painter's tape on the adjacent surface so that you do not stencil outside of your boundaries. Roll as close as possible to the next surface before switching to a stencil brush for more precision. Dip the stencil brush in paint, swirl the excess off until the brush is dry to the touch, and build the color until it matches the rest of the design.
5️⃣ We hope that you found this tutorial helpful! All of our stencils are made out of durable mylar plastic that cleans paint off easily. Our decorative stencils come in small, medium, and large format sizes giving you the coverage options you need for your project. Forget about wallpaper and check out the links below!
Stencil Supplies ⬇️:
➡️ Cornelius Wall Stencil - https://bit.ly/31xs6q8
➡️ Repositionable Spray Adhesive - https://bit.ly/2PGiMeu
➡️ Frog Tape Painter's Tape - https://bit.ly/2q97Gn7
➡️ High-Density 4-inch Foam Roller - https://bit.ly/2sDD3HC
➡️ Stencil Brush Long-Handle - https://bit.ly/2OwIAgz
👉 Visit OakLaneStudio.com today and check out our amazing collection of wall stencils, border stencils, victorian stencils, vintage floor stencils, wall border stencils, farmhouse stencils, supplies, and how-to-videos!
Social Media ️️⬇️:
➡️ Facebook - / oaklanestudio
➡️ Instagram - / oaklanestudio
➡️ Pinterest - / oaklanestudio
➡️ Website - https://www.oaklanestudio.com/
#Geometric #Stencil #Design #OakLaneStudio
Повторяем попытку...
Доступные форматы для скачивания:
Скачать видео
-
Информация по загрузке: