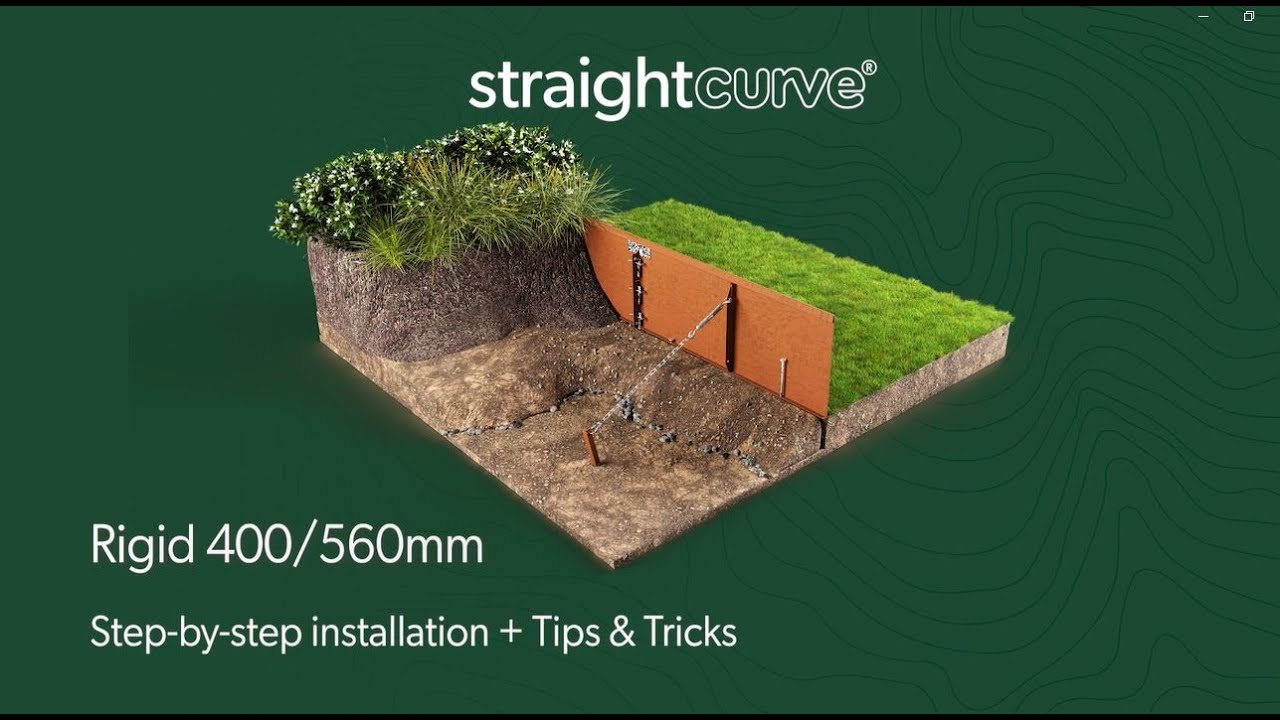
Straightcurve® Flex Raised Garden Beds - 240 mm - 9.5 inch - Installation and Tips Video
Автор: Straightcurve Garden Edge
Загружено: 2022-10-27
Просмотров: 7981
Описание:
This video shows the steps to install our 240mm Flex raised garden bed panels and includes some helpful tips and pointers. Notice how easily this product will hold a line and connect together. We really have made this super easy for you to install yourself!
www.straightcurve.com
0:00INSTALLATION
0:07 Step 1: Mark edge line on ground and layout edge pieces nearby.
0:22 Step 2: Place first two edges front face down on the ground with ends touching and with join slots aligned.
0:33 Step 3: Join using the joining set, break the pieces apart first by hand and insert join bracket securely under the top lip (centered). Press it against back of panels (use a metal hammer to firmly lock in).
1:05 Step 4: Insert a slider through adjacent bottom slots with it’s ‘feet’ against the edge. Knock it through fully so wedge can insert and lock in the slider.
1:20 Step 5: Hammer the wedge in firmly. Repeat step 4 for top slot using the remaining wedge and slider.
1:53 Step 6: Set these two edges upright and flex to position where desired, use fixing spikes as temporary placeholders.
2:08 Step 7: Introduce and join further lengths, butting them against the now standing edge, connecting them as you go.
2:13 Step 8: Check the line, then hammer all fixing spikes (5 per length) through foot tab holes.
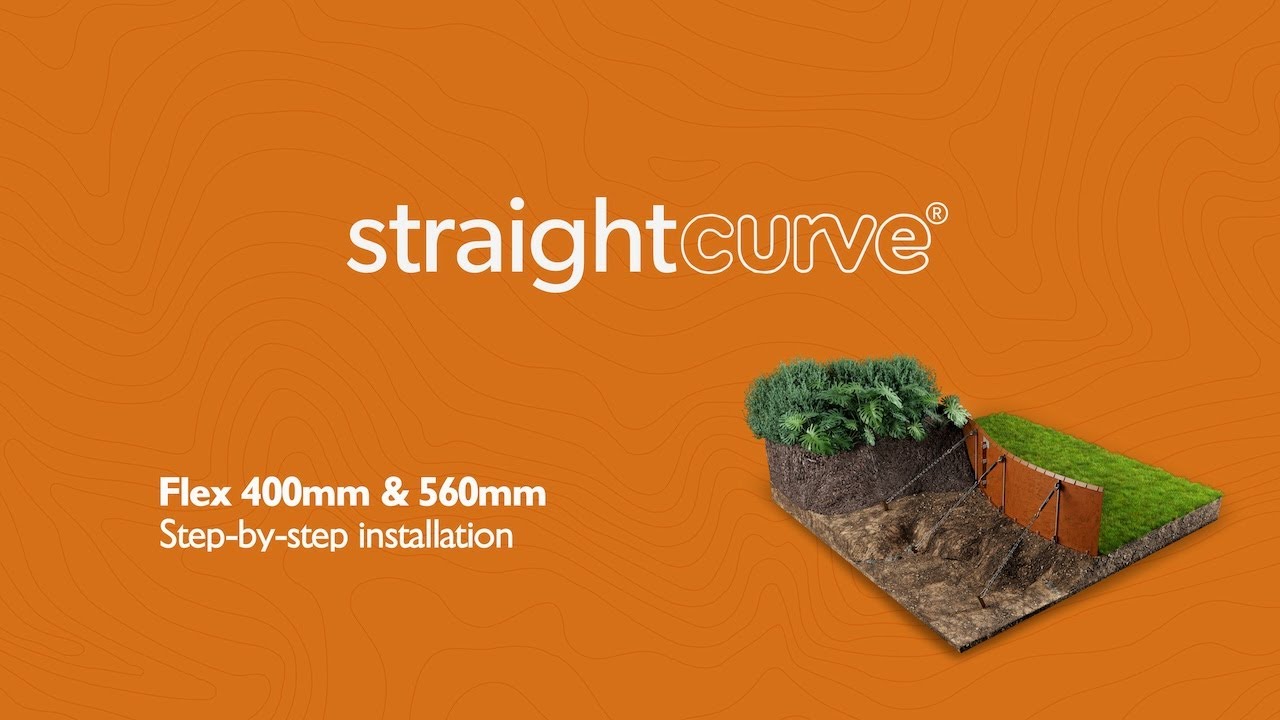
2:28 Step 9: To Stake, hammer the ground anchor post in tightly adjacent a bracing rib and close against the bottom foot.
3:04 Step 10: Screw the ground anchor post to the bracing ribs with tek screws through guide holes.
3:29 Step 11: Back fill your Raised Garden Bed to finish.
3:43 MAKE YOUR OWN CORNER
5:26 END RESULT
Повторяем попытку...

Доступные форматы для скачивания:
Скачать видео
-
Информация по загрузке: