Side veneer grafting, a sequence of images. Photography Right Plants App
Автор: Neil Bromhall
Загружено: 2019-02-11
Просмотров: 11827
Описание:
Side Veneer Grafting
A sequence of photographs, Right Plants App.
App Store (iOS):
https://itunes.apple.com/app/rightpla...
Google Play link (Android):
https://play.google.com/store/apps/de...
Here is a sequence of photographs to show how to make a side veneers graft. Making cuttings
Sharpen and sterilise your knife: When you cut with a dull knife you increase the force you apply, which will increase your risk of slipping. A dull knife is more likely to turn as it passes through the wood, making a wavy cut.
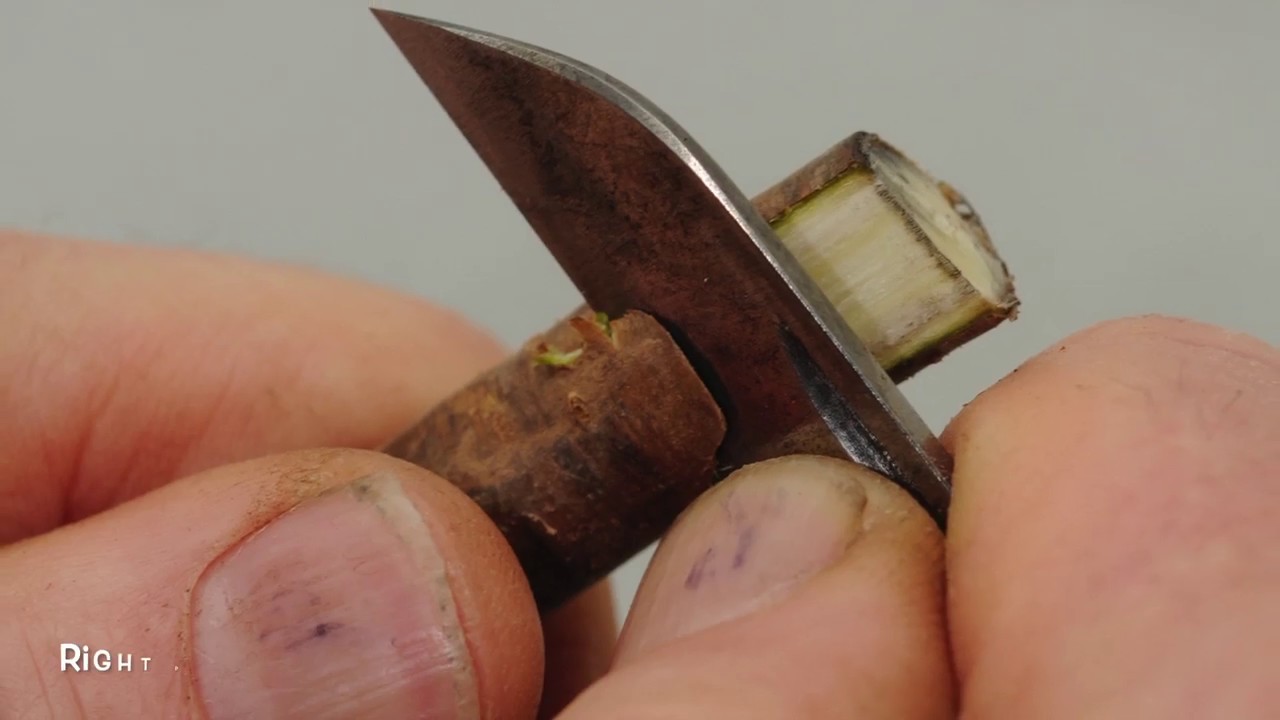
Make the first rootstock cut: Make a straight cut straight down or angling slightly into the rootstock, stopping when halfway across its thickness. Your cut should be about 35mm long and pass through an internode, a smooth segment of the stem.
Make the second rootstock cut: Make a small cut down and across the grain, just above the rootstock crown, to free the piece you just cut and create a notch for the scion base to rest in.
Make corresponding cuts in the scion: The base of the scion should be angled to fit in the stock notch, a semicircle in cross-section. Its thickness and length ideally should be the same as the removed stock piece so that the faces match, but this has a smaller scion being attached.
Check that these cuts match: Place these cuts against each other now and see that they line up well, the bottom of the scion sitting on the stock platform and nesting there. When placed against each other, there should not be air gaps or exposed inner wood. If there is a problem correct it if possible, or discard the scion and try again with a new one of a compatible size.
Place the scion and stock together and tie the graft well: There should be minimal or no air space between the pieces of wood. If the thicknesses are slightly different do not center the scion. Rather offset it to make sure one of the two sides line up smoothly. This graft depends completely on a tight tie with tape or rubber band, so do this well, never releasing tension as you wrap; this can be tricky. There is no rush, though. If the pieces slip apart, just start tying again.
Seal the graft by applying sealing wax to the wrapped union, or place the graft in a bed of peat moss you will keep moistened.
Follow up with general aftercare, such as humidity control, until the union fully takes.
This technique is used for Abies (Fir), Acer (Maple), Betula (Birch), Picea (Spruce), Pinus (Pine).
References
Hartmann, Hudson T. and Dale E. Kester. Plant Propagation Principles and Practices, 7 ed. 2002.
Повторяем попытку...
Доступные форматы для скачивания:
Скачать видео
-
Информация по загрузке:


