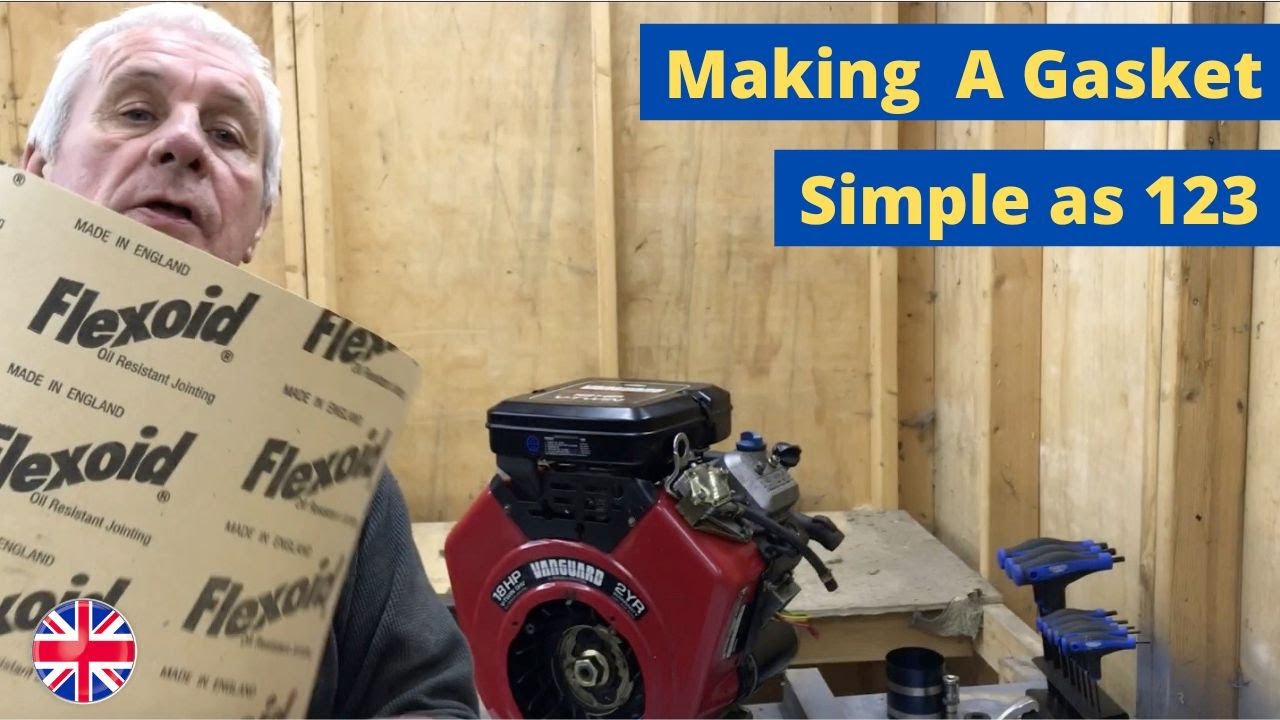
How to Make a Gasket for an Engine
Автор: Homes for Beginners
Загружено: 2020-02-07
Просмотров: 1470
Описание:
Welcome to my channel, Homes for Beginners where I show you how to do repairs around the house yourself. Please don't forget to hit that LIKE button and SUBSCRIBE for future videos.
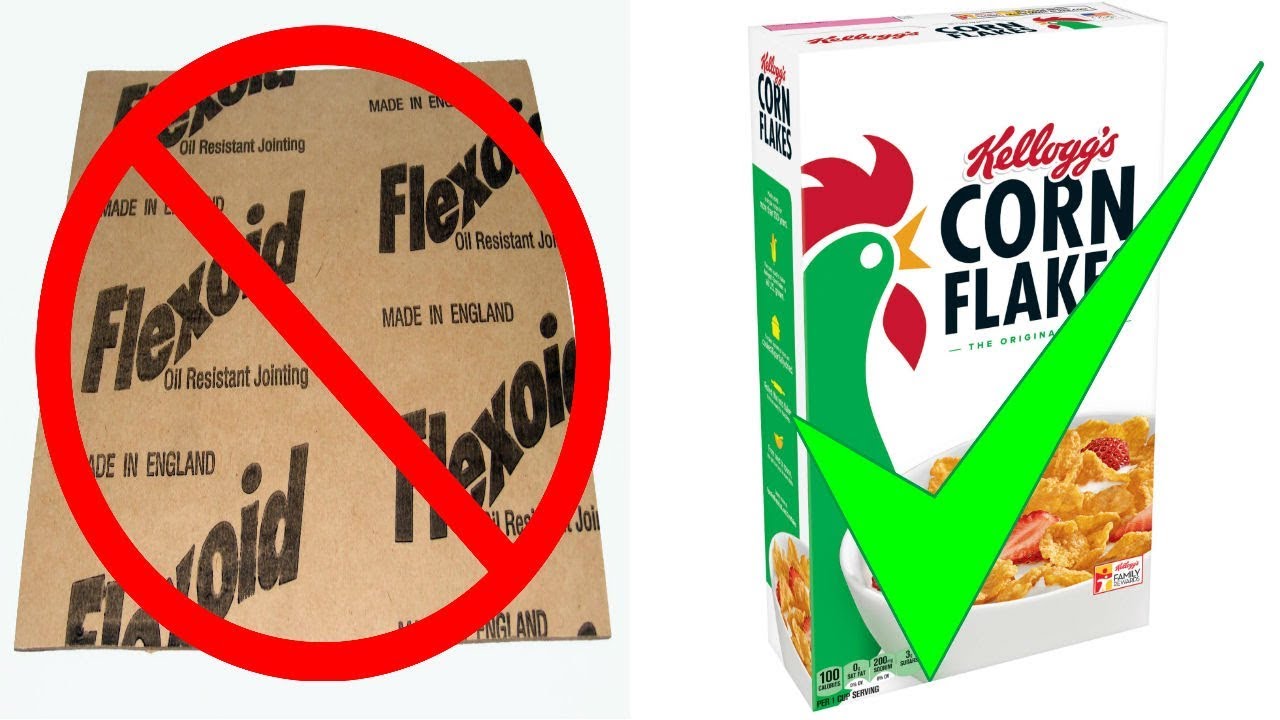
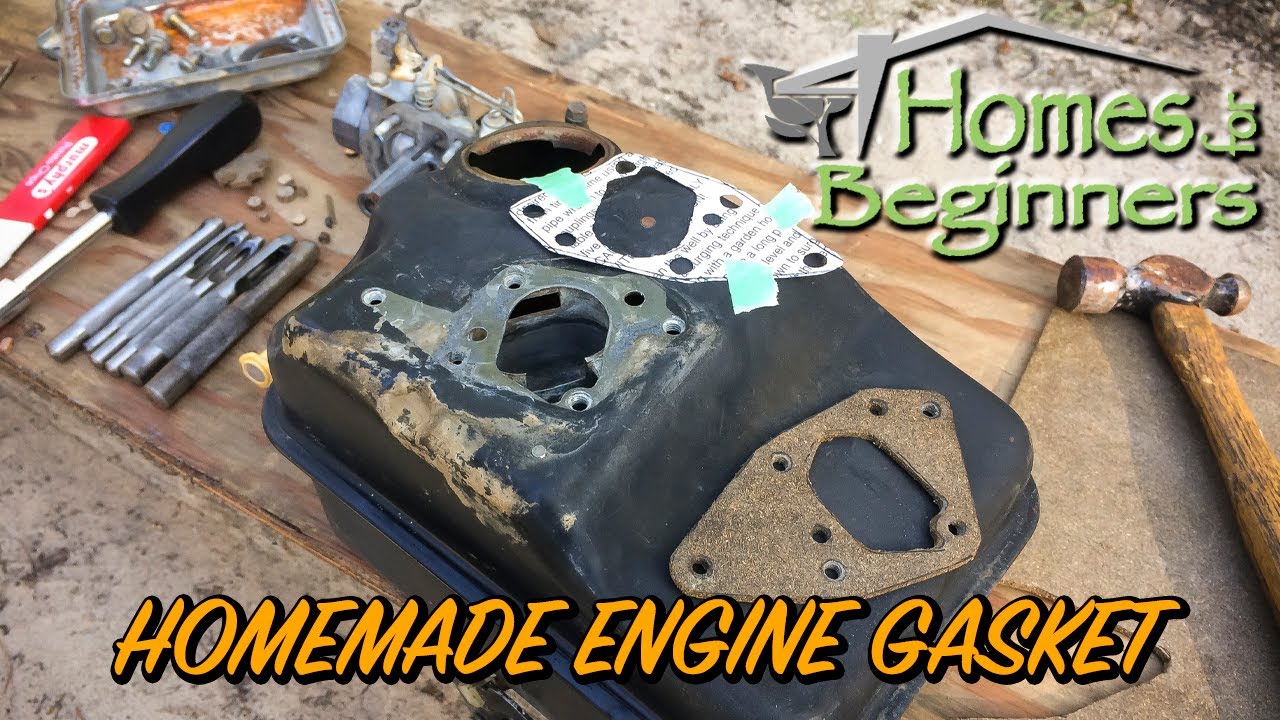
In this video, I will be showing you how to make a gasket for a small engine. This is a gasket intended for use on the carburetor mounting surface on the gas tank such as here, carburetor to the engine block, carburetor to the airbox, and even oil gaskets. Make sure you do pick a gasket material which is resistant to the chemical it’ll be exposed to.
I’ve already clean off the old gasket and unfortunately, it wasn’t usable for a template. In order to clean the old gasket off, I usually use a razor blade at an angle to scrape it off. Don’t damage the gasket sealing surface as this can create a leak.
Next is using a piece of paper, tape it in place so it doesn’t move around and cover up the area where the gasket will be installed.
Using a ball-peen hammer, use the ball end, gently tape around any openings or edges. The smaller the ball end, the better for smaller fastener holes. Lightly go around the whole area, just enough where it’ll break the paper and won’t damage the part you’re working with.
I’ve already made a template ahead of time which you’ll see in a moment, however you can now see the template is beginning to take shape. If paper ends up in any small holes, a needle or pick can be used to remove them.
The paper breaks away very easily, leaving a clean-cut edge, perfect for outlining the gasket.
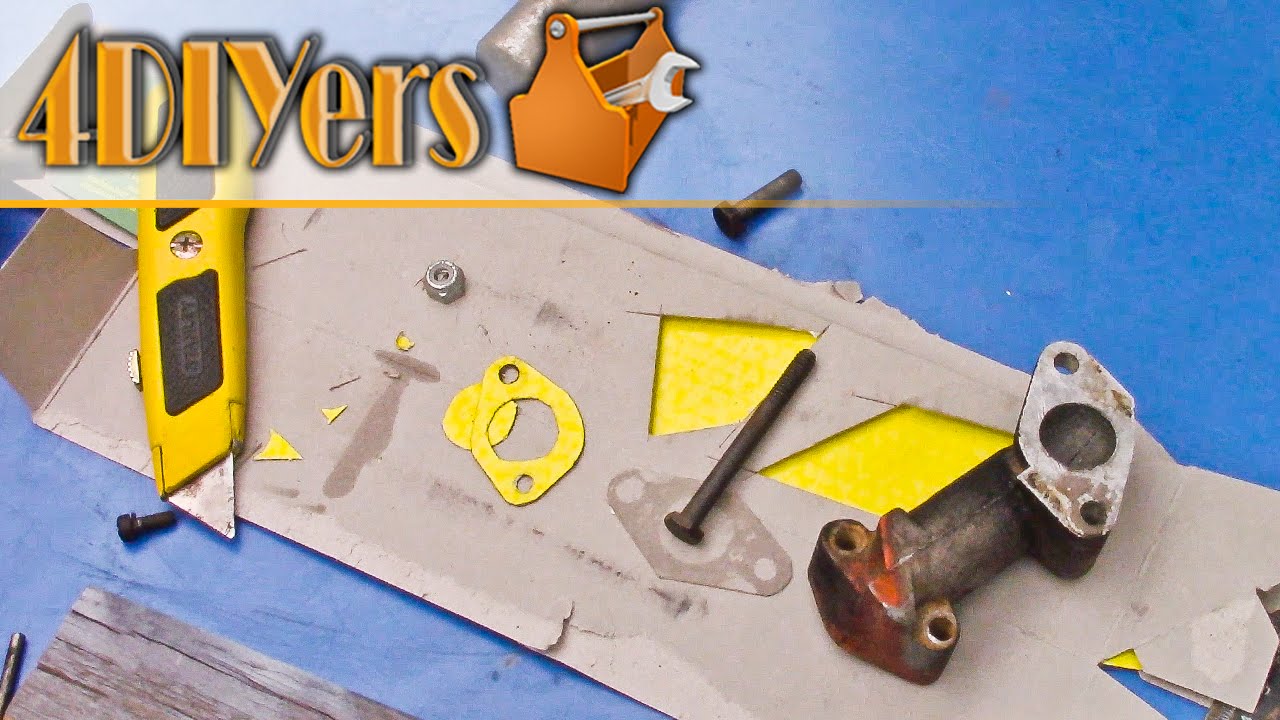
Here is the already made stencil. I left more material around the holes and any openings so there’s no risk of leaks or having the new gasket tear. You’ll want at least 3/16” or about 4mm of extra material around any openings, you can go larger, but just make sure there won’t be any clearance issues on the component you’re working with.
Next is taping that stencil in place on your gasket material. Try to match up the thickness of the new gasket material with the old stuff if possible. The stuff I am using is slightly thicker, it won’t cause any issues though.
Trace around the stencil using something with a fine tip.
Next is cutting out the exterior of the gasket.
For the fastener holes, I’m using a hollow punch set that has a variety of sizes and is intended for applications such as this. Make sure the gasket is on a solid surface, line up the hole with the correct sized punch, and cut the material out.
Once done, the plugs from the holes can be pushed out of the hollow punch using a small standard screwdriver.
As for the larger hole, all the corners were cut using the larger sized punch.
Then they were connected and the inner section was cut out using a razor knife.
Once done, here you can see the comparison between the stencil and the new gasket.
After that, the gasket can be installed back onto the component. This is a great method if you’re trying to save a bit of money or if the gasket is no longer available. No sealant is needed either.
© Homes for Beginners 2019
All Rights Reserved
No part of this video or any of its contents may be reproduced, copied, modified or adapted, without the prior written consent of the author.
Повторяем попытку...
Доступные форматы для скачивания:
Скачать видео
-
Информация по загрузке: