DIY: How to Make a Cardboard Gasket
Автор: 4DIYers
Загружено: 2015-10-30
Просмотров: 86762
Описание:
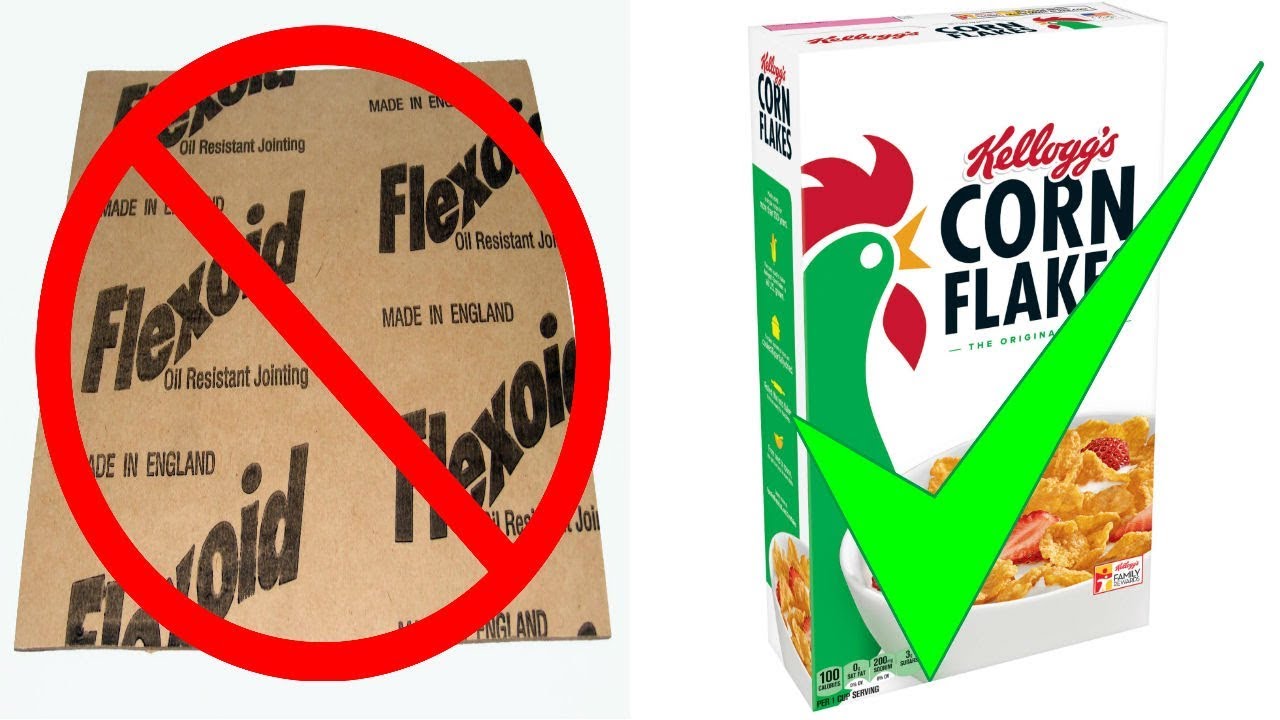
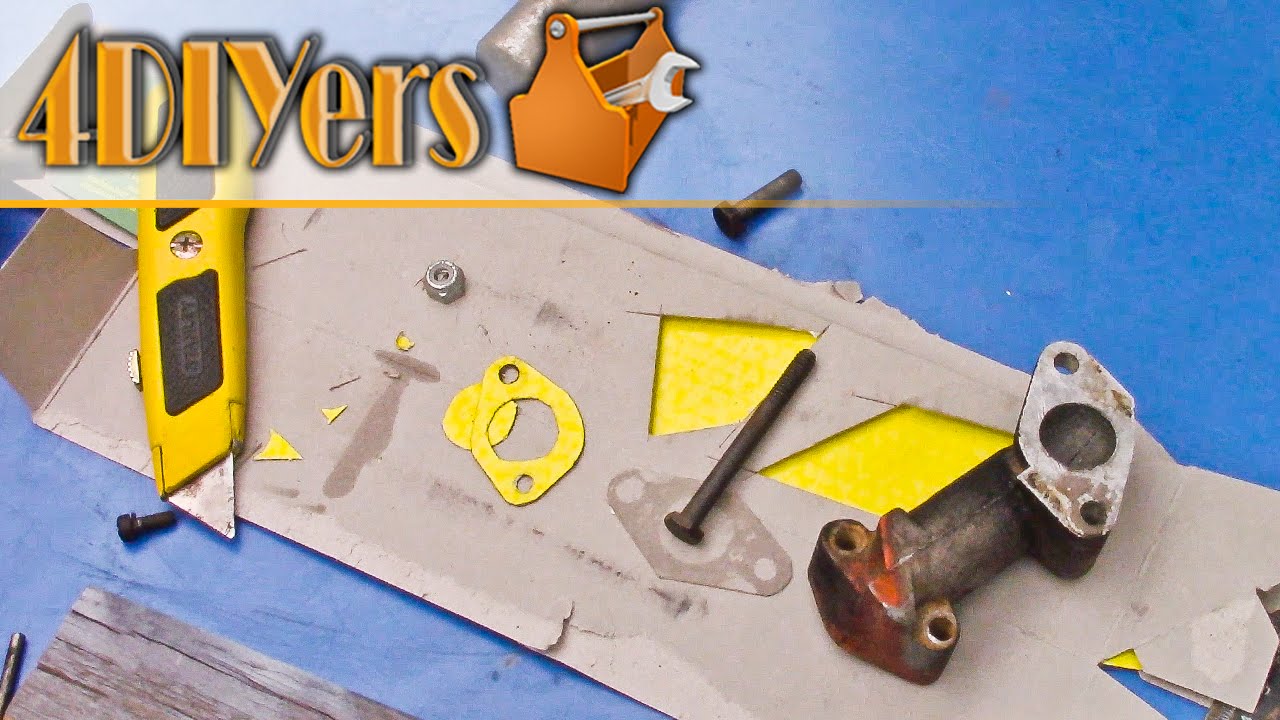
Video tutorial on how to make a cardboard gasket. The type of cardboard that can only be used for this particular gasket is flat cardboard or paperboard which is typically found on cereal boxes, snack packaging, or what I’m using here is from auto parts packaging In the past I’ve used this technique on throttle bodies, intake manifolds, carburetors, valve covers, etc. This type of gasket cannot be used on high heat applications such between the block and head or on exhaust components. Here I’ll be making new gaskets for my snowblower for between the carburetor and intake manifold, and then between the intake manifold and block.
Website: http://4diyers.com
Facebook: / 4diyers
Google Plus: https://plus.google.com/+4DIYers
Twitter: / 4diyers
Instagram: / 4diyers
Tumblr: / 4diyers
Pintrest: / 4diyers
Tools/Supplies Needed:
-oil
-razor knife
-ruler
-flat cardboard/paperboard
-nut and bolt
Procedure:
-first apply a small amount of oil with your finger on the surface you want to copying
-stamp that surface onto the cardboard, typically on the inside face of the cardboard where there is no shinny printed surface as it transfers better
-leave it there for a moment, applying medium pressure, then remove
-you should be able to see the outlined surface
-if you leave it there for a moment longer, the oil will soak in and become darker, therefore being easier to see
-using a razor knife, cut the outer and inner edges of the gasket
-be sure you use a sharp knife, otherwise the cardboard will drag and create a rough edge
-for the bolt holes, we can cut those using a nut and bolt to the appropriate size
-place the nut below where the hole should be, then place the bolt on the other side and hammer it down
-you may need to rotate the bolt around the edge of the hole to help cut the cardboard
-once you’ve cut the one, if possible install the gasket on the object and insert a bolt through it to align it into place
-then proceed to punch out the next hole in place, this ensure there will be no alignment issues with the bolt holes.
-when installing the newly made gasket, you can apply some gasket sealant, but it isn’t necessary
-ensure that both sides of the gasket surface on the surround objects are smooth.
Thank you to all those who watch my videos and support my content. Don't forget to subscribe to my channel for future tutorial videos and like my video if you found it helpful. New videos are always being uploaded every week!
© 4DIYers 2013
All Rights Reserved
No part of this video or any of its contents may be reproduced, copied, modified or adapted, without the prior written consent of the author.
Повторяем попытку...
Доступные форматы для скачивания:
Скачать видео
-
Информация по загрузке: