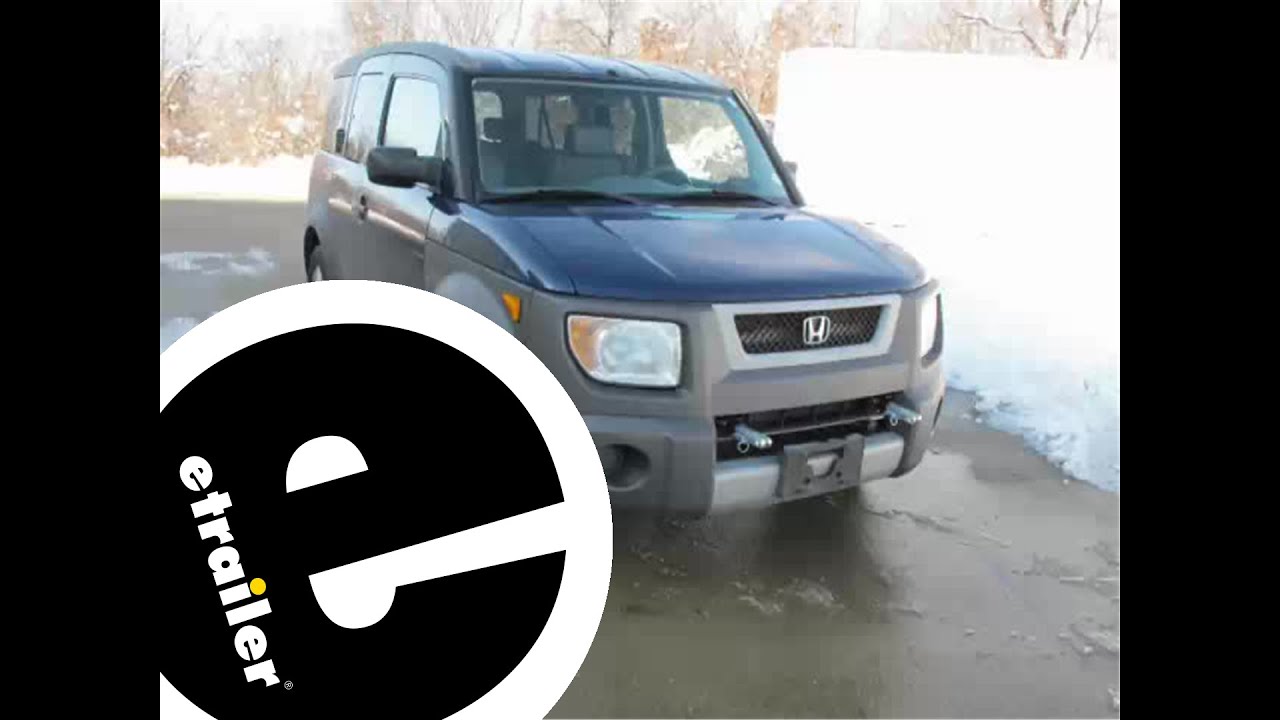
Mount: T-One Vehicle Wiring Harness with 4-Pole Flat Trailer Connector on a 2008 Honda Element
Автор: etrailer
Загружено: 2014-11-05
Просмотров: 11576
Описание:
Click for more info and reviews of this Tekonsha Custom Fit Vehicle Wiring:
https://www.etrailer.com/Custom-Fit-V...
Check out some similar Custom Fit Vehicle Wiring options:
https://www.etrailer.com/fitguidet1.htm
Search for other popular Honda Element parts and accessories:
https://www.etrailer.com/vehicle/2008...
https://www.etrailer.com
Don’t forget to subscribe!
/ etrailertv
Full transcript: https://www.etrailer.com/tv-install-t...
Today on our 2008 Honda Element we're going to be installing the Tow Ready T1 vehicle wiring harness with a 4-pole flat trailer connector, part number 118465. Now this particular wiring kit is a two part kit. This right here is the half that goes up underneath the driver side dash. It plugs into a 10-pin connector, has a couple fuse holders in it that have little 5-amp fuses in it. Now we'll be installing this first. Now normally there would be a panel right here that you would remove, but on this car it's already removed for some reason so we will not have to take that off. Now the other half of the plug that we're looking for is actually up in here.
It actually has a little bit of blue tape holding in place. That's what we're going to be plugging the connector that's on the box with the two fuses connected to it. Go ahead and reach up in there. We'll plug it in and then we'll need to adhere our box using the two-sided tape that's already on it somewhere underneath. We may even use a zip tie depending on how much extra wire we have. We got our two halves lined up.
Once we get them lined up we'll go ahead and push them together making sure we hear the locking tab click into place. You'll also want to double-check and make sure that in each of the fuse holders there is a fuse. It is a 5-amp fuse. Right down in there is a good spot to secure our box. Now before we adhere our box to the interior wall here we're going to go ahead and just use a little bit of rubbing alcohol and a paper towel.
Just going to clean the surface to make sure there's no oil or dirt on it. Once that dries we can go ahead and position our box. We'll then peel the backing off of the two-sided tape, push the box firmly in place, go ahead and put one zip tie right there just to help secure the wire. Now if you've removed the front panel here for access you'd go ahead and reinstall that. Now we're ready to move back to the rear of the vehicle to complete the installation. Now we're here at the rear of the vehicle we'll need to go ahead and open up the rear hatch.
This right here is the piece that we'll be installing here at the rear of the vehicle. Now we'll need to raise up this rear lid here. Right here is the plug that you're looking for. Now it already has a plug or a cap in it so we'll need to squeeze in on the locking tab, gently pull the cap out. We'll then take the new plug, slide it in place making sure we hear it click so that it's fully engaged. When you're ready to use your 4-flat wiring you'll simply route it up and out of the storage area where the spare tire is kept, up and over the lower portion of the hatch keeping it away from the center latch areas where it could be easily damaged. It will then push in here on the weather stripping when you close the top section of the hatch. When you're done using your 4-flat you'll simply raise the rear hatch, lower the lower half, raise the spare tire cover. You can store the wiring down next to the spare tire. Next let's go ahead and test our 4-flat wiring to make sure that all the functions are working properly. Next we'll go ahead and and take the ground on our tester light here, connect it to the white wire or the open prong. With the running lights on we'll touch the brown wire. For the left turn we'll touch the yellow wire. With the right turn we'll touch the green wire. The brakes we'll touch the green and the yellow. As you can see here, all of our functions are working just fine. We'll go ahead and put the dust cover back in place so that it keeps any dirt and debris out of the 4-flat end when we're not using it. That will do it for the installation of the Tow Ready T1 vehicle wiring harness with a 4-pole flat trailer connector, part number 118465, on our 2008 Honda Element. .
Повторяем попытку...

Доступные форматы для скачивания:
Скачать видео
-
Информация по загрузке: