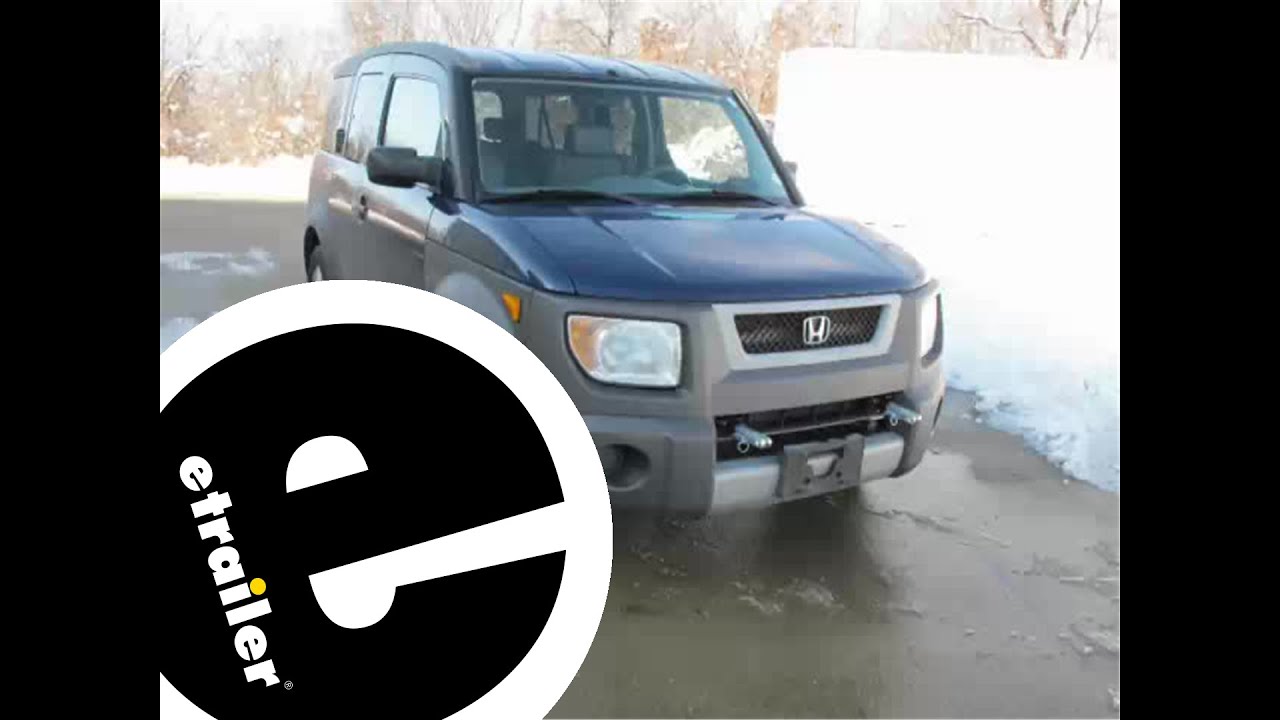
etrailer | 2003 Honda Element Blue Ox Base Plate Kit: Complete Installation
Автор: etrailer
Загружено: 2014-01-23
Просмотров: 8786
Описание:
Click for more info and reviews of this Blue Ox Tow Bar Base Plate:
https://www.etrailer.com/Tow-Bar-Base...
Check out some similar Tow Bar Base Plate options:
https://www.etrailer.com/base-plates.htm
Search for other popular Honda Element parts and accessories:
https://www.etrailer.com/vehicle/2003...
https://www.etrailer.com
Don’t forget to subscribe!
/ etrailertv
Full transcript: https://www.etrailer.com/tv-install-b...
Today on this 2003 Honda Element we're going to install part number Bx2232 from Blue Ox. Go ahead and get underneath the hood and remove some plastic fasteners that hold the top of the bumper cover. Now we'll remove all the plastic fasteners that we can see plus the ones for the panel in the center. They'll be one last plastic grid that we'll have to remove that's underneath the panel. Now we'll go to the bottom of the vehicle at the bottom edge of the bumper cover. There'll be two metric bolts in the bottom, two on each side. You don't have to remove these, but it did make the whole assembly a little bit easier to work with and made it more flexible. Now we'll go to each fender well.
On each side there's a screw that we have to remove. We can go ahead and remove the bumper cover. We'll go ahead and pull on the side of the fascia and pull gently back rocking it back and forth until it unsnaps. Next we'll have to remove the metal bumper. There'll be two metric bolts on the top side of the frame and one metric bolt in the side of the frame.
Then at the very bottom of the frame there'll be another bolt on each side that we have to remove. We'll do this on both sides. Now the metal bumper and the hardware will not be reused so we can go ahead and sit those aside. Now we need to get the frame ready to accept the base plate. To give the frame some reinforcement we're going to add a bolt. On the top edge of the frame we'll go ahead and drill a hole into the frame webbing.
We'll start off a 1/4 inch whole and then work our way up to a 13/32nd. Then we'll go ahead and install a 3/8th by 1 inch long hex bolt. We'll also use some red lock tight on this as well, a lack washer, and nut. We can go ahead and tighten this down for good. We'll do this on both sides of the vehicle.
Then we'll torque the bolts down as specified in the instructions. Now on each side of the frame there will be a bumper brace that's welded onto the edge. What we need to do I s remove that. To do that we're going to drill out the spot welds and then pull off the brace. It's a good idea to go ahead and make our mark first and then we'll go ahead and drill it out with a 1/4 inch drill bit. We just want to go through the first layer. We don't want to go all the way through. We'll go ahead and drill until we go about the same depth as our brace and then go back at it with a 13/32nd drill. We'll go ahead and do all three spot welds in this fashion. Then what we did was use some vice grips to grip it and then gently rocked it loose. If it doesn't come off easily you may have to drill out the hole just a little bit more. Now we'll have to do this on both sides of the frame. Okay now at this point we can go ahead and start installing our base plate. Now it's a good idea to get an extra set of hands to help hold it up and this will fit on the outside ends of the frame and then we clamp it into place. After we have it clamped in place we'll go ahead and manipulate make sure the base plate is level and then we'll do a quick test fit with the bumper cover. We'll go ahead and hold the bumper cover up to make sure that the base plate fits through the opening. Now this will probably take a few attempts to get it just right. We're going to mark and drill the holes that are closest to the back of the vehicle. We'll go ahead and mark our holes, drill out a 1/4 inch hole, and then go ahead and drill out a 3/8ths hole for our hardware. We'll do this on both sides. At this point we can go ahead and install our hardware, too. We'll take our 3/8ths by 1 1/2 inch long bolt with the lock washer and also with the handle nut. The bolt will go from the outside to the inside and then the inside we'll use the handle nut and thread it into place. We'll do the top and the bottom ones. Once they're in place we can go ahead and tighten them down. Okay we're done with our drivers side, we're going to repeat the same process over on our passenger side and then torque the bolts down as specified. Now at this point we can go ahead and remove our clamps and go ahead and drill out the remaining holes. Now the three bolts on the inside of the frame will get the long bolt and the handle nut. Now the bolt hole toward the bottom of the frame going to where our pieces of frame overlap will get a 1 inch bolt with a lock washer and nut. Again, we'll do this on both sides of the frame. Once they're in place we can go ahead and tighten them d
Повторяем попытку...
Доступные форматы для скачивания:
Скачать видео
-
Информация по загрузке: