Triniteq's PowerEPOS Tutorial: Setting up Service Modes
Автор: Triniteq Point of Sale
Загружено: 2020-08-30
Просмотров: 187
Описание:
https://www.triniteq.com - Triniteq's PowerEPOS tutorial teaches viewers how to set up Service Modes from their PowerEPOS back-office.
---------------------------------------------------------------------------------------------------------------------------------------------------
Video Transcription:
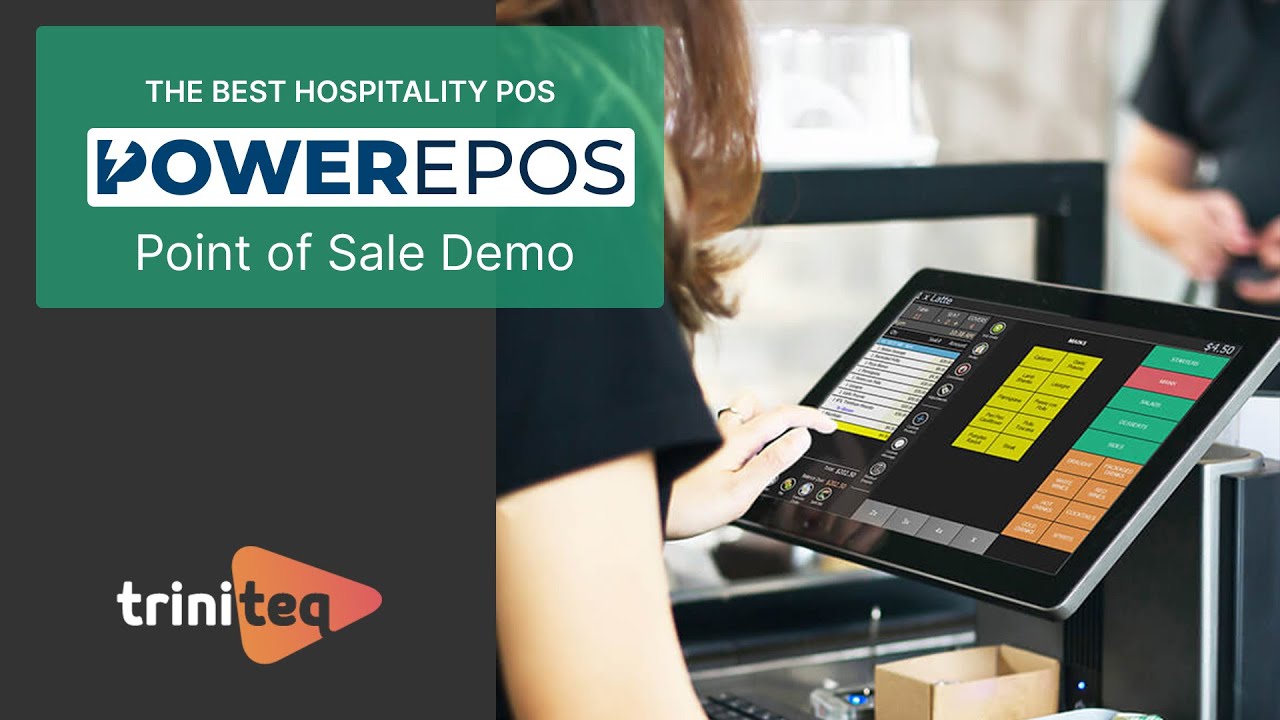
"Triniteq’s PowerEPOS provides Service Modes to further customise your system to suit your business requirements. Service Modes offer flexibility by using advanced settings to design your specific service style and production needs, and they are usually based on locations such as table, bar, takeaway or even drive-through. Service Modes are also available for reporting on revenue centres.
In a retail environment, you might only use one service mode to process sales at the counter, or in a combined outlet where you sell products in one area and run a café in another area, you might use two service modes, as the way you serve your customers is different for each area. The service modes you establish in your system will appear on the right-hand side of your POS screen for quick selection.
PowerEPOS also makes it easy to switch between service modes say, for example, if your customer orders drinks at the bar and then decides to move to a table. The drinks can be ordered in bar mode and then transferred to a table as it becomes available using the ‘Transfer Order’ button, bottom left of the screen.
So let’s create a new service mode.
We first log into our PowerEPOS back-office and from the management console we select ‘Service Modes’. This opens the ‘Service Modes’ module where we can set up our first ‘Service Mode’. We go down to the control panel and hit ‘new’ which opens the ‘New Service Mode’ window.
The service mode we will create will be for our restaurant so we will call it ‘Table’, short for table service. Next, we set up how this mode will be referred to in different places. The short prefix is displayed in modes on the right-hand side of the ordering screen. Floor Plan is applied to the Floor Plan Screen and the receipt prefix is how the service mode is displayed on any receipts and dockets. If we plan to have the same name for all areas, we add it to Short Prefix, then we use the arrow down button on the right to copy the text to the other prefixes.
Next, we choose our Price level. As we previously set up our price levels through the ‘Price Schemes’ tile in the Management Console, for this service mode we will select ‘Standard’ which refers to dine-in prices. If our venue were to also offer takeaway, we could set up takeaway prices, and choose this price level when setting up the Takeaway service mode.
Now we move on to the methods settings. Methods are the rules that the service mode follows for each style of service. You’ll notice that each method provides more information on the options available through the ‘I’ icon on the right. We’ll talk through them and then set them up for our table service mode.
For ‘Covers Method’ there are 6 options to choose from. For a retail outlet, if we were just processing sales, we could choose the first option and ‘Disable’ this method completely, or if we wanted to report on the number of customers making purchases, we could select ‘compulsory (defaulting to 1)’ so that every purchase counted 1 customer.
If we were setting up takeaway or delivery mode, we could also choose to disable or make covers optional, but we are setting up for table service where we need to record the number of customers at each table. We, therefore, select ‘Compulsory with Prompting’ which means that serving staff will not be able to exit the order screen without entering the number of covers first.
‘Seat Method’ refers to whether a seat number is required for the order. This is important for styles of service where the order is applied to a seat such as for table service, or theatre style service where orders are applied seat by seat. So for this method, we will choose ‘Compulsory with Prompting’ so that the order will not be accepted by the POS without a seat number higher than ‘0’.
‘KP (or Kitchen Printer) Print Method’ directs the kitchen printer what to do in certain situations. For table service, we want the kitchen printer to print our order once it is complete, so we select ‘Always print’. For a retail store, we would select ‘Don’t print’ as kitchen printers are not required.
The next method is similar but for receipts. Some outlets......"
Watch our video to learn more about setting up Service Modes.
--------------------------------------------------------------------------------------------------------------------------------------------------
If you’d like to find out more about this or any other Triniteq products or services, please call or email us.
Call Us: 1300 784 666
Email Us: [email protected]
Повторяем попытку...

Доступные форматы для скачивания:
Скачать видео
-
Информация по загрузке:


![Как сжимаются изображения? [46 МБ ↘↘ 4,07 МБ] JPEG в деталях](https://imager.clipsaver.ru/Kv1Hiv3ox8I/max.jpg)