Triniteq's PowerEPOS Tutorial: Building Floor Plans
Автор: Triniteq Point of Sale
Загружено: 2020-07-30
Просмотров: 166
Описание:
https://www.triniteq.com - Triniteq's PowerEPOS tutorial teaches viewers how to build floor plans in their PowerEPOS back-office.
-----------------------------------------------------------------------------------------------------------------------------------------------------
Video Transcription:
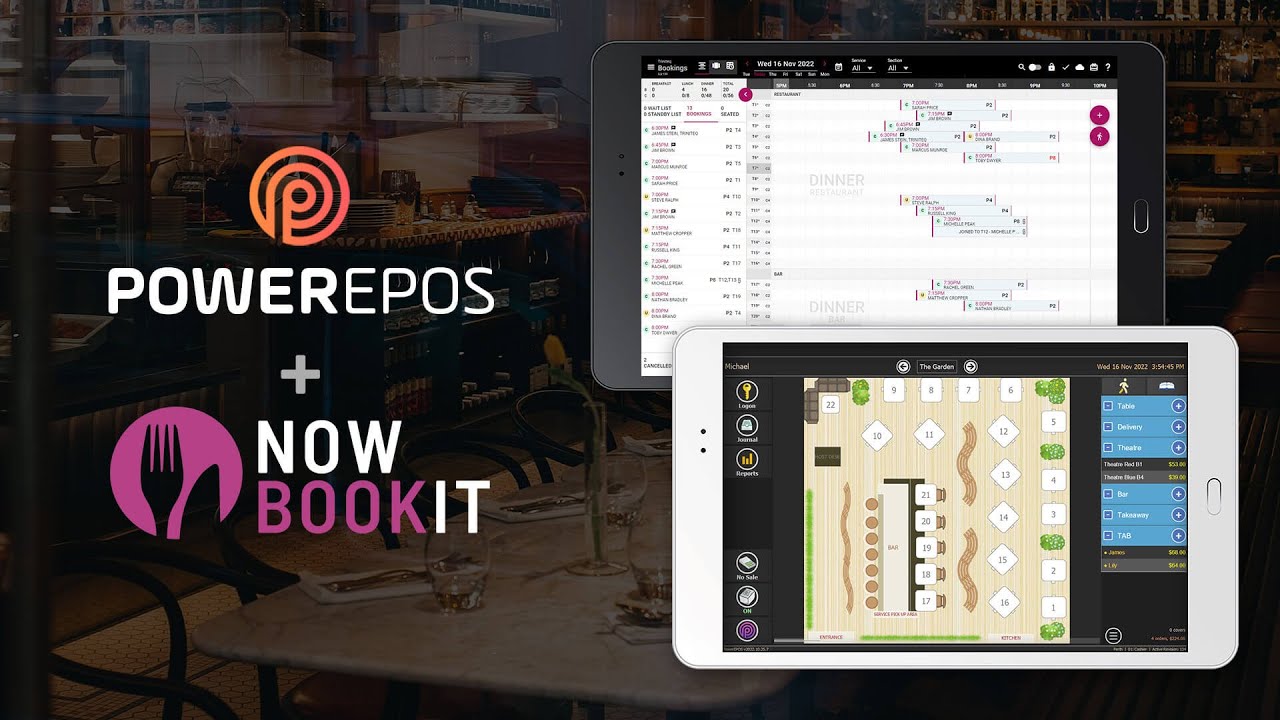
Setting up floor plans to reflect the layout of your venue and table stage is a great way to get quick, at-a-glance information, assisting staff to provide fantastic service and smoothing out the customer experience. Building floor plans is easy with Triniteq’s PowerEPOS and because our POS software has been designed for micro-businesses, right through to multi-national organisations, you’ll notice that you can build a wide range of floor-plans which clearly represent your trading areas. Then, adding service modes and colour coding the table stages of your floor plans provides further layers of functionality.
Floor plans can be designed to follow your business colours and style, integrating your POS screen into the whole look and feel of your business. From dining and alfresco areas to pool bars, theatres, whatever your style of floor plan, you can build it in PowerEPOS. Or for retail situations, if you have no need for a floor plan, you can simply add your logo to the home page and move on. So let’s get into it and create our floor plan.
From the PowerEPOS Management Console, we select the ‘Floor Plans’ tile. This will open the Floor Plans module and to create a new floor plan we move down to the control panel and hit the ‘new’ button, opening the ‘New Floor Plan’ window.
Next, we add a name for our new floor plan here – let’s call it ‘Restaurant’ and then we move down to the Properties section. For ‘Page Name’ we add a description of the floor plan page, so we’ll call this ‘Main Restaurant Area’ and we’ll select our background colour where we can choose from custom, web or system colours. Or, if we have a predesigned image for our floor layout, we could load this through the graphics library. Move down and click into the editable ‘Background’ field which will open the Graphics library. Then we hit ‘new’ and add a name for our image and ‘Select’ it from our computer. On the right, we check the boxes of the folder or folders it should be stored in. We’ll check ‘background’ and then ‘save’.
But we don’t want an image, so we’ll quickly remove it by clicking ‘none’ on the left of the control panel and we are back to our original colour.
Next, we’ll add the service mode to our floor plan. Service modes control the style of service and apply these settings to the tables, seats or other customer locations in this area. We previously set up ‘Table’ for table service, so we can select this now. Find out more on Service Modes by watching our video ‘Setting Up Service Modes’.
To add the service mode we’ll select, then drag and drop ‘Table’ onto the floor plan and this will open the table range window so we can apply our table service settings to these tables. We previously allocated 20 tables to this service mode so you will notice that the table range runs from 1 – 20.
Now we can generate any number of tables for our floor plan in this range. We can use the slider to select the number, we can use the list tab to list the range or we can select single to select the number to add from, for example, if we add the number 9, we will get tables from 9 through to 20.
Once we have added our tables, we can use regular controls such as click and drag or we hold down the keyboard control button and click on each table to select them. Then we can use DELETE on our keyboard to delete tables. We can also move our tables around to position them to reflect the actual table layout in our restaurant.
Now we can edit the settings specific to each table, such as the shape, size, and the number of seats. First, we select the table we want to edit which opens the table properties on the left. Next, we can add the seats, edit the table number, change the shape and even add text to the table.
To change the size of the table we just click to display the handles then position our mouse over a handle and drag to change the shape. In our restaurant, we have a large communal table so we will make our table longer and add 12 seats to replicate this.
You will also notice that as we change the table size, the measurements are reflected under ‘Geometry’ on the left, so we can also use this area to change the......
------------------------------------------------------------------------------------------------------------------------------------------------------
For more information please watch the video or contact Triniteq.
If you’d like to find out more about PowerEPOS or any other Triniteq products or services, please call or email us.
Call Us: 1300 784 666
Email Us: [email protected]
Повторяем попытку...

Доступные форматы для скачивания:
Скачать видео
-
Информация по загрузке: