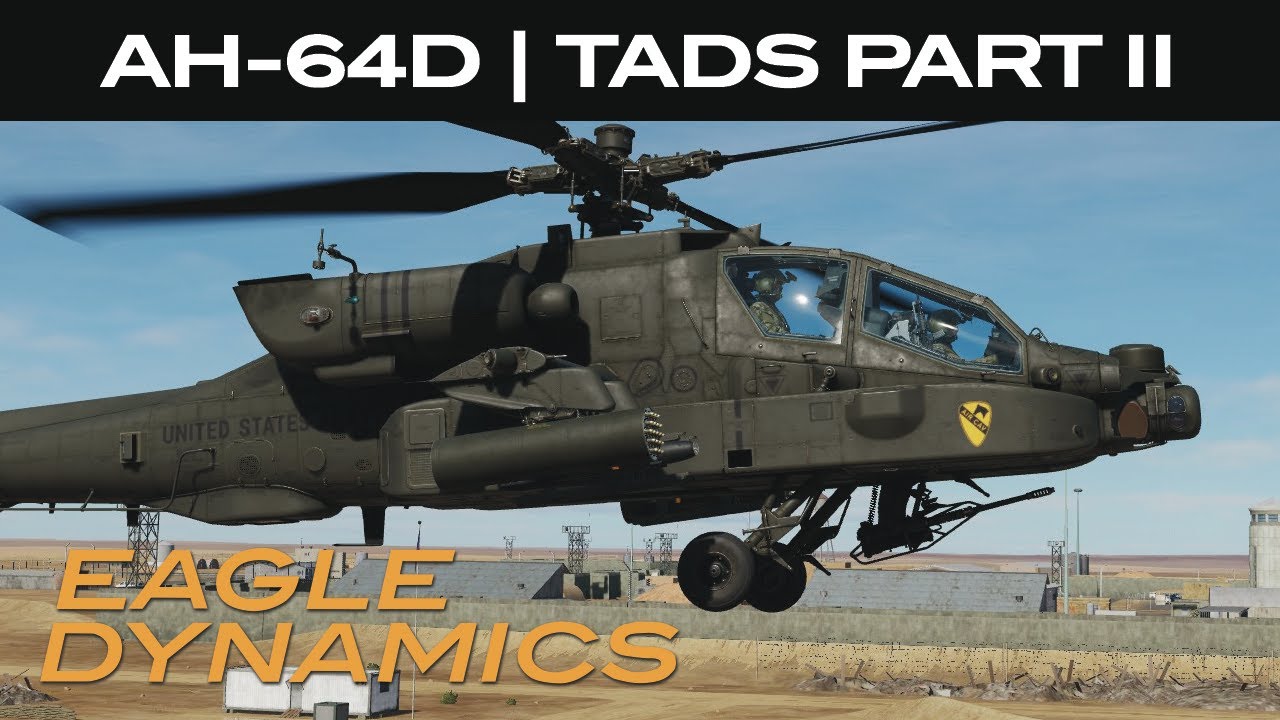
DCS: AH-64D | TADS Part II
Автор: Matt "Wags" Wagner
Загружено: 2022-02-12
Просмотров: 60698
Описание:
Questions? Please see our FAQ here: https://forums.eagle.ru/topic/283298-...
NOW AVAILABLE!
https://www.digitalcombatsimulator.co...
In the previous AH-64D video on the TADS, we reviewed the basic functionality of using the TADS from the front seat. In Part II, we’ll explore some more TADS functions from the front seat and discuss using the TADS from pilot seat in the back.
Before we dive into it, let’s touch on Sight Selection and Acquisition Source. This can often confuse new folks coming to the AH-64D, and it deserves a few words of explanation. The simplest way to think of it is that your Sight Selection is what you are using to see, and the Acquisition Source is what you want to see.
At release, possible Sight Selections include the Helmet Mounted Display, or HMD, and the TADS. Later, the Fire Control Radar, or FCR, will also be a possible Sight. Selecting any of these from the Sight Select switch determines what device we’ll be using to search and acquire targets, as well as aim our selected weapon.
The Acquisition Source, on the other hand, allows us to determine what we want our Sight to be directed to. Some of the possible Acquisition Sources that we could have our Sight directed to are the other crew member’s HMD line of sight, where the TADS is looking, where a Hellfire seeker is locked to, a TSD Point or Coordinate, or fixed ahead. These can be selected from R6 on the TSD and Weapon pages.
When an Acquisition Source is selected, we’ll then get the cueing dots around the HDU line of sight crosshairs as well as the Acquisition “broken” Line-of-Sight Reticle. I’ll link back to the IHADSS video in the card above.
When in the back seat, the Pilot’s sight is always slaved to the Acquisition Source, meaning he will always see the “broken” Line-of-Sight Reticle within his HMD symbology. However, in the CPG’s case, regardless of what sight he is using, the CPG must press the SLAVE button to display his Acquisition Source in his HMD symbology. If using the TADS as your sight in the CPG station, you’d still get the cueing dots around the TADS Line of Sight crosshairs and the Acquisition “broken” Line of Sight Reticle, but only after you enable Slaving using the SLAVE button. When you select SLAVE, the TADS Sight is slaved to the selected Acquisition Source. When the SLAVE button is pressed again to de-Slave, the Manual Track controller on the right TEDAC grip, also called the “thumb force controller, can then be used to move the TADS.
This may sound like a lot, but with practice, it will be become second nature.
Okay, back to the TADS while up front.
First, using the TEDAC FLIR Polarity Button on the TEDAC Right Handgrip or the Boresight/Polarity Switch on the collective flight grip, we can swap the FLIR polarity between white hot and black hot. White hot is most often used, but you may find the black hot works best for you in some conditions.
On the TEDAC left handgrip is the TEDAC Linear Motion Compensator button, or LMC. When enabled, the system will partially counteract helicopter movement to null out TADS movement. Note though that this is not a ground stabilization system. Where this can be handy is that using the thumb force controller, you can impart a slew direction that will continue in that direction and at the rate of the force pressed. In doing so, you can place the TADS crosshairs over a moving target and adjust the LMC slew to move along with a moving vehicle.
Let’s look at this in operation.
We briefly touched on this in the last video, but in addition to displaying the TADS on the TDU, you can also display the TADS over your right eye through the HDU when TADS is selected as our sight. Just like on the TDU, we can adjust our slew, swap between FLIR and DTV, change field-of-view, and swap FLIR polarity. When using the TADS on the HDU, you may wish to turn off the TDU.
At this point, we’ve discussed enough about the TADS in the front seat to make you dangerous, so let’s head to the back seat to look at Pilot TADS controls.
First, we can display TADS video to the MPDs using the video page button. By selected TADS are R1 and TADS again at T6, we display what the TADS is seeing. At L1, 2, and 3, we can set the field of view between wide, normal, and zoom. Adjust the image with the Video and Brightness knobs.
This can be very useful to see what the CP/G is seeing during an engagement through the TADS.
When flying at night, we can set the Night Vision Sensor, or NVS, to either use the Pilot Night Vision Sensor, or PNVS, or the TADS as a navigation FLIR. As mentioned in the last video, the CP/G will most often control the TADS and the Pilot will use the PNVS. In a pinch though, the pilot can select TADS as the NVS sensor by toggling the NVS Select Switch on the collective flight grip.
That’s it for now and don’t forget to study your acronyms. Thanks for watching.
Повторяем попытку...
Доступные форматы для скачивания:
Скачать видео
-
Информация по загрузке: