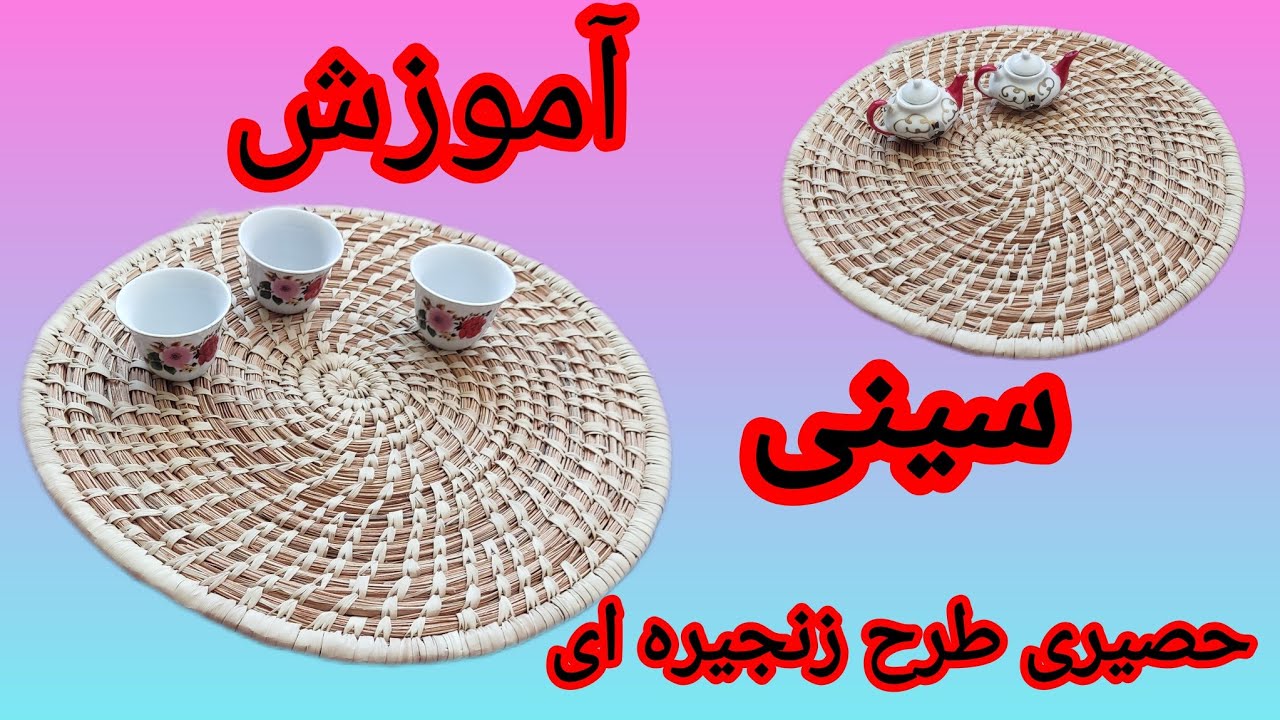
Production Process of Simple Kapu with Circular Form (kapu weaving: Part 7) (کپوبافی)
Автор: Barzaan handicrafts
Загружено: 2023-08-01
Просмотров: 1445
Описание:
Kapu weaver pairs a few palm leaves in order to weave the center core of the bottom of the product with a circular form.
Using a needle tip, he splits the palm leaves longitudinally and converts them into narrow strands.
He creates a simple knot in the midst of palm leaves.
Then, joins the strands of the two sides of the knot and sets them in the left hand
puts the needle of Kapu weaving in the center of the knot.
He puts the end of a leaf row on the knot and passes its sharp tip through the needle hole.
Using the needle, he passes the leaf from the middle of the knot and places the bottom of the leaf under the thumb of the left hand.
He carefully wipes the palm leaves around the knot strands.
Using the needle, he passes the palm leaves through the middle of the knot next to the previous stitching and shuffles around it.
He repeats the process for knitting a central ridge at a length of 2 to 4 centimeters.
The woven area is the first row of the bottom of Kapu product.
To knit the second row, the Kapu weaver, extends the strings of the leaf on the first row and gradually connects it to the first row.
At the beginning of weaving the second row, the Kapu weaver deploys several Kertak along the palm leaves and repeats the sewing process.
Wrapping and stitching with palm leaves extends to the end of the leaf.
To continue the work, the Kapu weaver crosses the leaf string of another palm from the needle hole, then places the end of the previous leaf and the beginning of the new leaf among Kertak plants and continue the weaving process.
In order to avoid narrowing the row, several times, he deploys some plants of Kertak along with the previous strings.
The Kapu weaver creates the other rows in accordance with the method described above and the spiral of the screw so that the bottom of the product is woven with the desired diameter.
After weaving the bottom of the product, in order to create the product wall, he weaves the next row on the edge of the product floats slightly.
The Kapu weaver brings out the other rows of the product body in accordance with the above method gradually from its normal position and moves them to the desired position to weld the desired volume.
In the last row of the product, using a scissor, several times, he cuts some of the strings of Kertak until the last row gradually merges on the product's edge.
فرآیند تولید محصول کپوی ساده با فرم دایره
کپوباف، برای بافتن هستۀ مرکزی کفِ محصولِ با فرم دایرهای، چند عدد برگ نخل را بهطور موازی روی هم قرار میدهد.
با استفاده از نوک سوزن کپوبافی، برگهای نخل را در راستای طولی شکافته و آنها را به رشتههای باریک تبدیل میکند.
گرهی ساده در میانۀ رشتههای برگ نخل ایجاد میکند.
سپس، رشتههای دو طرف گره را بر هم منطبق کرده و آنها را در دست چپ مستقر میکند.
سوزن کپوبافی را در مرکز گره فرو میکند.
انتهای یک رشتۀ برگ را روی گره قرار داده و سر تیز آن را از سوراخ سوزن عبور میدهد.
با استفاده از سوزن، رشتۀ برگ را از میانۀ گره عبور داده و انتهای برگ را در زیر انگشتِ شستِ دستِ چپ قرار میدهد.
با دقت، برگ نخل را بهدور رشتههای گره میپیچاند.
با استفاده از سوزن، برگ نخل را در کنار دوخت قبلی، از میانۀ گره عبور داده و به دور آن میپیچاند.
این فرآیند را برای بافتن رج مرکزی به درازای 2 تا 4 سانتیمتر تکرار میکند.
محدودۀ مدورِ بافتهشده، نخستین رج کف محصول کپو را تشکیل می دهد.
برای بافتن رج دوم کپو، کپوباف، ادامۀ رشتههای برگ را روی رج اول مماس کرده و آن را بهتدریج به رج اول وصل میکند.
در آغاز بافتن رج دوم، کپوباف چند رشته گیاه کرتک را در کنار رشتههای برگ نخل مستقر کرده و فرآیند دوختزدن را تکرار میکند.
پیچیدن و دوختزدن با رشتۀ برگ نخل تا انتهای برگ ادامه مییابد.
برای ادامۀ کار، کپوباف رشتۀ برگ نخل دیگری را از سوراخ سوزن عبور داده، سپس انتهای برگ قبلی و ابتدای برگ جدید را در میان کرتکها قرار داده و فرآیند بافتن را ادامه میدهد.
در ادامۀ کار، برای جلوگیری از باریکشدن رجها، در چند نوبت، چند رشته گیاه کرتک را در کنار رشتههای قبلی مستقر میکند.
کپوباف، سایر رجها را مطابق با روش یادشده و بهحالت حلزونی ایجاد میکند تا کف محصول با قطر مورد نظر بافته شود.
پس از بافتن کفِ محصول، برای ایجاد دیوار محصول، رج بعدی را از روی لبۀ کف محصول، کمی متمایل به بیرون میبافد.
کپوباف، سایر رجهای بدنۀ محصول را مطابق با روش یادشده، بهتدریج از جایگاه عادی خود خارج کرده و آنها را به سمت دلخواه جابهجا میکند تا حجم مورد نظر بافته شود.
در آخرین رج محصول، با استفاده از قیچی، در چند نوبت تعدادی از رشتههای کرتک را برش میزند تا آخرین رج بهتدریج روی لبۀ محصول ادغام شود.
Повторяем попытку...

Доступные форматы для скачивания:
Скачать видео
-
Информация по загрузке: