Turntable Module Medium/Large Setup
Автор: edelkrone Academy
Загружено: 2025-05-03
Просмотров: 1057
Описание:
Step-by-Step Guide to Setting Up Your Turntable Module
The edelkrone Turntable Module, available in medium and large sizes, is designed for effortless setup and smooth operation in professional product photography and videography. Here’s a clear and concise walkthrough to help you get started right out of the box.
⸻
1. What’s in the Box?
Upon unboxing, you’ll find:
• 1x Small transparent base plate
• 1x Large transparent base plate
• 1x White matte surface piece
• 1x Black glossy surface piece
• 1x Threaded screw
Before assembly, remove all protective films from both the base and top plates to ensure a clean, professional look during operation.
⸻
2. Mounting the Base Plate
1. Place the selected base plate on a flat surface.
2. Turn your HeadONE upside down.
3. Screw it onto the base plate—hand-tighten only.
4. If your HeadONE has any reducers installed, make sure to remove them before proceeding.
5. Once secured, lock the HeadONE and attach the battery.
⸻
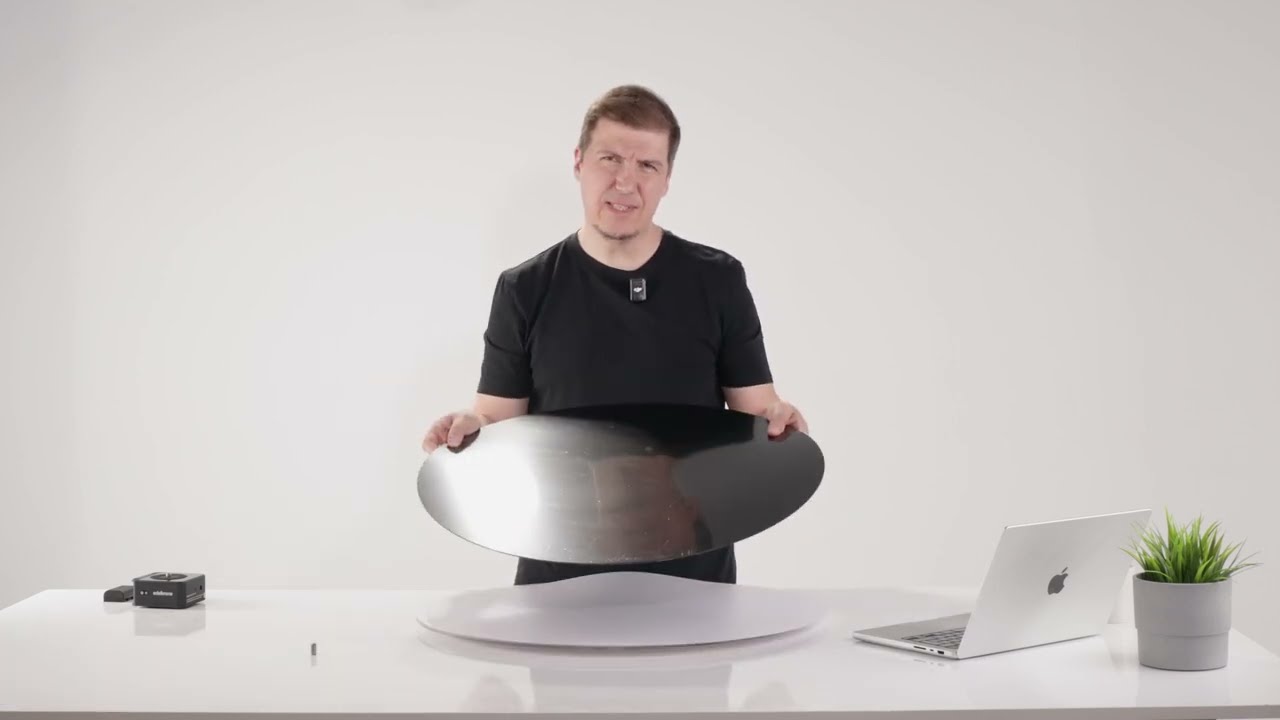
3. Attaching the Top Plate
1. Position the top plate on the HeadONE.
2. Rotate it until it securely fastens.
3. Slightly tighten by holding from the bottom plate—again, do not overtighten.
⸻
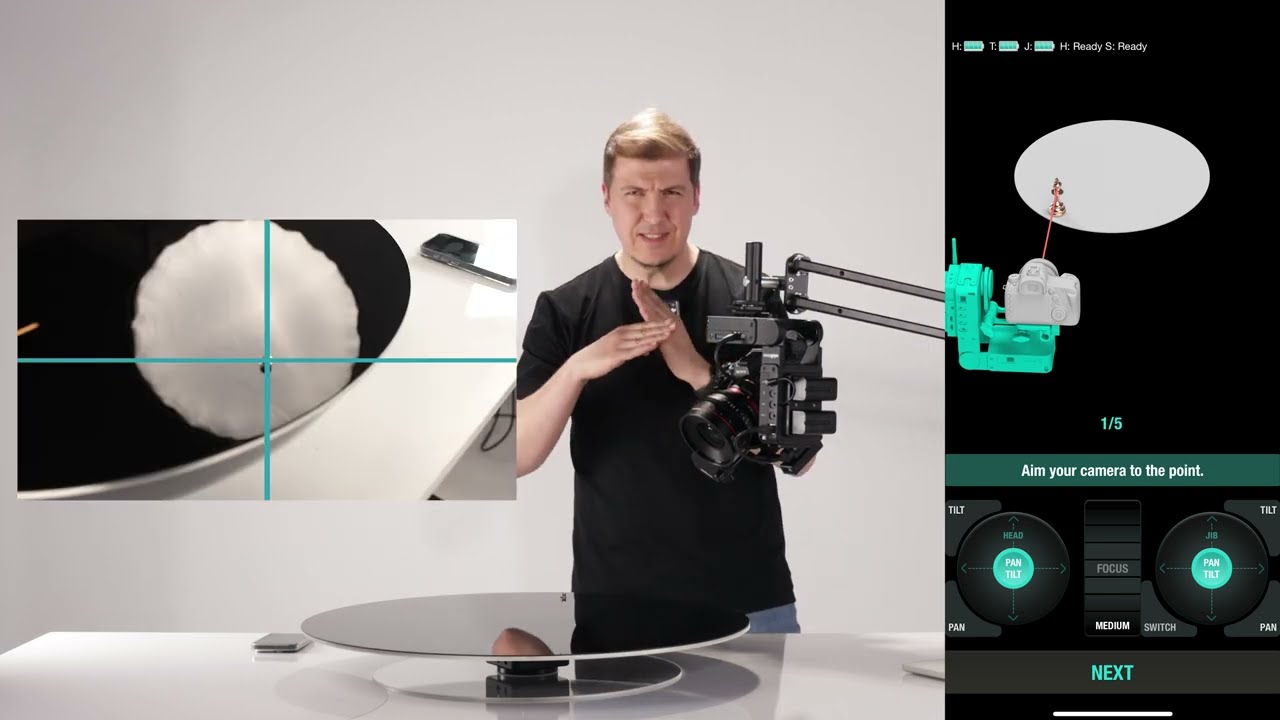
4. Final Check
Once you unlock the HeadONE, the top plate should spin freely. If it doesn’t, double-check your alignment and locking mechanism.
You are now ready to start shooting with your fully assembled Turntable Module!
Повторяем попытку...
Доступные форматы для скачивания:
Скачать видео
-
Информация по загрузке: