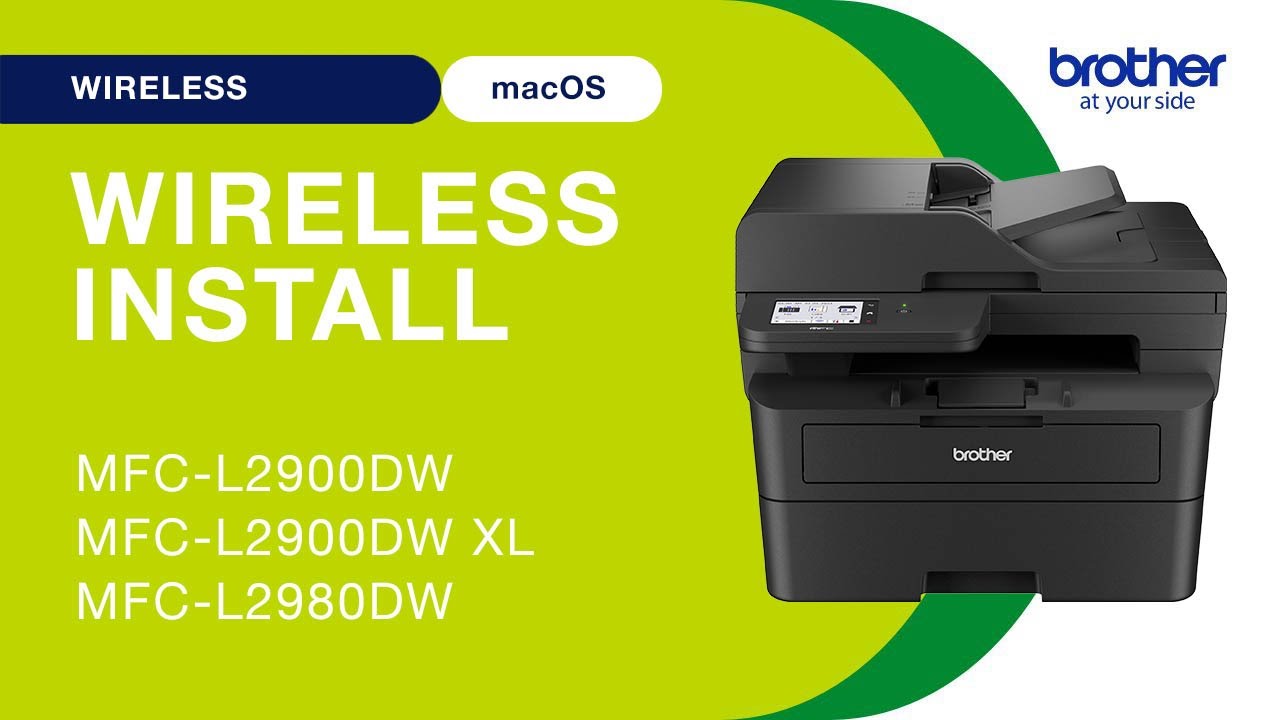
MFCL2900DW wireless setup - Mac
Автор: Brother Office USA
Загружено: 2024-05-15
Просмотров: 1042
Описание:
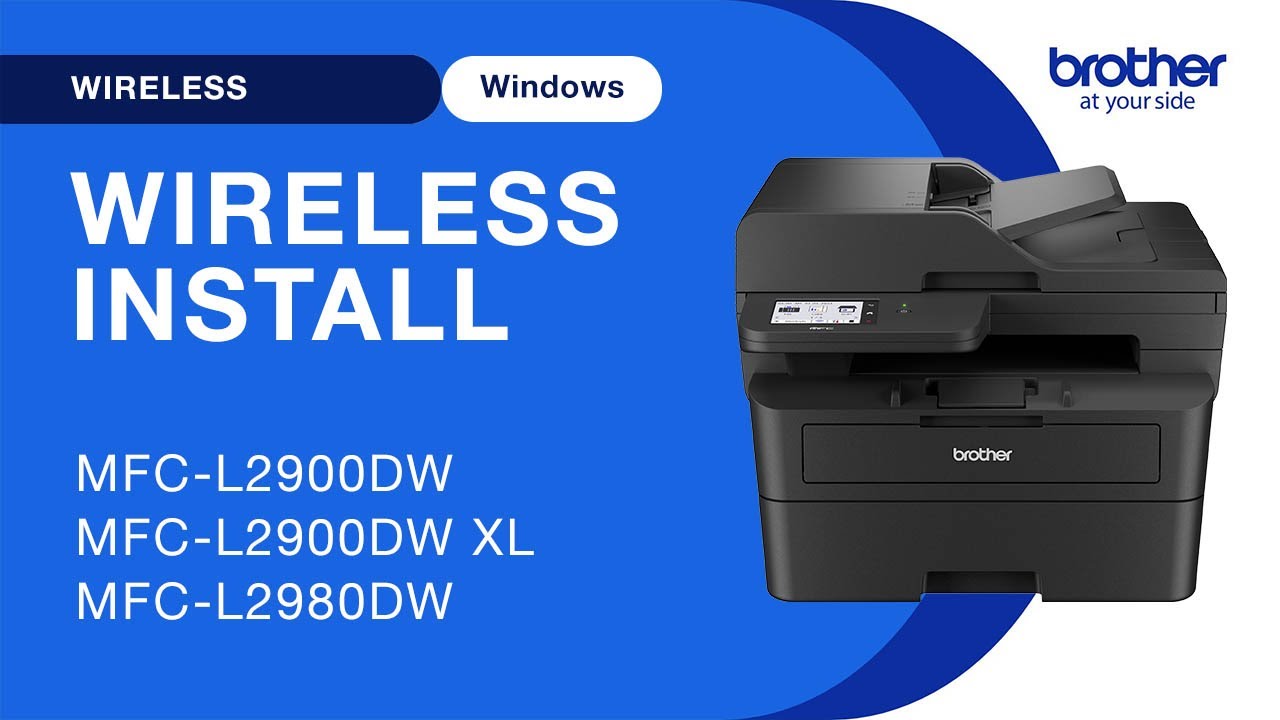
Learn how to set up your Brother MFC-L2900DW, MFC-L2900DWXL or MFC-L2980DW laser printer on a wireless network in this video tutorial.
Models covered:
Brother MFCL2900DW
Brother MFCL2900DWXL
Brother MFCL2980DW
This video is for Mac users, for the Windows version click: • MFCL2900DW wireless setup - Windows
For more videos, tutorials, and FAQs visit our support site at: http://www.brother-usa.com/support
Intro - 00:00
Models covered - 00:10
Network name and password – 00:20
Set up the printer – 01:00
Add printer in OS - 02:10
Install iPrint&Scan - 03:15
Transcript:
Welcome. Today we’re going to learn how to install Brother MFC-L2900DW on a wireless computer.
This video will cover multiple models and operating systems even though your machine may not match the model on the screen the overall process will be the same. (Covers MFC-L2900DWXL, MFC-L2980DW wi-fi setup too.)
You will need to gather some information about your wireless network in order to connect your machine. You will need to know the SSID or Network Name of your router or access point and you will need to know your Network Key or password.
The default settings for your router or access point can be found on the equipment label. If your SSID or Network Key contain both uppercase and lowercase letters be sure to record them as both of these credentials are case sensitive. You will also need administrator rights.
If you have setup up a custom SSID and Network Password and cannot recall this information, please contact your router manufacturer. Setup cannot be accomplished without this information.
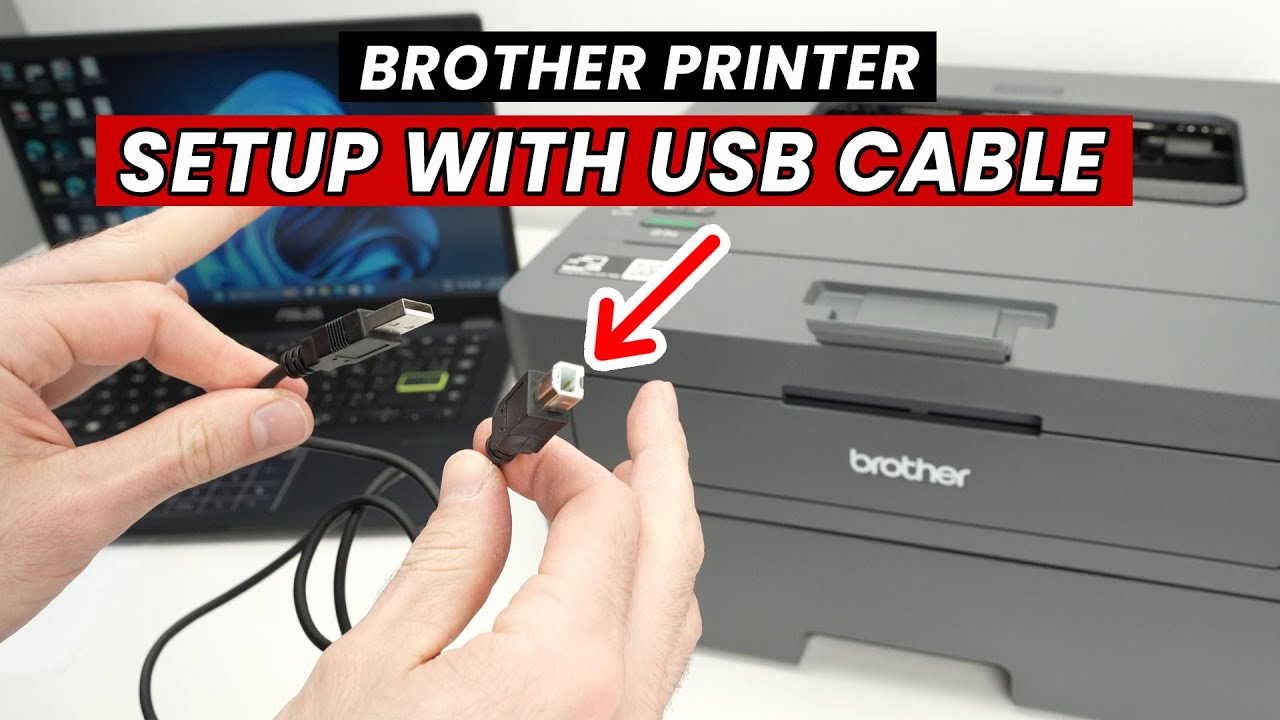
Begin by pressing the wireless icon on the touchscreen
Select Find WI-FI Network
If prompted to enable WLAN, press Yes.
Select you SSID or Network name and press OK
Enter your Network key using the touchscreen. Confirm that your Network Key is correct and press OK.
Once the wireless connection is made press OK
Now that your machine is connected, you’ll need to add the printer in the operating system. In the top left corner click the Apple icon. Then click System Settings. Next, click Printers & Scanners
Click the Add Printer, Scanner or Fax button located below the printers list. Your machine should now display in the Add Printers window.
Select your Brother machine from the list. The click Add
If your machine is not found it is most likely due to an error in device discovery protocols. You will need to reboot your computer, the Brother machine, and attempt device discovery again.
Once added, your Brother machine is ready to print.
If your model features a scanner you will need to download the Brother iPrint&Scan app in order to scan to your computer.
From the Finder, navigate to Applications and then App Store. In the search box, type brother iPrint&Scan. Then press Enter. On the listing for iPrint&Scan, click “Get” or the cloud icon.
After the download is complete, click Open. Review the privacy policy and click ok to continue. Then click Select your Machine.
Verify the connection is set to network
Select your model, then click OK. Click OK again
All the functions your machine supports will now display in the iPrint&Scan window. You are now ready to scan and print
For more Tutorials, FAQ's and Videos, visit us at www.brother-usa.com
Thank you for choosing Brother
Customers also searched:
Brother MFC L2900DW wireless Mac
Brother L2900DW XL wireless Mac
Brother MFC L2980DW wireless Mac
An official Brother printer support resource
Повторяем попытку...
Доступные форматы для скачивания:
Скачать видео
-
Информация по загрузке: