How To Assemble the Life Fitness CLST Integrity Series Treadmill
Автор: Global Fitness
Загружено: 2022-08-19
Просмотров: 2744
Описание:
TOOLS
Slotted screwdriver
Phillips screwdriver
5/16 Allen tool
¾ socket
¾ wrench
½ wrench
Torx 40
Torx 27
Scissors
STEPS
Place the box next to the final location of your treadmill
Using the scissors cut the four straps and then remove the box top cover
Place the machine parts next to it
With at least three people, remove the machine of the package
Using a Phillips screwdriver, take off each cover located at the bottom of the handles
Introduce the LCB - console communication wire through the handle and put it in place
Adjust the two ¾ screws, using a ¾ socket and wrench. Don’t tight completely.
Do the same with the other handle
Fit the handrails in the handle’s housings
Put in the internal covers through the heart rate bar
Cross the heart rate wire through the handle
Fix the heart rate bar to the handle and place the screws in order to tight it.
Using a T-40 tool and a ½ wrench tight the two screws completely in each side of the bar
Grab the T-27 tool and tight the screws to fix the handrails
Place the outside covers and tight it using a Phillips screwdriver
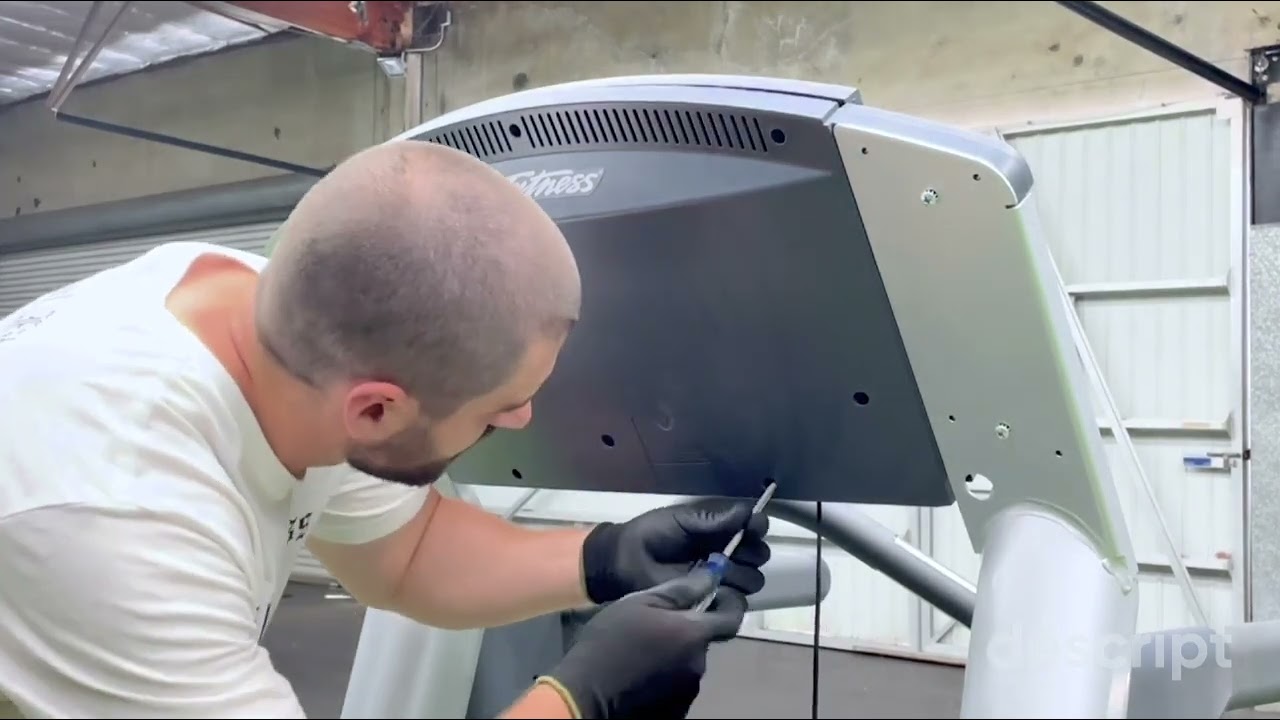
With a Phillips tool remove the eight console screws
Let the console in position and screw it with a Phillips tool
Take off the front console panel and plug in the heart rate wire and LCB - console communication wire.
Place back the front console panel and tight the eight Phillips screws.
Install the two cup holders and tight them with the Phillips screwdriver
Insert both handle bottom covers (in some cases is necessary to use a slotted screwdriver to fit it) and tight it with the Phillips screwdriver
Plug the power cord under the machine frame
Turn on the treadmill and push the incline button until fifteen level.
Place the plug protection using the Philips screwdriver
Test the machine and verify that everything is working well
Повторяем попытку...
Доступные форматы для скачивания:
Скачать видео
-
Информация по загрузке: