Upgraded door card, speakers and Tweeter install - C1/107/Aygo
Автор: DAB DIY
Загружено: 2024-11-22
Просмотров: 6150
Описание:
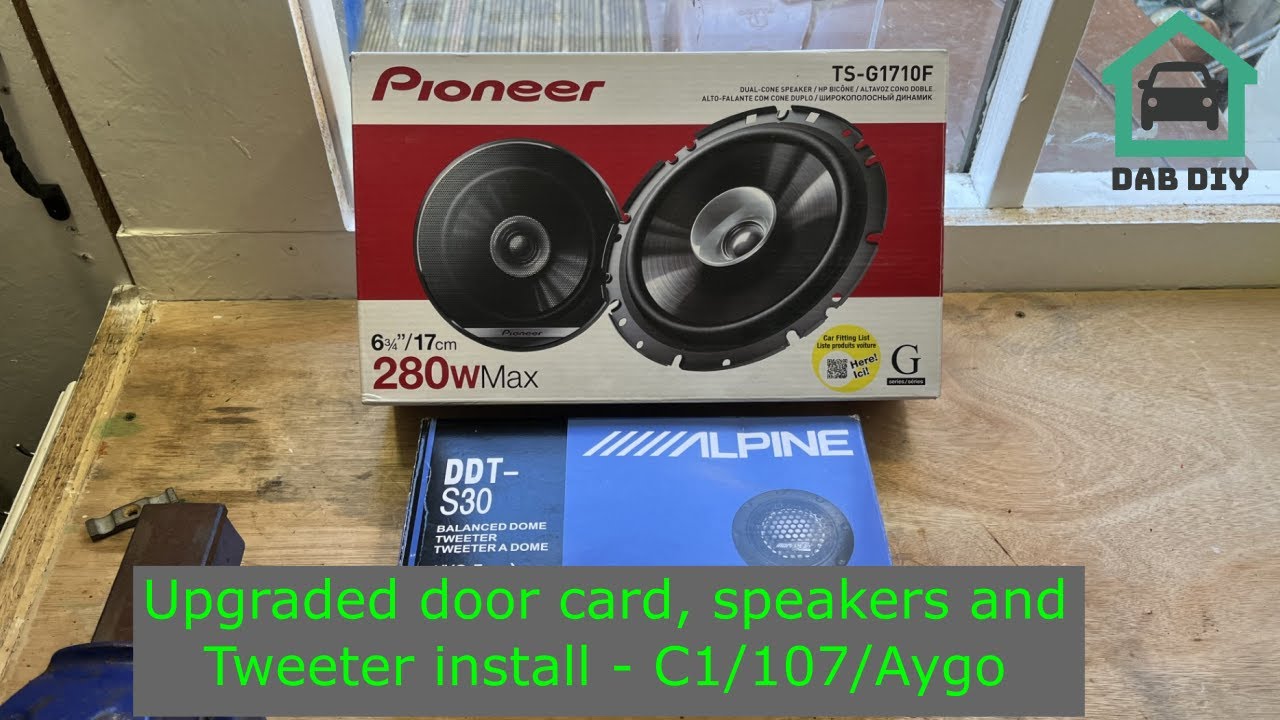
In today’s video, I’m removing the factory fitted door cards and upgrading them with those from a higher spec model, one that comes with door speakers from the factory. I’m also adding some Alpine tweeters in the A pillars too, in the same style as the higher spec model would have done, but the tweeters will be of better quality.
The first thing I did was actually off camera. I used an 8mm drill bit to remove the melted plastic rivets that hold the OEM speakers into the door. These were then binned cause they’re of awful quality, even for the amateur build that I’m making! I painted the door cards in a paint called ‘Plastic In One’ (PIO) by Buzz Weld. The first thing I did in this video was to temporarily mount the new Pioneer door speakers to check for accurate fitment. Off camera, they were removed and re-fitted with closed cell foam tape to mitigate against vibration. I then bolted in the tweeter housings into the A pillars because the double-sided adhesive pads provided in the kit didn’t work, so they were bolted instead. Once all the wiring had been sorted for the tweeters, it was then time to work out the wiring loom for the rest of the speakers. I needed to produce an adapter to take me from the door speaker, up to the dash, into the stereo harness, into the dash speaker and then up to the tweeters. I measured the longest run and made sure to give myself enough excess to prevent any pulling on the cable. I initially put all the relevant style connectors on each point of the loom and then remembered that the stereo output is female, so I had to chop off the female ones on the harness I made and solder in some male ones instead.
Once the custom harness was completed, it then because time for the awkward and fiddly bit of running it through the door grommet and up the dash. I removed the old door card and the membrane (remember to put that back when you’re done, you’ll leak otherwise), removed the dash speaker and the A pillar. I ran a cable fish through from the inside of the door, through the rubber grommet (which is a tight fit because it was only designed for the electric window and central locking wiring loom), up the dash next to the bonnet pull and up through the speaker recess. I taped the new wiring harness to the fish and pulled it back through gently because I didn’t want to damage anything. Once it was through, the new door card was plugged in and fitted, A pillar was wired in and re-fitted and then finally the dash speaker was wired back in and re-fitted, making sure it was all plugged into the input from the head unit too. Once it was all done, I played some (annoyingly) copyright free music and listened out to each speaker to make sure that they were putting out roughly the right sound I was expecting. The tweeters have an inline passive crossover, that is to say that it works like a high pass filter – filtering out anything that the tweeter can’t reproduce as a speaker. I pointed my admittedly less than stellar quality short gun microphone to each speaker, so that I could record the outputs for you as the viewer, to show that it had worked successfully.
I’m fully aware that using copper cable, solder joints etc isn’t the way to go when building a car sound system. I want to disclaim this video by saying that I’m not building a competition level system here, I’m just building something better than what the car left the factory with. It left the factory with a poor-quality OEM head unit and two dash speakers. It not has a much better-quality head unit with Bluetooth connectivity, ability to steam and take phone calls, Pioneer door, dash and rear speakers, tweeters and a subwoofer. I’m very happy with what I’ve produced.
Please follow me on Instagram @dabdiy for sneak peeks of what I'm up to between videos and if you're feeling generous, you can buy me a coffee by clicking on the link below. Any coffees bought are greatly appreciated and you'll be contributing to the future success of the channel. www.buymeacoff.ee/dabdiy.
Don’t forget to follow my sponsors:
• TSA Performance on Instagram @tsaperformance for everything you’ll need to make your 1KR engine perform as it should.
• Form 7 Performance for all your aftermarket parts needs for almost any vehicle, @form7performance on Instagram, using code ‘DABDIY’ at checkout.
• X8R on Instagram @x8rlimited, using discount code ‘DABDIY20’ at checkout.
• Mishimoto, @mishimoto on Instgram.
• Blossom automotive for all your sticker pack needs. www.blossomautomotive.com/dabdiy and use ‘DABDIY10’ for a discount at checkout.
Повторяем попытку...
Доступные форматы для скачивания:
Скачать видео
-
Информация по загрузке:


