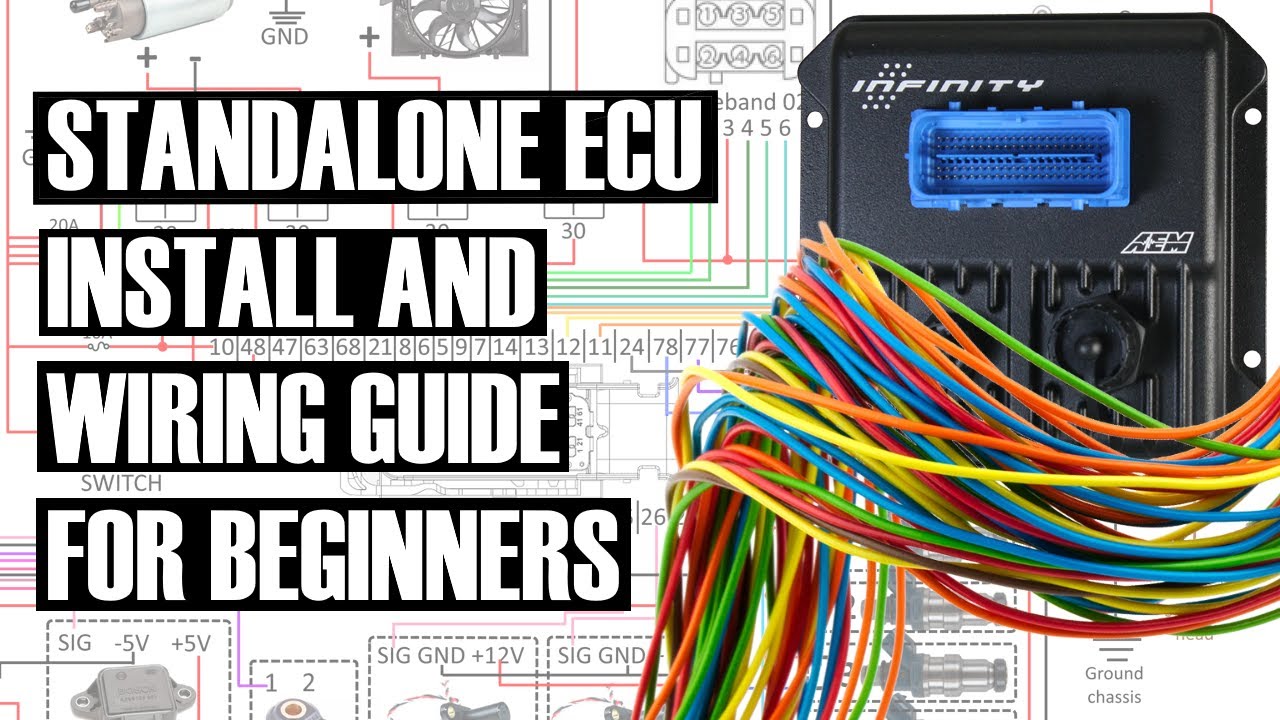
Beginner guide to ECU install and wiring + editable wiring diagram download
Автор: driving 4 answers
Загружено: 2023-02-12
Просмотров: 581270
Описание:
Wiring diagram still image: https://drive.google.com/file/d/1L9QW...
Wiring diagram editable: https://drive.google.com/file/d/1Rh5c...
Paint.net for editing the diagram: https://www.getpaint.net/
This video is a detailed step by step guide on how to install a standalone ECU. It’s aimed at people with no previous experience doing a job like this and has the goal of demystifying the process. It covers everything including the design of the wiring diagram, tools and supplies, sensors, the wiring process itself as well as the install and physical location of the ECU and associated components. So, let’s get started
Now before we start any work on wiring, what we need to do is create a wiring diagram. A wiring diagram is by far the most important part of the job and it will be something that you will be constantly referencing throughout the install.
Now regardless of whether you use a flying lead harness or building the harness from scratch you will need some specialized tools. A really helpful tool is a set of wire stripping pliers. They enable you to quickly, neatly and consistently strip wires and this can really save time and effort because you will be stripping a minimum of 100 wires on any standalone install. The next thing you need are crimping pliers suitable for crimping small pins that go onto for thin gauge wires. You can not crimp ECU pins with something like this. The numbers on the pliers correspond to different wire gauges, but this isn’t set in stone and may vary depending on wire insulation thickness and quality. Once you crimp a few pins you will see that the quality of your crimping improves quickly. These are 20 dollar pliers I got from banggood and honestly they worked just fine for me. If you want something a bit better you can use these ones from Molex.
Once you’re ready to start wiring it’s a good idea to lay and organize everything on a nice flat surface. It’s also really helpful to out print the wiring diagram for reference on a large format paper because you’lll be looking at this a lot.
Now what you’ll essentially be doing during the wiring process is connecting the ECU connector to sensor, injector, coil and other connectors. Basically you’re joining connectors to other connectors. When it comes to connectors you should always first figure out what kind of a connector you’re working with before stripping and crimping anything. Some connectors are known as pull to seat. This means that you first pass the corresponding wire through the connector and only strip and crimp after this. The final step is pulling the wire back until the pin is seated into its slot. Other connectors maybe an opposite process, so you will strip and crimp the wire and then push it into the connector until it’s seated. So definitely check before crimping anything.
When it comes to the direction of wiring you have two choices. You can start at the engine end or the ECU end. I decided to start at the engine end. This means that you basically wire up all the sensor connectors and then organize and group all the wires and finally find a suitable place through which you enter the cabin and then connect everything into the ECU connector. I also decided to install my expandable braided wire sleeves at this point although this is not recommended until you’re sure that everything is connected properly and works as it should. I decided to ignore this because the wire sleeving can easily be opened later up for repairs and changes and because I wanted to avoid the extra work of disconnecting everything and then sleeving and then reconnecting.
I chose the cabin for the location of the ECU as it’s recommended to keep the ECU away from the temperature fluctuations and vibrations present inside the engine bay. Having the ECU in the cabin is also the most convenient location because you’ll be often hooking up with a USB cable to the ECU for tuning purposes. I bought a suitable sized aluminum plate which I drilled and taped and then painted black. I then simply bolted the ECU together with the relays and the fuse box to the plate.
A special thank you to my patrons:
Daniel
Pepe
Brian Alvarez
Peter Della Flora
Dave Westwood
Joe C
Zwoa Meda Beda
Toma Marini
Cole Philips
#d4a #projectunderdog
Повторяем попытку...
Доступные форматы для скачивания:
Скачать видео
-
Информация по загрузке: