Set up: T-One Vehicle Wiring Harness with 4-Pole Flat Trailer Connector on a 2013 Toyota FJ Cruiser
Автор: etrailer
Загружено: 2014-11-03
Просмотров: 25062
Описание:
Click for more info and reviews of this Tekonsha Custom Fit Vehicle Wiring:
https://www.etrailer.com/Custom-Fit-V...
Check out some similar Custom Fit Vehicle Wiring options:
https://www.etrailer.com/fitguidet1.htm
Search for other popular Toyota FJ Cruiser parts and accessories:
https://www.etrailer.com/vehicle/2013...
https://www.etrailer.com
Don’t forget to subscribe!
/ etrailertv
Full transcript: https://www.etrailer.com/tv-install-t...
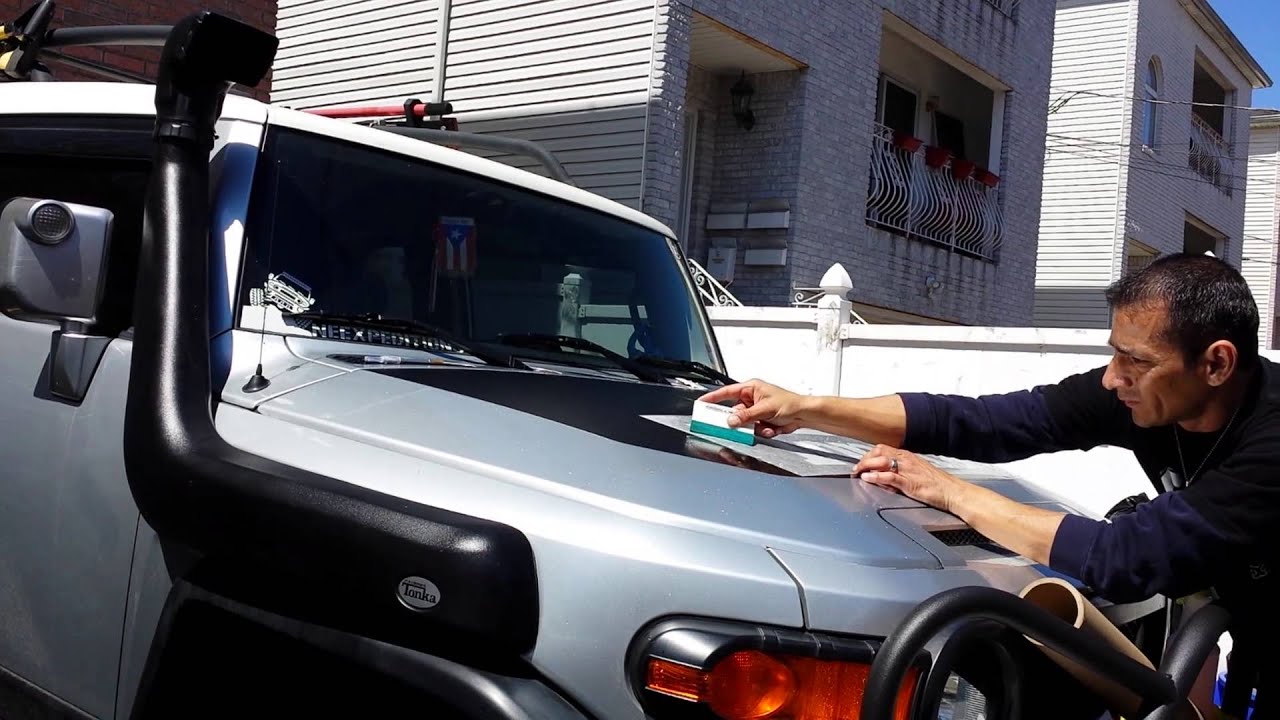
Today on our 2013 Toyota FJ Cruiser we'll be installing the Towready Custom Fit Vehicle Wiring Harness, part number 118405. We'll go ahead and show you how to use the new 4-pull connector. We'll simply take it, run it to the center of the vehicle and out, and we'll simply close the rear cargo door on the wire. Then we can go ahead and pull out the 4-pull wire as necessary to go down to the hitch of accessory. Then, once we're finished using our new 4-pull wire, we'll simply roll it up and store it behind the jack. To begin our install, we can go ahead and take out the removable panel that covers the jack storage compartment. Next, we'll go ahead and remove the 5 fasteners that secure the threshold in place.
With the fasteners removed, we'll go ahead and take our trim panel tool and gently work the threshold up, releasing it from its plastic fasteners underneath. Then we'll go ahead and set it aside. Next, we'll need to remove 2 fasteners securing the quarter panels underneath the threshold. There'll be one on each side. Now, there are a total of 4 fasteners to be removed. Now, with those removed we'll go ahead and remove the access panels behind the taillight assemblies.
This will allow us to see the manufacturer's wiring going into the taillights. Starting on the driver's side with the yellow wire connector from our Towready harness, we'll go ahead and feed it up behind the taillight assembly, going through the jack storage compartment and out the access hole. Then we'll go ahead and repeat the same process with the brown and red wire connector. Now starting with our yellow wire connector, we'll need to remove the manufacturer's wiring from the socket assembly. We'll be looking for a gray wire socket and gray plug. It'll be the deepest in the access hole.
To release the wire connector from the socket, you'll need to press on the locking tab, and then pull the wire connector out of the socket. Now we'll go ahead and plug it into the socket end of our yellow wire connector, taking the wire connector end and plugging it back into the gray socket of the taillight assembly. Next we'll go ahead and connect the brown and red wire t-connector assembly. To do this, we'll remove the white plug from the white connector here behind the taillight assembly. Now we can plug inline with the manufacturer's wiring. Now with our driver's side connected, we'll go ahead and take the green wire connector coming from our converter box and route it over to the passenger side, repeating the same process.
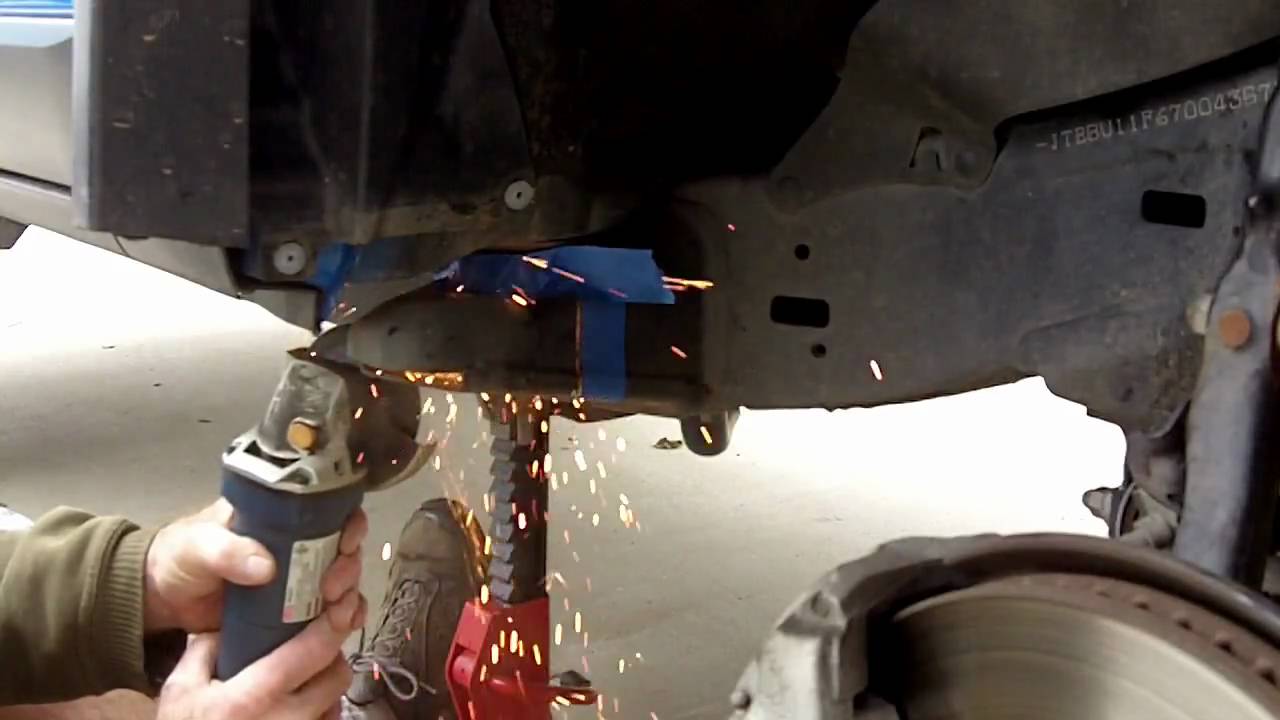
Again, for the turn signal circuit, we'll be looking for a gray plug going into a gray socket. We'll go ahead and take some black zip ties and secure it as it runs underneath the threshold. Now with that done, we'll go ahead and take the white wire coming from our converter box with a pre-attached ring terminal that'll be the ground for our converter box. To ground it, we'll remove one of the bolts for the spare tire jack bracket. With the bolt out, we can go ahead and install the ring terminal onto the bolt, and then re-secure it. Now we'll take the red wire with the yellow butt connector coming from our converter box, which will be the power wire. We'll need to add length to it because we'll be running it up into the engine compartment, and ultimately to the battery. We'll use the long black wire provided with our install kit. To attach it to the butt connector, we'll strip back one end, insert it in the butt connector, and crimp it down. Quick tech tip: I recommend to wrap up this butt connector connection point with some black electrical tape to help keep out any dirt, dust, debris or moisture. Next, we'll need to mount our converter box. To mount the converter box, we're looking for a clean, flat piece of sheet metal to adhere it to. We'll turn the converter box over, remove the 2-way adhesive, and secure it behind the jack. Now with the converter box mounted, we can start running our power wire up to the front of the vehicle. Keep in mind when running your wires, stay away from any moving components, the steering and suspension, or excessive heat such as exhaust. To route our power wire up to the engine compartment, we'll need to get it underneath the vehicle. To do this, we'll use the grommet located here in the jack storage compartment. We'll simply use our utility knife to cut a small slice into the grommet, and then feed our wire through it
Повторяем попытку...

Доступные форматы для скачивания:
Скачать видео
-
Информация по загрузке: