Fisher & Paykel smart drive PRIDE 5.5 MW059AU top load washing machine | Water Valve or Mother Board
Автор: Pocket Watch
Загружено: 2023-01-22
Просмотров: 741
Описание:
Water keeps running into the machine. Lights flashing alarms going off. How to do a quick DIY diagnosis to work out if the issue is a water valve or the Mother Board. Saving you dollars on getting out a tradie and talking you through how to diagnose the issue yourself if you have the confidence to do so.
This is a tutorial on how to remove the water valves to switch them over to see if that sorts the issue, if it does then it is the water valve that needs replacing if not then it is the MotherBoard and you are then looking at buying a new machine instead of a small part you can install yourself.
All information in this video is for educational purposes and is not meant as a replacement for getting out a washing machine technician.
Remember safety first. Disconnect machine power cord from wall socket before you begin.
Turn off all water taps
Disconnect hot and cold water hoses from machine, there will be water in them have dry rag handy, you may want to label them to avoid confusion later
Water valves at the back of the machine will leak some water this is normal so have dry rag handy
Remove the two screws at the back of the control panel connecting it to the washing machine body
Gently lift the control panel up and place face down on the lid of the machine. There will be wires connecting it to other parts so be careful.
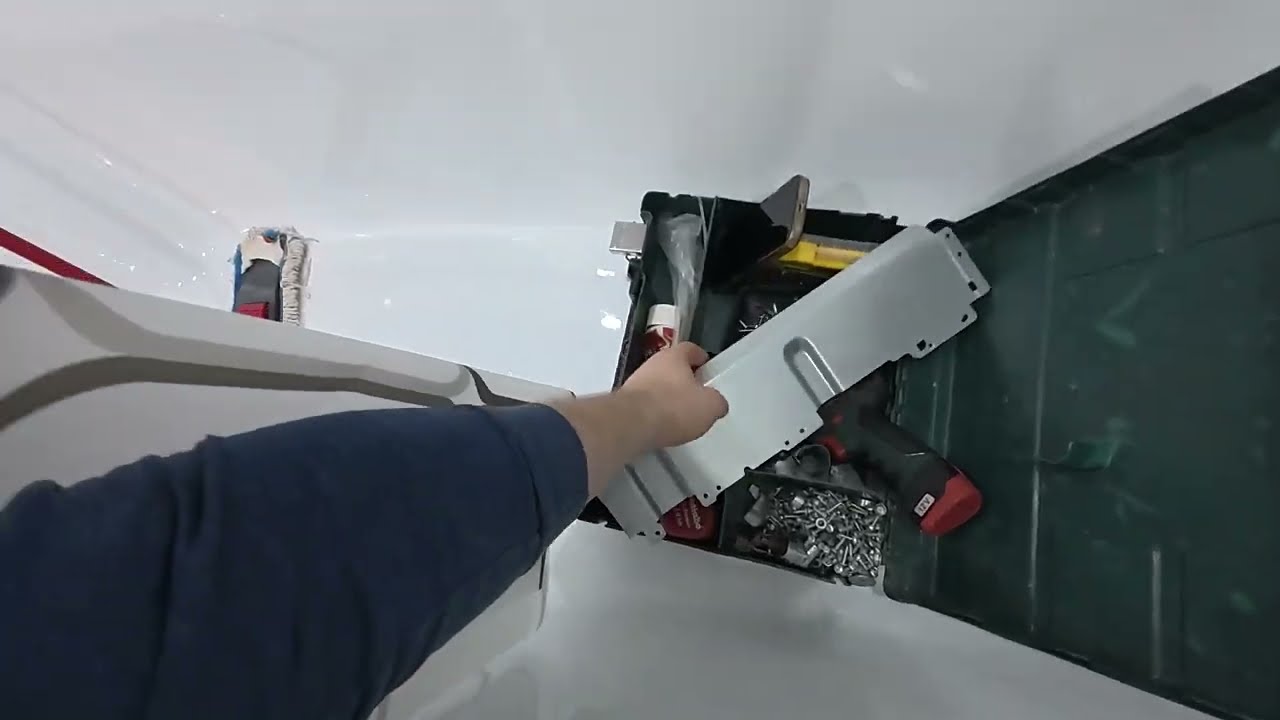
Remove the two screws at the back of the machine connecting the water valve assembly to the washing machine body, this may be a good time to write Cold and Hot onto the water valves to avoid confusion later, remember we will be switching them over.
There is a joiner plate that these screws go into, wiggle this loose and pull it up to free it from the water valves, it can feel a bit stuck, place this on the washing machine lid in the orientation that you removed it in, to avoid confusion later
Remove the center screw holding the water reservoir to the body of the machine. This is what the water valves are connected to, remember the water reservoir may have water in it, have a dry rag handy to catch this. The outlet hole is situated at the top left corner of the reservoir this is where the bulk of the water will come out from, as well as the water valves themselves. This is normal
Gently lift the water reservoir up and tilt the whole assembly to remove it from the machine. This is the time to have your dry rag handy, you don't want the water running under the other electrical components next to it.
If spillage does happen, you will need to remove the one screw holding the dark brown section in and gently wiggle it forward and up to get an angle to get a rag under it to mop up the water, then slot it back into position and return the retaining screw and continue with the water valves.
Wire connectors can now be accessed easily. They are held in by a small nib at the base. Depress this and slide the connector out, don't try and pull the wires up as they don't come out that way, they slide into the housing. Blue wire is for Cold water valve and Red wire is for Hot water valve
Now the water valve and reservoir assembly is free of the washing machine.
The Water Valves are press fit into the reservoir so they need to be gently pried up and wiggled out and up. It will look like they have a tread on them but it is a ribbed press fit.
If you are just wanting to replace the water valves then the new ones will press fit into the water reservoir then reverse all the above to install them back into the machine.
If you are wanting to diagnose the water running into the machine and not shutting off issue then this is the time to switch the water valves over. Put the cold where the hot is and the hot where the cold is.
Reassemble everything back by doing the reverse order you removed everything in.
Once everything has been put back and the control panel screws are in, attach the hoses to the machine, remember for the diagnosis you are putting the hot water hose into the cold water valve and connecting to the cold water tap and the cold water hose into the hot water valve and connecting to the hot water tap.
If you are just doing a valve replacement then you would connect the cold water valve to cold water hose and hot water valve to hot water hose, remembering to add some plumbers tape to the tap threads to prevent the taps leaking.
Turn cold tap on, plug in power, set machine to low, cold, wash. If it stops filling up then you know it was the water valve causing the issue, if not then it is the Mother Board
Any question leave in the comments
Thanks for checking this video out.
The end diagnosis of my washing machine fault is that it is the cold water valve that failed. Fix is to buy a new valve. Check part numbers are exactly the same, many water valves look the same, don't get the wrong one for your machine.
Повторяем попытку...

Доступные форматы для скачивания:
Скачать видео
-
Информация по загрузке: