COVING INSTALLATION
Автор: Coving Cornice
Загружено: 2014-02-03
Просмотров: 52332
Описание:
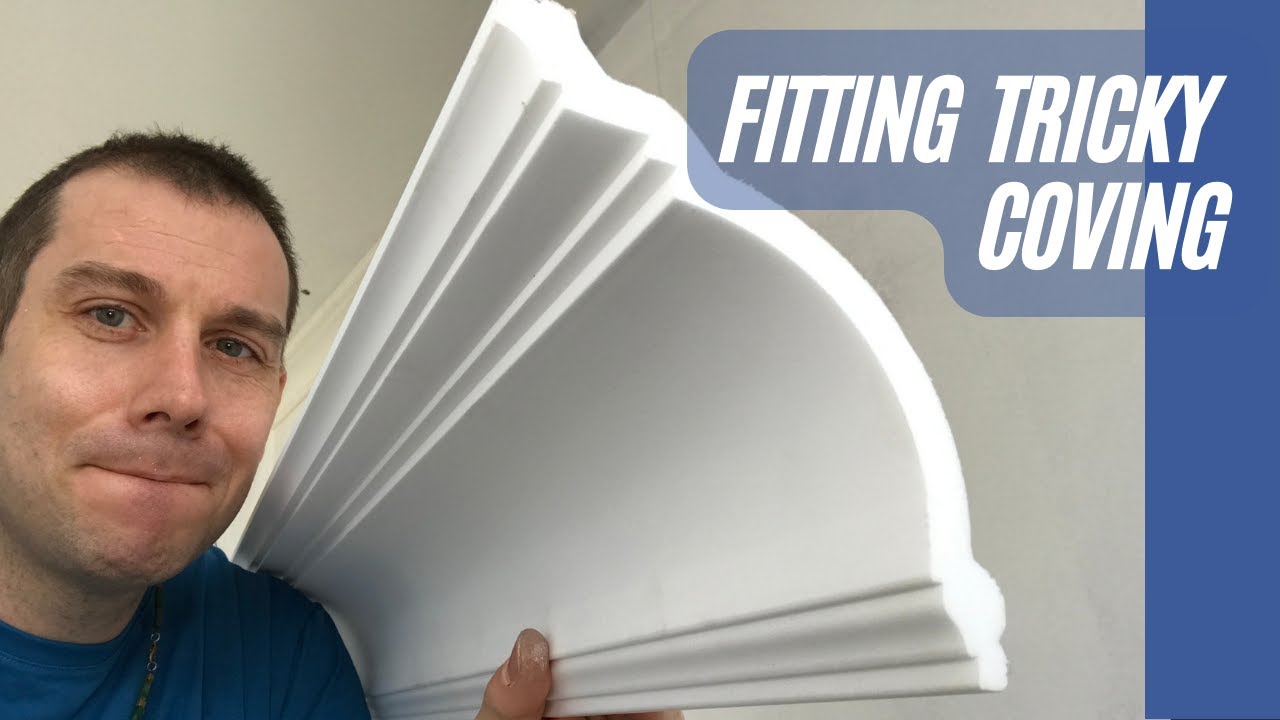
How to Install Coving.
GENERAL INFORMATION
Produced during the latest technology, ORAC DECOR mouldings are among the finest quality products avail-
able in the world today. These quality products should be installed under optimal circumstances in order to
guarantee a perfect finish.
IMPORTANT
ORAC DECOR mouldings should be stored and installed in dry rooms with a normal surrounding temperature.
Certain activities such as f.e. plastering, steaming off wallpaper and painting of the interior with acrylic paint,
will considerably increase the humidity of the place for a certain time. Do not store or install mouldings under
these circumstances. Also avoid a humid or wet substrate for installing. Too high humidity can influence the
dimensional stability of polyurethane products. Avoid also high differences in temperature between storage
and installation. Optimal are normal room temperatures. It is recommended to stabilize the ORAC DECOR
mouldings (and the ORAC-DECOFIX PRO and ORAC-FIX EXTRA) for 24 hours in the place of installation.
TOOLS
ORAC DECOR mitre box + fine tooth saw, caulking gun, tape measure, sponge, fine sandpaper, pencil, 4cm/1,5
inch finishing nails, hammer, ORAC-DECOFIX PRO (adhesive and filler), ORAC-FIX EXTRA (strong joint cement)
SURFACING
ORAC DECOR products can be adhered to almost any surface. The substrate needs to be flat, clean, dry and
solid, not subject to expansion and free from grease, oil and other impurities. Old wallpaper and water dam-
aged or loose plaster should be removed. Recommended surfaces are plasterwork and concrete.
PREPARATORY WORK
Before installing moulding, lightly sand and wipe material to avoid any dirt and impurities .
This is important to obtain good adhesion and a smooth finish. Accurately measure the room where you will be installing
the mouldings. Add a minimum of approx. 50 cm (1,5 ft) of moulding for each corner to compensate for mitring waste.
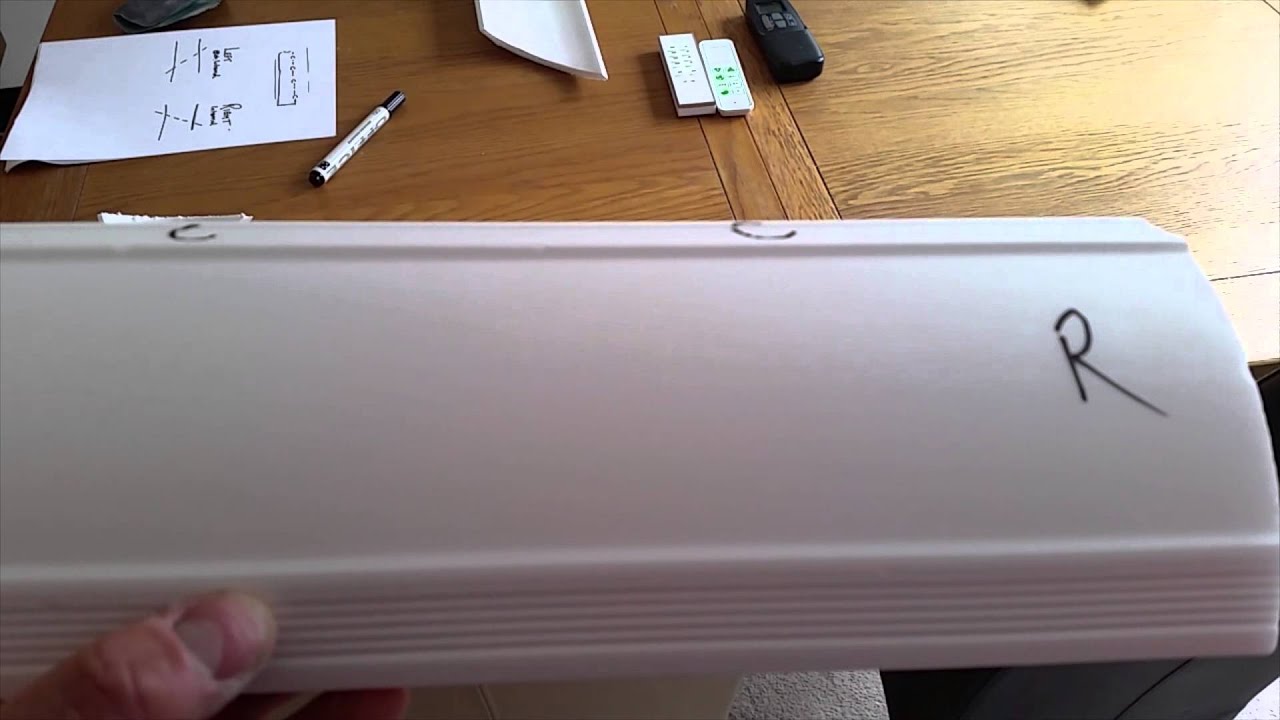
Take one section of the moulding and place it flush against the ceiling and/or wall as you would install it. Draw a line on the ceiling and the wall which illustrates the edges of the cornice. Nails can be applied
on these lines to hold the cornice in place
.
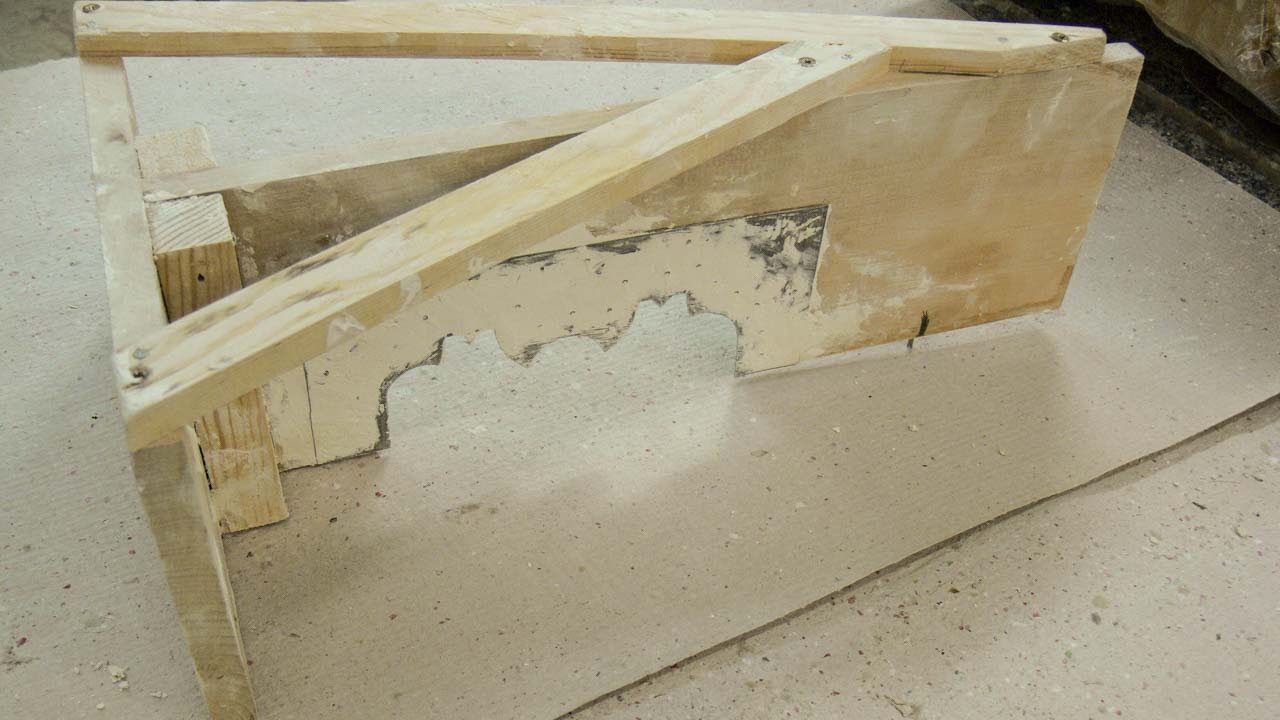
MITRING
Use the ORAC DECOR mitre box (FB.300) can be used to saw all moulding on the ORAC DECOR collection.
Place the mitre box with the "B"-side of the mitre box against you. Place the cornice face-up, upside down in the
mitre box with "A" as wall and "B" as ceiling. For right hand outside corners use left slot, saving material to be
installed to the left of the cut. For left hand outside corners use right slot, saving material to be installed to the
right of the cut. For right hand inside corners use right slot, saving material to be installed to the left of the
cut. For left hand inside corners use left slot, saving material to be installed to the right of the cut.
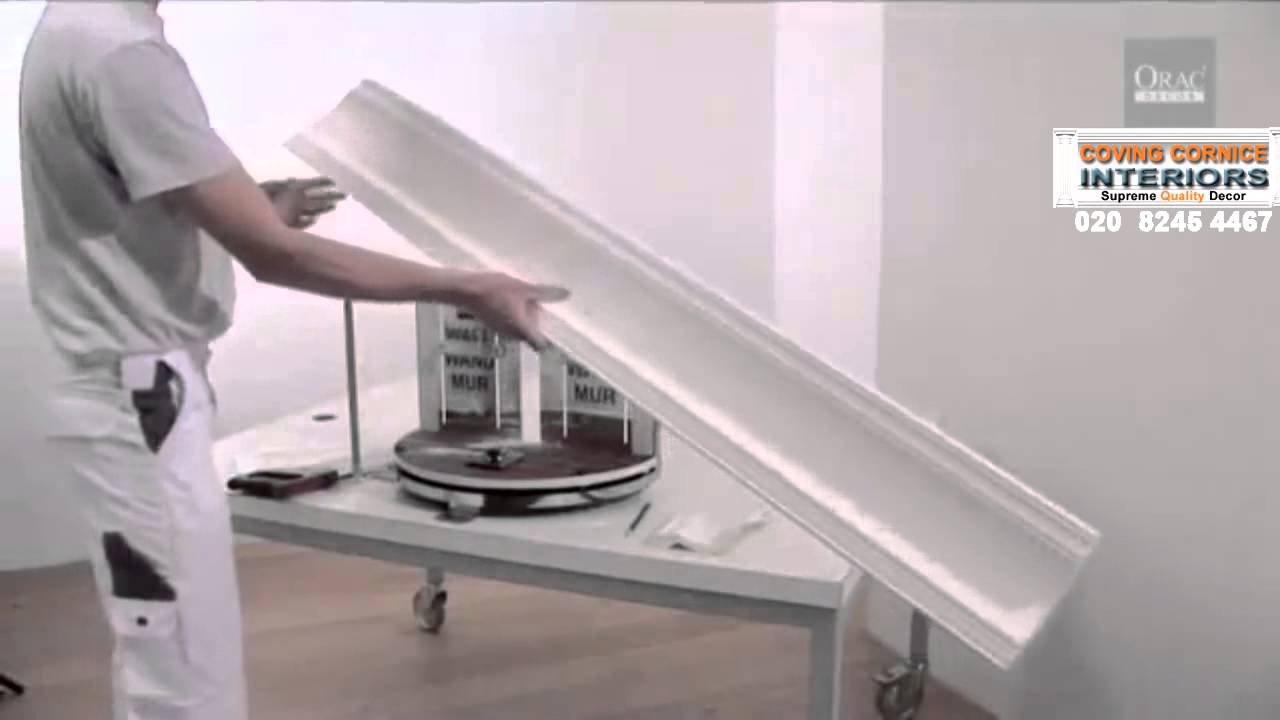
INSTALLATION
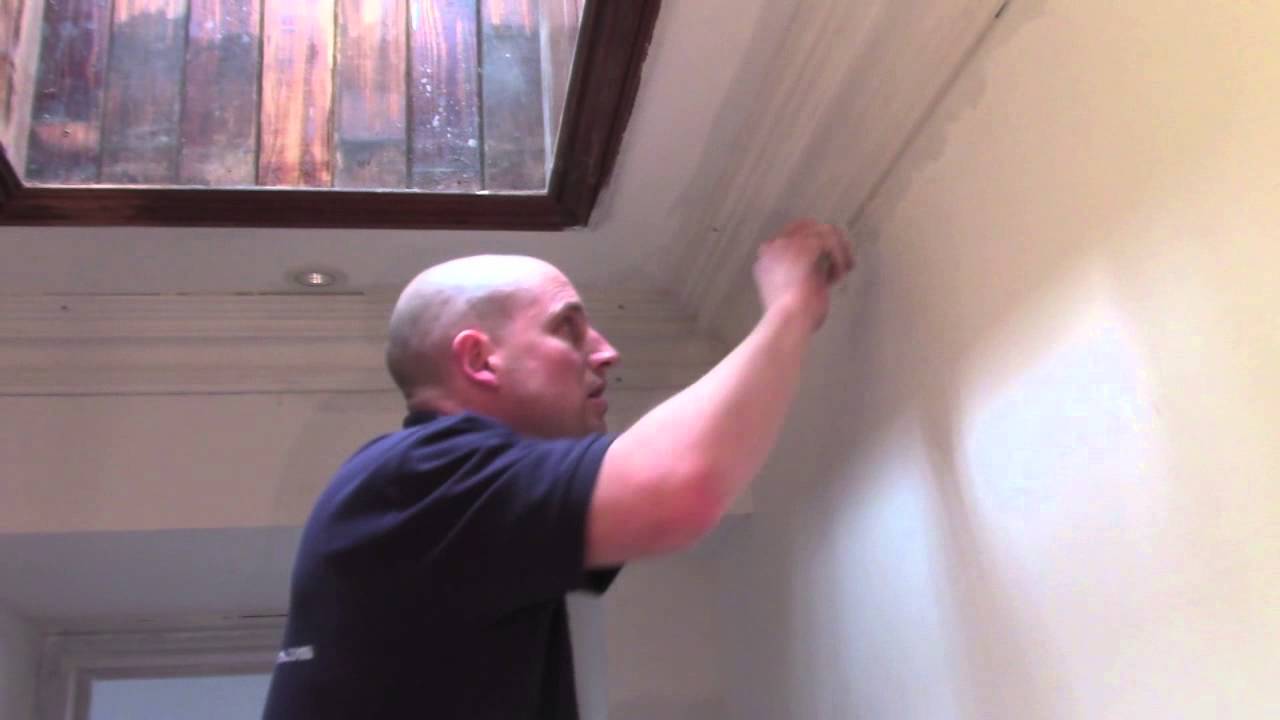
a) against wall and/or ceiling
Run a thick equal line of ORAC-DECOFIX PRO using a comb for glue or a caulking gun, on those glue levels of
the moulding, which will be installed to the wall and/or ceiling.
Place moulding within fixed lines.
ORAC-DECOFIX PRO can be removed immediately using a damp cloth or sponge, by which also eventual gaps
between moulding and ceiling or moulding and wall are filled between mouldings mutually
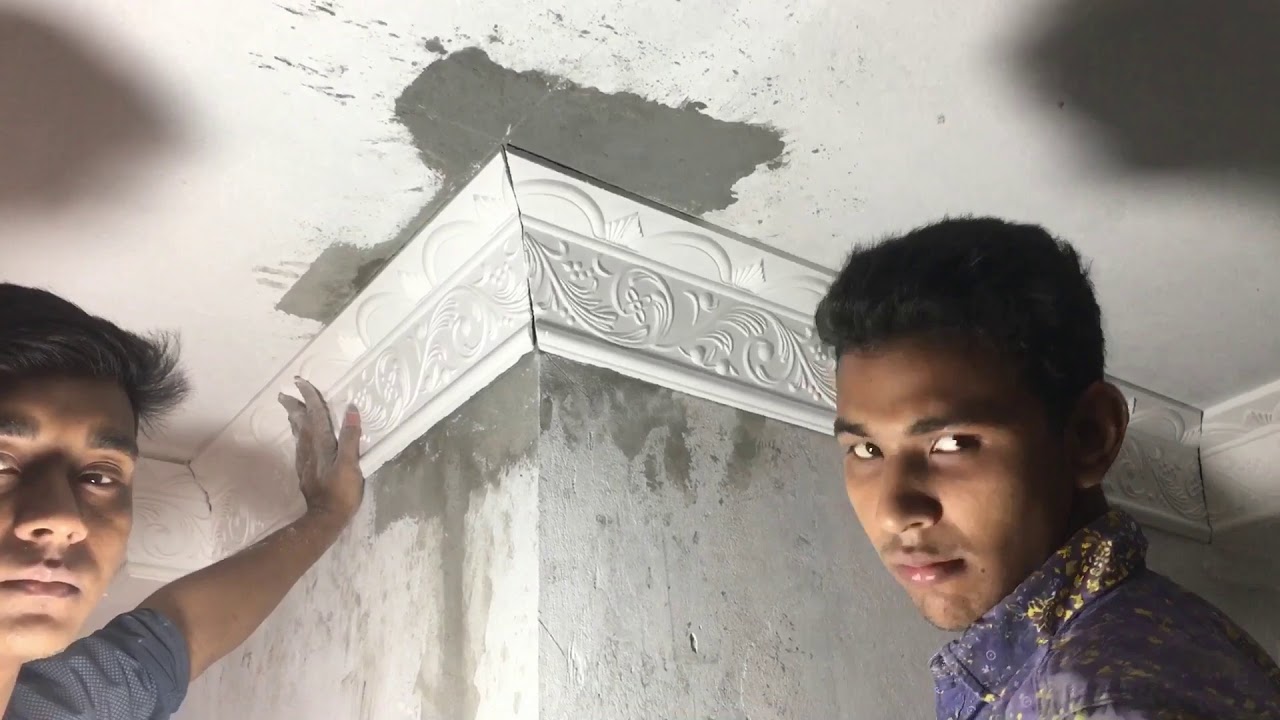
Continue with complete lengths and proceed around the room. Before installing the next moulding,
ORAC-FIX EXTRA should be applied on one side of every joint (7). The mouldings should be fixed very tightly. This will
guarantee a perfect connection between adjoining mouldings. Remove excessive adhesive for preference after
hardening dependent on the relative humidity, min. 3 hours). If the adhesive has to be removed immediately, use acetone.
FINISHING TOUCHES
As soon as mouldings are installed, eventual gaps and the mitre cut can be filled with ORAC-DECOFIX PRO .
ORAC-DECOFIX PRO and ORAC-FIX EXTRA can be painted after hardening (min. 1day) with most types of quality paints,
stains and faux effects
http://www.coving-cornice.co.uk/
TIPS
•Avoid in any case HUMIDITY, as well for storage as for installation.
•use only ORAC-DECOFIX PRO and ORAC-FIX EXTRA
•ORAC-FIX EXTRA: avoid contact with the skin.
•Lightly sand the mouldings with fine sandpaper, in order to remove all impurities and to guarantee a perfect adhesion.
•Painting and faux finishes can be done with high quality paints and finishes only.
•guarantee conditions are valid only when these instructions are completely fulfilled.
http://www.coving-cornice.co.uk/
how to fix coving
how to install coving
coving
cornices
cornice coving
ceiling cornices
cornicing
victorian cornice
cornice and coving
plaster cornice mouldings
cornice molding
polyurethane cornice
cornice repair
decorative cornice
cornice polystyrene
http://www.coving-cornice.co.uk/
Повторяем попытку...
Доступные форматы для скачивания:
Скачать видео
-
Информация по загрузке: