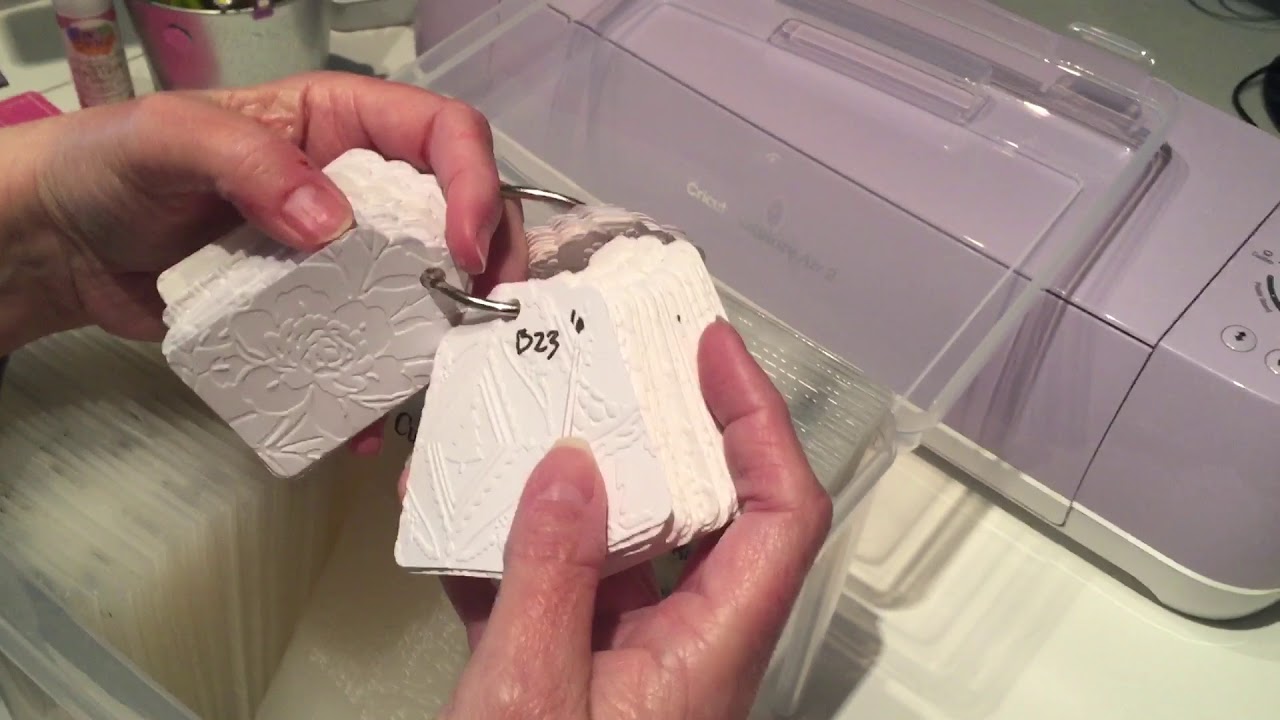
DIY Embossing Folder Storage
Автор: Crafting For Almost Everyone
Загружено: 2022-06-07
Просмотров: 1288
Описание:
Below you'll find complete instructions as well as products used in making this video. I made this video a long time ago and Rich just got around to editing it. I'm sorry I've been so slow at uploading new videos, but I haven't been really healthy, and not up to crafting. I do apologize and will try to put up one video a week this summer.
Part of this design was made by Sam Calcott in this video • Embossing Folder Storage Tutorial
To make storage for 6 x 4 1'/2" embossing folders: This box should hold 15 embossing folders.
You'll need three sheets of cardstock (the same color) : 1 measures 8 3/4 x 5" score on the 8 3/4" side at 2" and 6 3/4 and on the 5" length, score at 2".
The second sheet is 8 3/4" x 8 1/4". Score this piece on the 8 3/4 length, at 2" and 6 3/4" then turn to the 8 1/4" length, score at 2".
Cutting the papers:
8 3/4 x 8 1/4" piece .You want it so the 2" and 6 3/4" scores are vertical and the 2" score is horizontal and near the bottom. Snip up to the 2" score near the bottom of the paper on both vertical score lines and then cut across the horizontal 2" scores to cut out the corner boxes, making sure you cut out the score lines. Fold and burnish the score lines.
8 3/4" x 5" piece, holding it the same way you held the first paper, cut up to the 2" horizontal score line on the 2" and 6 3/4" vertical scores, cutting away both score lines so you have what looks like a thin upside down "v". Glue the pattern piece that is 4 5/8 x 2 7/8" onto the section that isn't cut.
I used Bearly Art Glue to glue this paper in place.. Fold and burnish the scores and then with the designer paper facing up, put glue on the two boxes we cut out and then fold the ends in so the scores create a 90 degree angle. I add clothespins to the corners where I folded in the glued pieces until the glue has taken hold.
Take the 8 3/4 x 8 1/4" piece and add wet glue to the underside of the flap you cut out and lay this into the bottom of the box we just made with the other sheet. Once it's glued together, add glue to the outside of the sides of the box and lay the long side to it and lining up the bottom of the side piece with the bottom of the box. Use a ruler to rub the sides and bottom to ensure they're well glued together.
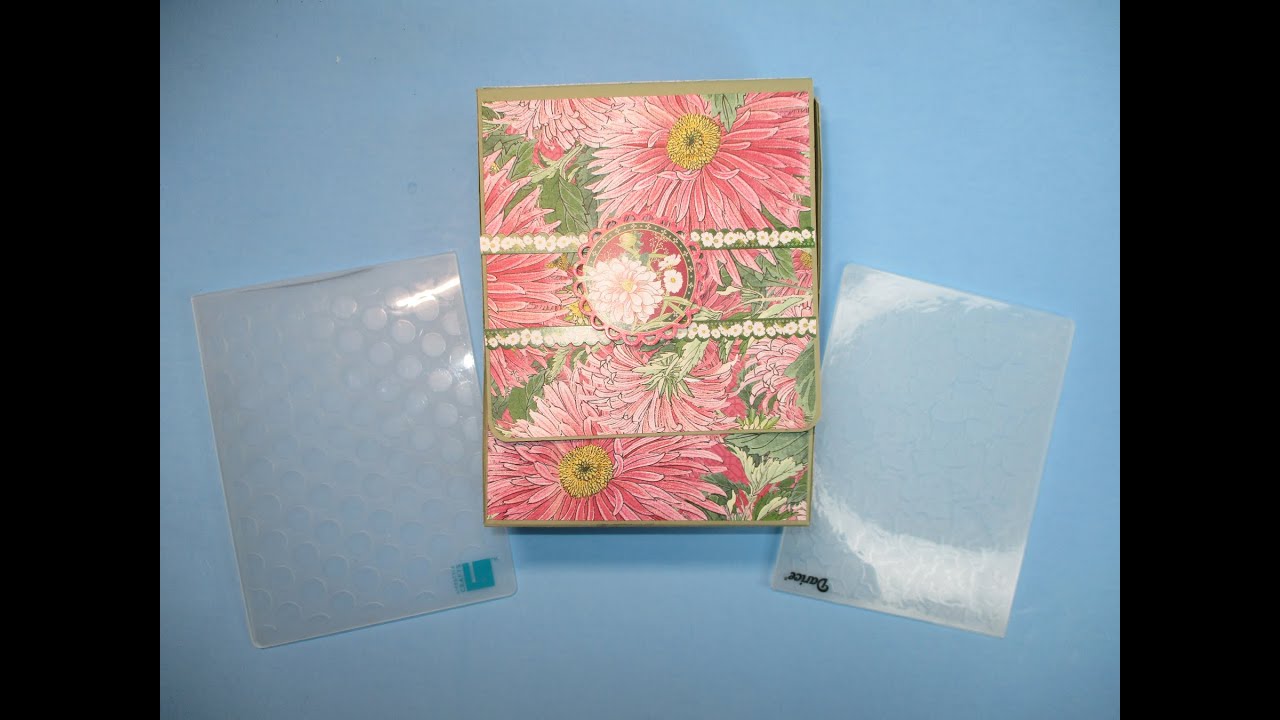
You need decorated paper. I used Graphic 45 Blossoms link: https://tinyurl.com/2m42zd8j one piece 4 5/8 x 2 7/8" If the pattern has a direction, make sure it is face up on the 4 5/8" length.
Top Closure Lid: I adjusted these measurements so the lid is wider and should work better than mine. 8 1/2" x 5 1/8" score on the 8 1/'2" length at 1 1/2 and 3 1/2". Round the two corners that are farthest away from the score lines . I used the Kadomaru Pro Corner Rounder. Designer paper for top 1 3/4 x 4 5/8" with pattern facing the corner rounds on the 4 5/8" length. I used tear tape and wet glue to adhere this piece between the two score lines. Two pieces for the sides that are 6" by 1 1/4" glue to sides of the box with the pattern facing the top of the 6" length.
Designer paper for front 4 5/8" x 4 5/8" Pattern should face up and you need to round the two bottom corners. Put magnets about 1" from bottom (where corner rounds are) and 1" from sides on back of designer paper then glue the designer paper to the front of the flap. Glue the top of the back of the lid to the back of the box up to the first score line....also use tear tape for more durability. Then add the back of the magnets inside the box so they line up with the magnets on the lid. I added another piece of cardstock inside the box for more stability. The dimensions are
1 3/4 x 5 " and for under the top 5" x 4 3/4" and 2 for the sides 6 1/4 x 2" and one piece for inside the front of the box 4 5/8" x 2 7/8".
I added some embellishments from the Graphic 45 pack to the front.
Here is my contact information:
Email: [email protected]
Instagram: crafting for almost everyone
Pinterest: saundralparker
Google+: crafting for almost everyone
Facebook: crafting for almost everyone
#diyembossingfolderstorage #embossingfolderholder #storageembossingfolders
Повторяем попытку...
Доступные форматы для скачивания:
Скачать видео
-
Информация по загрузке: