etrailer | Mount: Tekonsha Prodigy P2 Trailer Brake Controller on a 2007 Chevrolet Express Van
Автор: etrailer
Загружено: 2014-12-02
Просмотров: 21318
Описание:
Click for more info and reviews of this Tekonsha Trailer Brake Controller:
https://www.etrailer.com/Trailer-Brak...
Check out some similar Trailer Brake Controller options:
https://www.etrailer.com/fitguidebc.htm
Click for more info and reviews of this etrailer Trailer Brake Controller:
https://www.etrailer.com/Accessories-...
Check out some similar Trailer Brake Controller options:
https://www.etrailer.com/dept-pg-Acce...
Click for more info and reviews of this HM23ZR:
https://www.etrailer.com/p-HM23ZR.html
Click for more info and reviews of this HM24YR:
https://www.etrailer.com/p-HM24YR.html
Click for more info and reviews of this HM26SR:
https://www.etrailer.com/p-HM26SR.html
Search for other popular Chevrolet Express Van parts and accessories:
https://www.etrailer.com/vehicle/2007...
https://www.etrailer.com
Don’t forget to subscribe!
/ etrailertv
Full transcript: https://www.etrailer.com/tv-install-t...
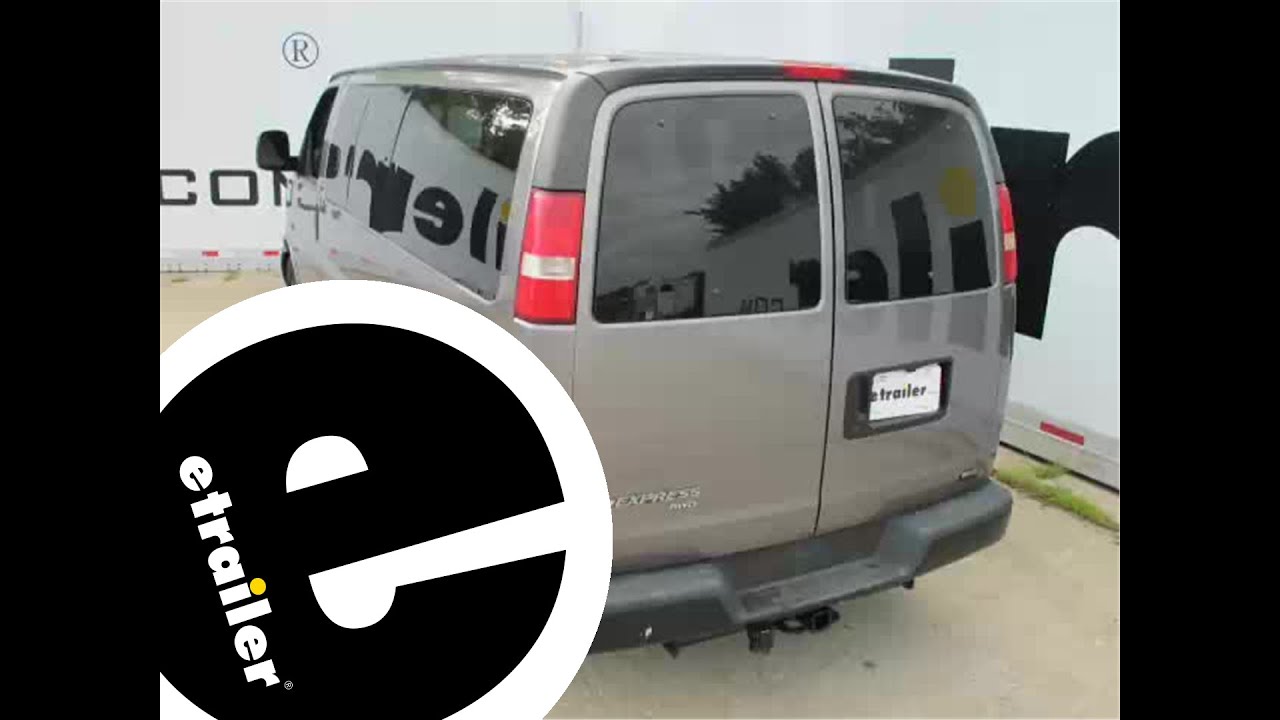
Rate your transcript OrderClientKevin BrossRef #20632Order #TC0829253198 Today on our 2007 Chevrolet express van we're going to be installing the Tekonsha Prodigy P2 trailer brake controller, part number 90885. Now because this vehicle did not come from the factory with a tow package we're going to also be installing the universal installation kit for a trailer brake controller, part number ETBC7. Now we have power onto our brake controller. We'll go ahead and slide the manual override which is the lever on the bottom. You'll see when we do that it says NC for not connected. That's means we do not currently have a trailer connected. We'll go ahead and plug on in real quick. Now you can see here with our trailer connected and you push the manual override you'll get a number.
This button over here or roller over here is what adjust the maximum output to the trailer brakes. As well as this button up here on the top right is your boost feature or how aggressive the brake controller applies power to your trailer brakes. Now we're going to begin here at the rear of the vehicle where we'll need to open up both of the rear doors. Now this vehicle already has a four flat wiring installed on it. We're going to need to get this four flat wiring down underneath the vehicle towards the center of the hitch. We'll need to remove two interior panels here in order to get our four flat wiring pulled out underneath the vehicle. Now to remove these panels you can either use a trim panel removal tool or you can use just a large flat head screwdriver.
We'll go ahead and slide the trim panel removal tool behind the panel where we'll release the tabs. Go ahead and sit this panel aside for now. Then you repeat the same process on this lower panel. Next we're going to need to go ahead and we're going to need to get this four flat wiring pulled down through here and come out the bottom. Now we need to go on the underside and remove a panel so that we can feed the wiring through. Now this right here is the cover that we're going to need to remove.
Go ahead and take a flat head screwdriver and then we'll pry the panel out and notice that there is one little tab right here. Just slide out, it comes out right there. We're going to take an old section of airline tubing that we're going to use as a pull wire to feed up so we can pull our wires down. We'll go ahead and pull our pull wire out or we'll tape our four flat to it so we can pull it back down into position. Once we have our four flat pulled down we'll remove the pull wire. We'll then need to go ahead and put our panel back in place.
We're going to go ahead and take a little bit of electrical tape and we're going to wrap our wire with it just to give it a little bit of protection as it goes up and over the frame. Next we're going to go ahead and take our four flat wiring feed it up over the frame so that we get it in this area right here. Next we're going to need to choose a location to mount our bracket that holds a four and seven way plug. Go ahead and put the bracket temporarily over the plug. Then we'll line it up here on our bumper and see where we're going to need to drill a couple of holes. We'll then go ahead and take a paint marker, mark our two locations. Then take our drill and drill both holes. Next we'll take the hardware that comes with the kit and we'll attach our bracket to the bumper. Slide our bolt up through, put our flat washer on. We'll install a star washer or the lock washer followed by the hex nut. Do that for the other location. Go ahead and tighten it down. Next we'll go ahead and install our seven and four way plug into the bracket. Go ahead and attach it using the supplied hardware. Then go ahead and tighten it down. Next we'll go ahead and connect the two four flat connectors together. Be
Повторяем попытку...
Доступные форматы для скачивания:
Скачать видео
-
Информация по загрузке:


