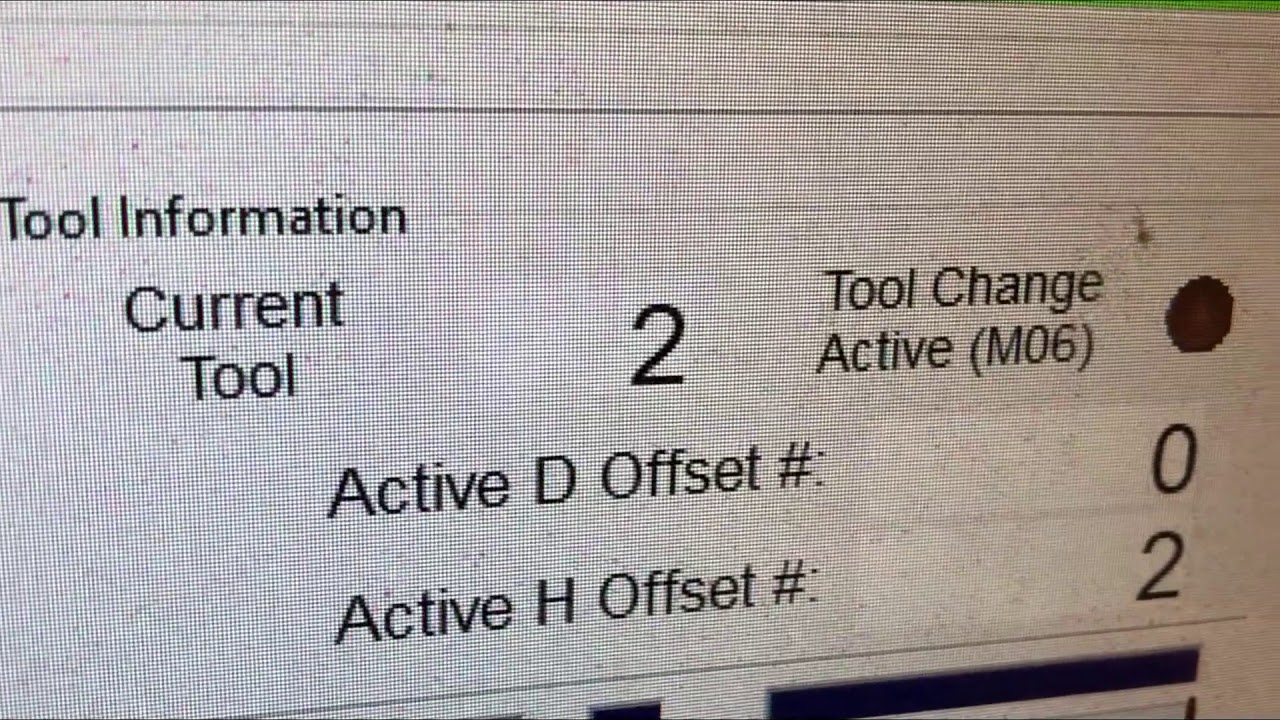
M6 Manual tool Change with Auto Tool setting Mach 4
Автор: Accidental Tradesman
Загружено: 2019-11-13
Просмотров: 4240
Описание:
M6 manual tool change with tool length auto setter. Written in LUA, I am a novice at best, so any advice is welcomed.
This macro pauses the G code, moves to a position to make the tool change then moves to the tool setter and inputs tool length into the tool table in Mach 4.
I did my best to explain things as I understand them, unfortunately that isn't very well.
I hope this helps someone out there .
Script;
function m6()
local inst = mc.mcGetInstance() ;
local currentTool = mc.mcToolGetCurrent(inst)
local selectedTool = mc.mcToolGetSelected(inst)
local posmode = mc.mcCntlGetPoundVar(inst, mc.SV_MOD_GROUP_3) --get the current mode so we can return to it when macro ends
--Get positions before moving to do tool change
local valX, rc = mc.mcAxisGetMachinePos(inst, mc.X_AXIS) --Get the position of the X axis in Machine Position
local valY, rc = mc.mcAxisGetMachinePos(inst, mc.Y_AXIS) --Get the position of the Y axis in Machine Position
local valZ, rc = mc.mcAxisGetMachinePos(inst, mc.Z_AXIS) --Get the position of the Z axis in Machine Position
if selectedTool == currentTool then
return
mc.mcCntlSetLastError(inst, "Current tool == Selected tool so there is nothing to do")
else
mc.mcCntlGcodeExecute(inst, "G90 G53 G0 Z0.0");--Move the Z axis all the way up
mc.mcCntlGcodeExecute(inst, "G53 X10 y0");--Move the X axis to the middle and Y axis to the end and
mc.mcCntlSetLastError(inst, "Change to tool " .. tostring(selectedTool) .. " and press start to continue") --Message at beginning of tool change
mc.mcCntlToolChangeManual(inst, true) --This will pause the tool change here and wait for a press of cycle start to continue
mc.mcCntlGcodeExecute(inst, "G53 G01 X2.6042 y-0.5357 f350");--Move the X axis and Y axis to the tool setter
mc.mcCntlGcodeExecute(inst, "G53 G0 z-5")--Moves the z axis down 5 inches rapid
mc.mcCntlGcodeExecute(inst, "g53 G31 z-9 f15")--Probes z axis to the tool setter
mc.mcCntlSetLastError(inst, "Current tool == " .. tostring(selectedTool) .. " Previous Tool == " .. tostring(currentTool)) --Message that shows after Cycle Start
mc.mcToolSetCurrent(inst, selectedTool) --sets the current tool displayed in mach to the selected tool
--local probedzW = mc.mcAxisGetPos(inst, 2) --This would give 0 axis (z on my machine) coordinates in work coordinate syste, ive shown it just for educational purposes
local probedz = mc.mcCntlGetPoundVar(inst, 5073) --this retreives the Saved varible of the z position (#5073) in machine coordinates and assigns it to the name probedz
local ToolLength = math.abs(9.5238 + probedz) -- this calculates the value of the tool lenght by using a gage line off of my spindle to the tool setter. uses the absolute value fuction
mc.mcCntlSetLastError(inst, "Tool Length" .. tostring(ToolLength))
mc.mcToolSetData(inst, mc.MTOOL_MILL_HEIGHT, selectedTool, ToolLength) --- this sets the tool length value into the tool table into the selected tool position number, Note - i havent reassigned current tool varible so i have to use the "selectedTool" name
mc.mcCntlGcodeExecute(inst, "G04 p.5")
mc.mcCntlGcodeExecute(inst, "G90 G53 G1 Z0 F80") --Retract back to Z home
local MyChoice = wx.wxMessageBox("Remove Probe Clip","Click OK to continue" , 16) -- brings up a dialog box and waits for a selection to proceed
if (MyChoice == 16) then --16 is cancel
rc = mc.mcCntlSetLastError(inst, 'probing.')
return
elseif (MyChoice == 4) then
mc.mcCntlGcodeExecute(inst, string.format('G ' .. posmode))--return to pre macro mode G90, or G91
mc.mcCntlGcodeExecute(inst, "G90 G53 G0 X" .. tonumber(valX) .. "Y" .. tonumber(valY)) --Move back to X & Y initial location
mc.mcCntlGcodeExecute(inst, "G90 G53 G0 Z" .. tonumber(valZ)) --Move back to Z initial location
mc.mcCntlSetLastError(inst, "Tool Change Complete H ".. tostring(selectedTool) .. " set to ".. tostring(ToolLength).." inches")
end
end
end
if (mc.mcInEditor() == 1) then
m6()
end
Повторяем попытку...
Доступные форматы для скачивания:
Скачать видео
-
Информация по загрузке:


