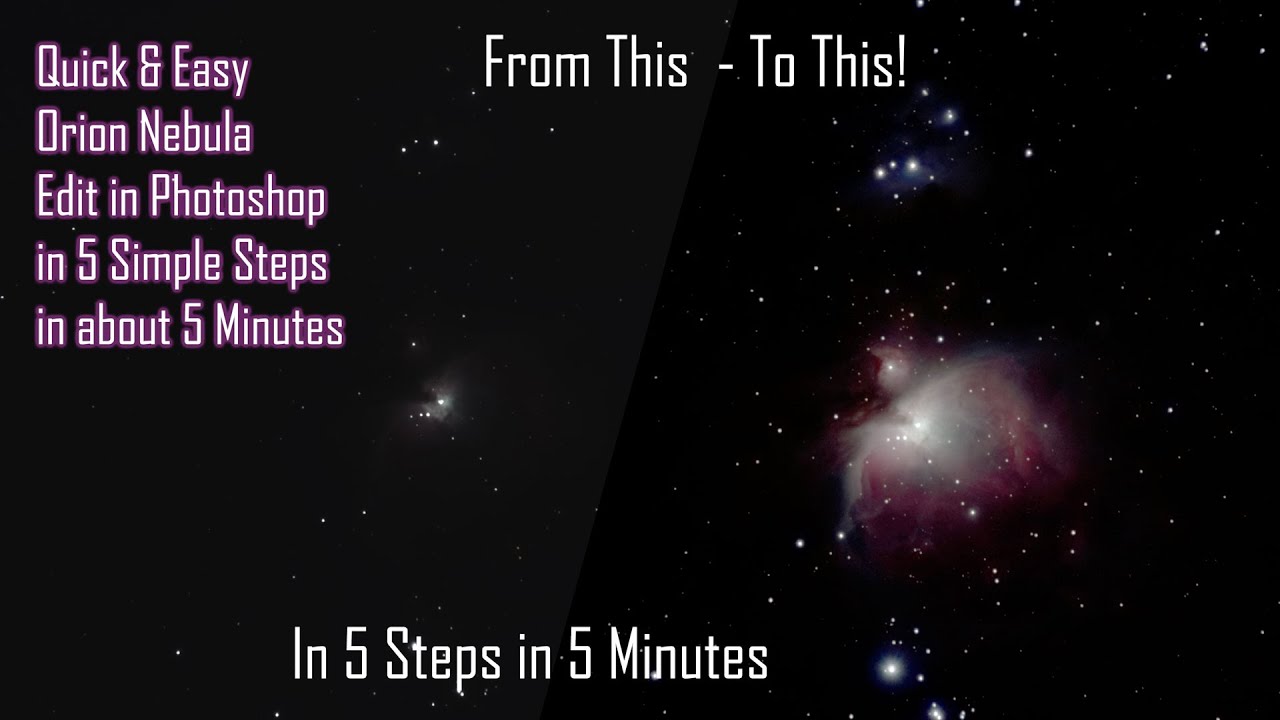
Orion Edit in 5 Easy Steps in 5 minutes.
Автор: Glen Tillyard
Загружено: 2021-02-03
Просмотров: 2852
Описание:
Editing the Orion Nebula in less than 5 Minutes in Five Easy Steps.
Think of this quick edit as a “Proof”
When I was a young press photographer in the days of film, and before emails, we used to send out “Proof” copies of photographs for evaluation. These were quick edits to give the client an idea of what the final print would look like.
This is a quick and easy 5-minute proof edit of the Orion nebula.
It’s not intended as a final edit but it gives you an idea of what sort of result will be possible with more time. You can either continue to work on this image or go into more detail on a shot with more data.
After a long night of astrophotography you know that you should probably go to bed but you want to take a quick peek at what you have shot.
Shooting Info
This is a stack of 120 x 15-second RAW exposures taken using the Move, Shoot, Move Rotator. This is a total of 30 minutes total exposure without calibration frames. I would suggest you get as many exposures as possible. Personally, I rarely bother with dark frames, as I believe that you are better off using that time to gather more data.
This image was taken on a Nikon D7200 with a Tamron 16-300mm lens at f8. The ISO was shot at 800 ISO to maintain detail in the core and daylight white balance. I do shoot Flat Frames as this lens does vignette quite a bit.
The RAW files were stacked in Sequator, as I find this works faster than DSS, and cropped in Lightroom before being edited as a 16 bit Tif in Photoshop.
To edit this quickly you will need a reasonable understanding of Photoshop’s Levels and Curves.
If you understand Adjustment Layers the feel free to use these but for speed I will not be using normal layers rather than Adjustment Layers.
Shortcuts you will need to know are:
1. Ctrl or Cmd J to duplicate a layer or copy a selection to a new layer.
2. Ctrl or Cmd L to bring up the Levels adjustments
3. Ctrl or Cmd M to bring up the Curves adjustments
4. Ctrl or Cmd U to bring up the Hue and Saturation adjustments
5. Having an understanding of the Dodge, Burn and Sponge Brush is also useful.
Basic Method:
Step 1 - Duplicate the base layer by pressing Ctrl J. Call this Levels Stretch (or LS)
Use Levels to stretch the image by moving the black and mid-tone sliders halfway towards the mountain. Repeat until you are happy with the stretch.
Step 2 - Duplicate this base layer by pressing Ctrl J. Call this Curves Stretch (or CS)
Using the targeted adjustment control-click in the brightest areas to protect the highlights. Now use the sliders bring gently bring down shadows and bring up the nebulosity. Repeat as required. You are better to do several smaller adjustments rather than big ones.
Step 3 - Duplicate the CS layer by pressing Ctrl J. Call this Hue and Saturation (or HS). Add Saturation to taste.
Step 4 - Duplicate the HS layer by pressing Ctrl J. Call this Colour Fix (or CF).
Press Ctrl/Cmd L to bring up the Levels adjustments and use the Grey Point slider to click around a neutral tone in the pictures until you get the colour balance you’re happy with. If that doesn’t work use the RGB Channel method shown in the video.
Step 5 – Compare before and after before flattening the image. Layers / Flatten.
PS. Sometimes I will even swap cards after about an hour and process the first batch while the camera continues shooting. This can be an especially good idea with a target like the Orion nebula where the first batch could be shorter exposures, for the core, while the camera shoots brighter exposures for the outer areas.
I hope that you found that useful. If so please Like, Subscribe and hit the bell.
Cheers Glen
www.digitalphotographycourses.co.uk
Links
Please note: Any links are MSM or Amazon affiliate links so I will get a small commission but it will not cost you any extra and it helps me to produce more free content.
Move Shoot Move Rotator
https://www.moveshootmove.com/collect...
https://www.moveshootmove.com/collect...
Neewar Levelling Base - https://amzn.to/2MfzBAe
Manfrotto Monopod Tilt Head with Quick Release - https://amzn.to/3oaqVIv
Neewer® 6-In-1 Timer Shutter Release - https://amzn.to/2MdTLdM
Keywords
Photography, Astrophotography, Stars, Astro, MSM, Move Shoot Move, Star Tracker, Rotator, Digital Photography Courses, Training, Tuition, Pan and Tilt, Ball Head, Z platform, Z Bracket, Tilt Head, Ball Head,
Using the MSM Rotator with a 3 Way Head
In this video we look at two different ways to fit the MSM Move Shoot Move Rotator to a 3 Way Tripod Head.
Play list • MSM Mounting Options
Повторяем попытку...

Доступные форматы для скачивания:
Скачать видео
-
Информация по загрузке:


