How to install Tiny House Cladding
Автор: Lifestyle Cabins unplugged , Lifestyle Tiny Houses
Загружено: 2020-10-19
Просмотров: 8252
Описание:
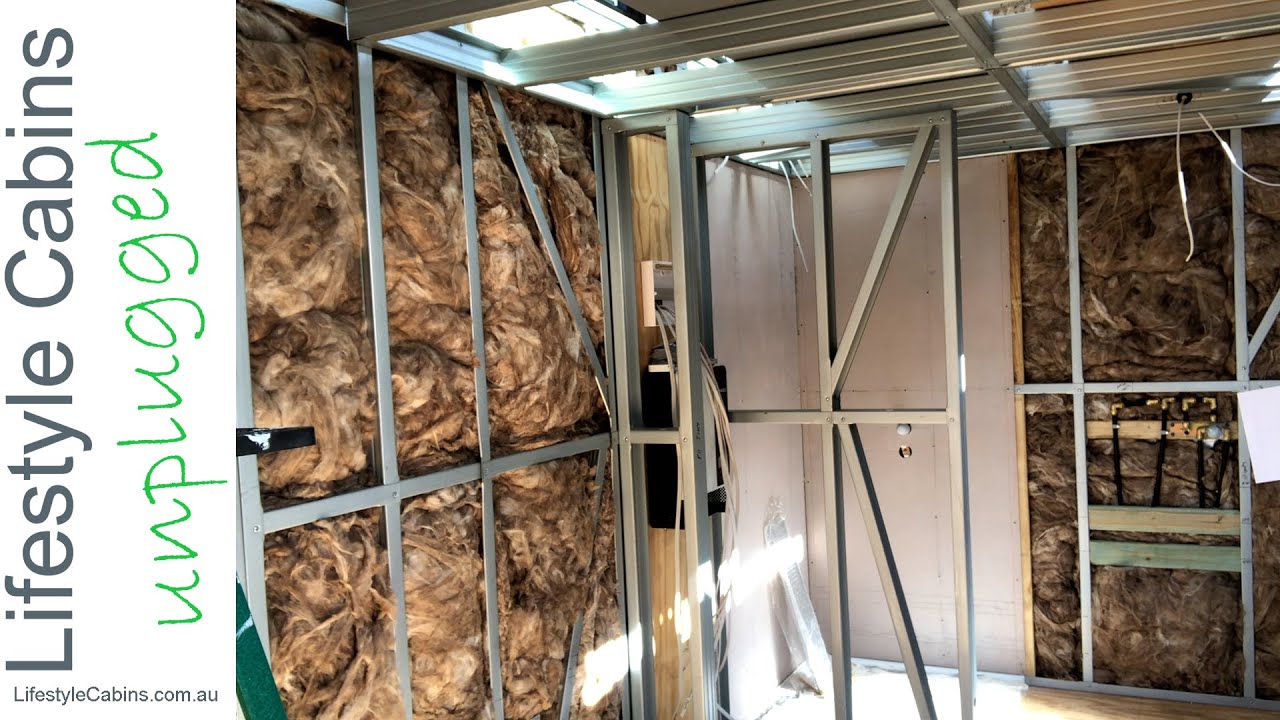
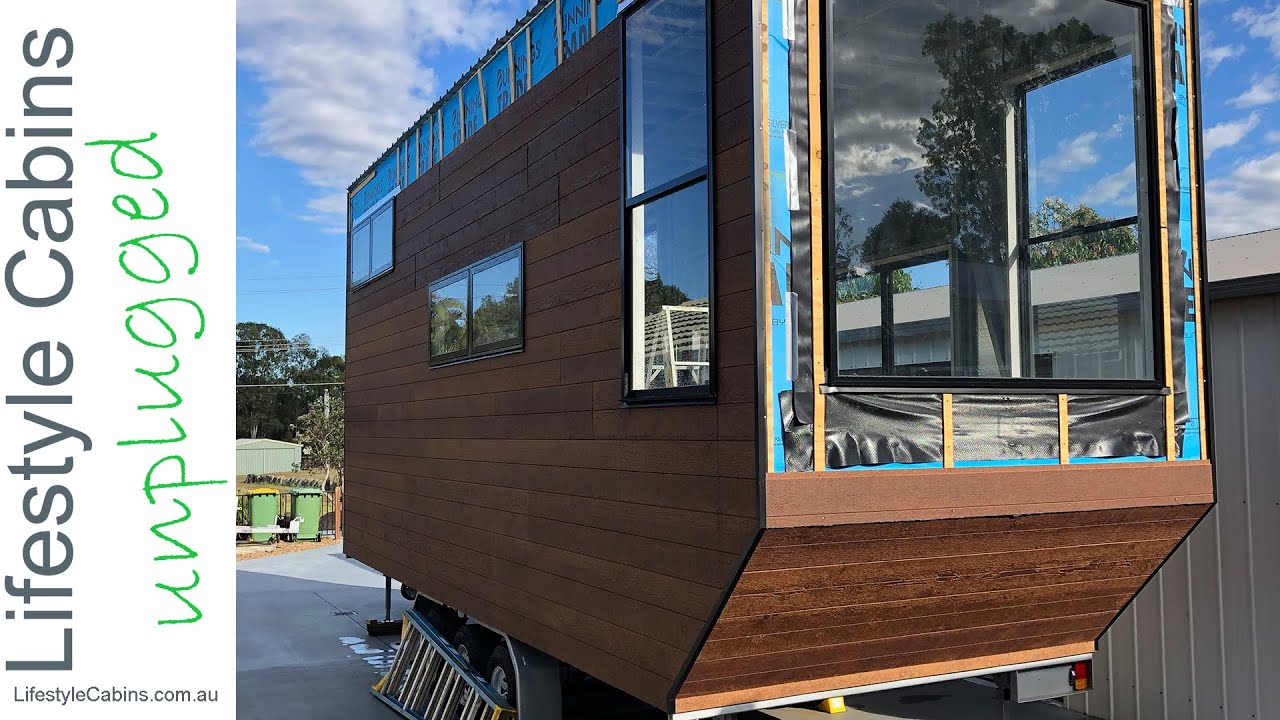
In today's video we give an overview of how we installed the external cladding to our Tiny House. We chose to use Weathertex Natural which begins life as a dark hardwood colour. It can be left uncoated and will fade overtime, or can be stained to retain the original colour. The Weathertex Natural cladding is made in Australia is fully sustainable with a better than zero carbon footprint. We decided to use the Selflok VGrove 150 Natural cladding which has an overall width of 300mm and comes in 3.6 m lengths.
It looks great and we are really with the overall finish.
There are also other products in the range that come pre-primed ready to paint from the factory.
Please leave your comments and suggestions for future video's.
🔴 Subscribe Here: / @lifestylecabinsunplugged
https://www.lifestylecabins.com.au
#Tinyhouseonwheels #tinyhouse #Lifestyle #cabins
Follow us on Instagram: / lifestyle_cabins_unplugged
Follow us on Facebook: / lifestyle-cabins-unplugged-487831221958291
🎬Watch our most recent videos: / @lifestylecabinsunplugged
Please subscribe for more videos on our very first tiny house, design, and sustainable, off-grid living.
To view this completed design, please visit our website at: https://lifestylecabins.com.au/warra-...
More designs:
The Bowen: https://lifestylecabins.com.au/bowen-...
The Fraser Coast: https://lifestylecabins.com.au/fraser...
Повторяем попытку...
Доступные форматы для скачивания:
Скачать видео
-
Информация по загрузке: