Country Vintage Farmhouse DIYs | Budget-Friendly Decor Ideas
Автор: More Craftier
Загружено: 2025-03-04
Просмотров: 1938
Описание:
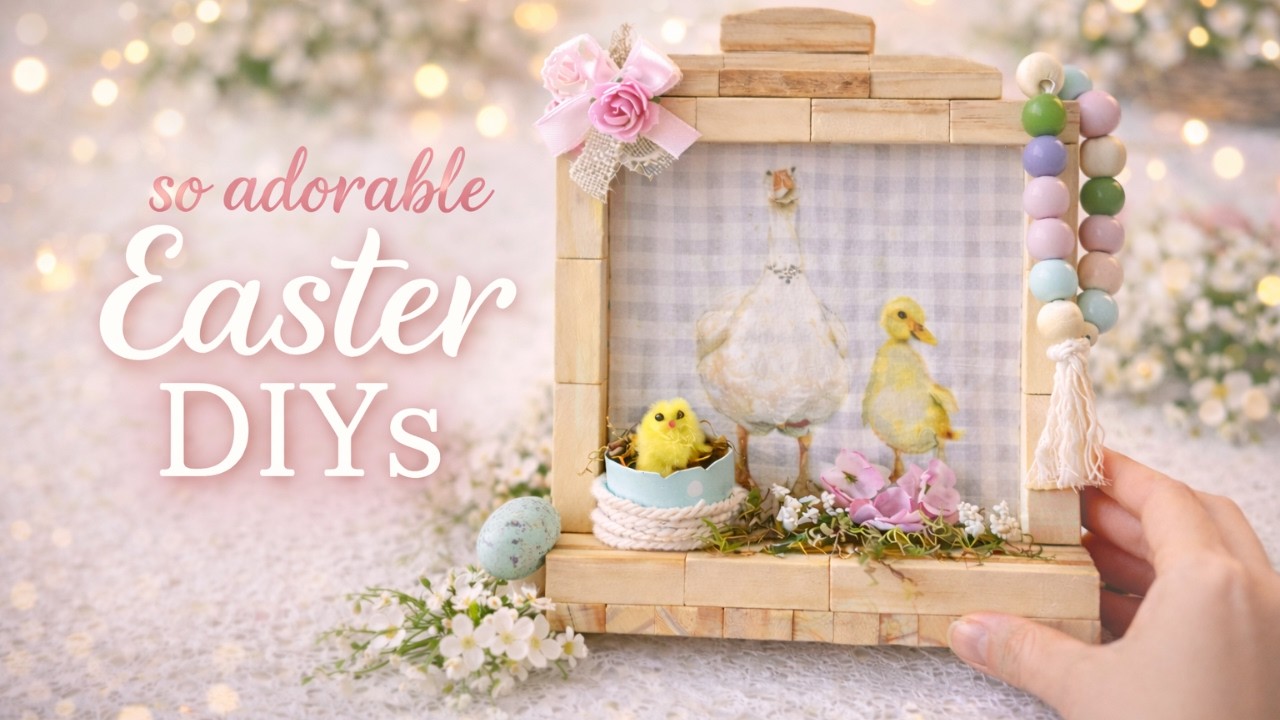
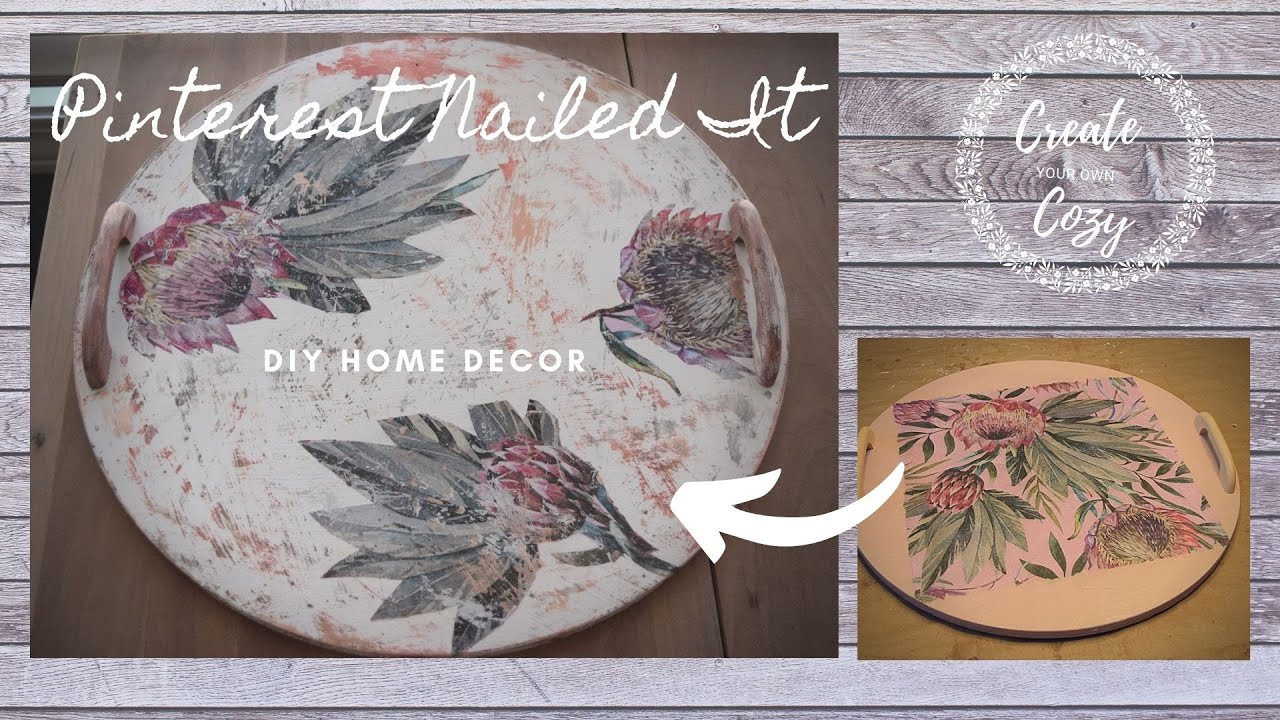
If you love country farmhouse decor with a vintage touch, you're in the right place! This DIY project is all about turning photo prints into stunning farmhouse-style decor. I used different sizes of round wood pieces—some natural, some pre-finished—to create unique photo displays. Some pieces feature beautiful details like wood bead frames, decorative buttons, and other creative embellishments. Of course, you could also use napkins and decoupage them onto the wood rounds. You can take these ideas and make them your own unique piece. The result? A collection of one-of-a-kind, budget-friendly pieces that add warmth and personality to any space!
Thank you for watching my DIY projects! If you've enjoyed my content and found inspiration for you're own crafts, please consider subscribing to my channel. Subscribing not only shows your support but also helps my channel grow, allowing me to create even more exciting DIY projects for you 😊
0:00 – Intro
0:15 – Materials you'll need
0:47 – Starting with the first two small cow print projects
10:48 – Moving on to the third project featuring a rooster print
14:15 – Using a pre-coated wood round + decorating farmhouse prints in a unique way
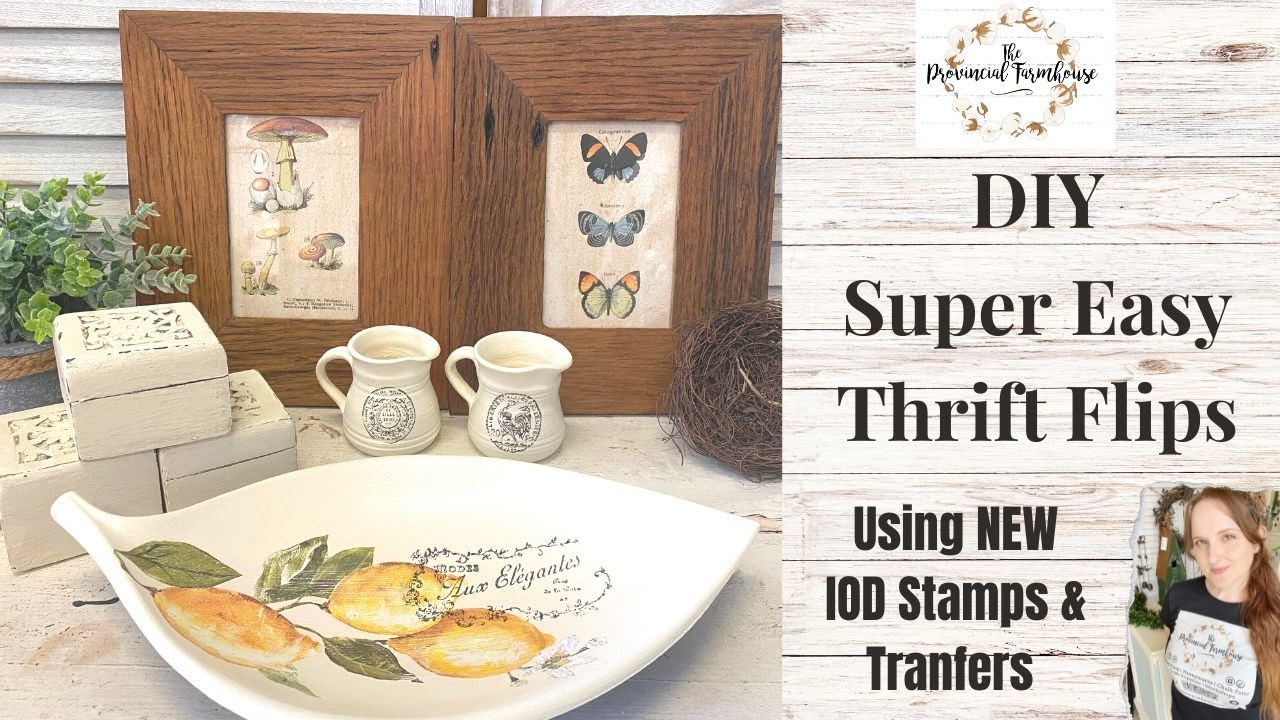
21:35 – Adding picture frames for extra farmhouse-style décor
23:59 – See how everything comes together! 💖
DIY Photo Transfer to Wood Rounds
Materials Needed:
Wood rounds
Printed images (laser or inkjet)
Photo transfer sealer (or transparent lacquer)
Mod Podge (for sealing)
Paintbrush
Damp sponge or cloth
White wax (optional, for touch-ups)
Fabric, wood buttons, or other decorative elements (optional)
Step-by-Step Instructions
Step 1: Prepare Your Image
Print your desired image using a laser or inkjet printer.
If your image has text, mirror it before printing so it appears correctly after transfer.
Trim the image to fit the wood round.
Step 2: Seal the Print
Apply a thin, even layer of photo transfer sealer (or transparent lacquer) over the printed side of the image.
Let it dry completely before moving to the next step.
Step 3: Apply the Image to the Wood Round
Brush a layer of Mod Podge onto the wood round where the image will be placed.
Carefully press the printed image face down onto the wood.
Smooth it out using your fingers or a dry cloth to remove any bubbles or wrinkles.
Let it dry for at least 8 hours (or overnight for best results).
Step 4: Remove the Paper
Use a damp sponge or cloth to lightly moisten the paper.
Gently rub off the paper in circular motions.
After the first round of peeling, let it dry for about an hour before removing any remaining paper.
Be careful not to rub too hard to avoid lifting the transferred image.
Step 5: Seal and Finish
Once dry, apply a thin coat of Mod Podge to seal and protect the transferred image.
If any dark marks appear from handling, use white wax to lighten them.
Decorate with fabric, wood buttons, or other embellishments if desired.
This video is all about:
#diy #diydecor #diyprojects #homedecor #springdiy #dollartreediy #budgetfriendly #farmhousedecordiy #easterdecor #springcrafts #handmade #diyonabudget #dollartreecrafts #wooddecor #craftsdiy #youtube #art #2025 #easy #easter #rustic #vintage #aged #woodcraftideas #dollartreefinds #dollaramafinds #cozy #farmhousecharm #morecraftier #easter #hacks #phototransfer #rooster #cow #vintagecraft #homedecor
Повторяем попытку...
Доступные форматы для скачивания:
Скачать видео
-
Информация по загрузке: