etrailer | Camco Oak Accents RV Countertop Extension Manufacturer Review
Автор: etrailer
Загружено: 2015-01-15
Просмотров: 1000
Описание:
Click for more info and reviews of this Camco Kitchen Accessories:
https://www.etrailer.com/Kitchen-Acce...
Check out some similar Kitchen Accessories options:
https://www.etrailer.com/dept-pg-Kitc...
https://www.etrailer.com
Don’t forget to subscribe!
/ etrailertv
Full transcript: https://www.etrailer.com/tv-mdemo-cam...
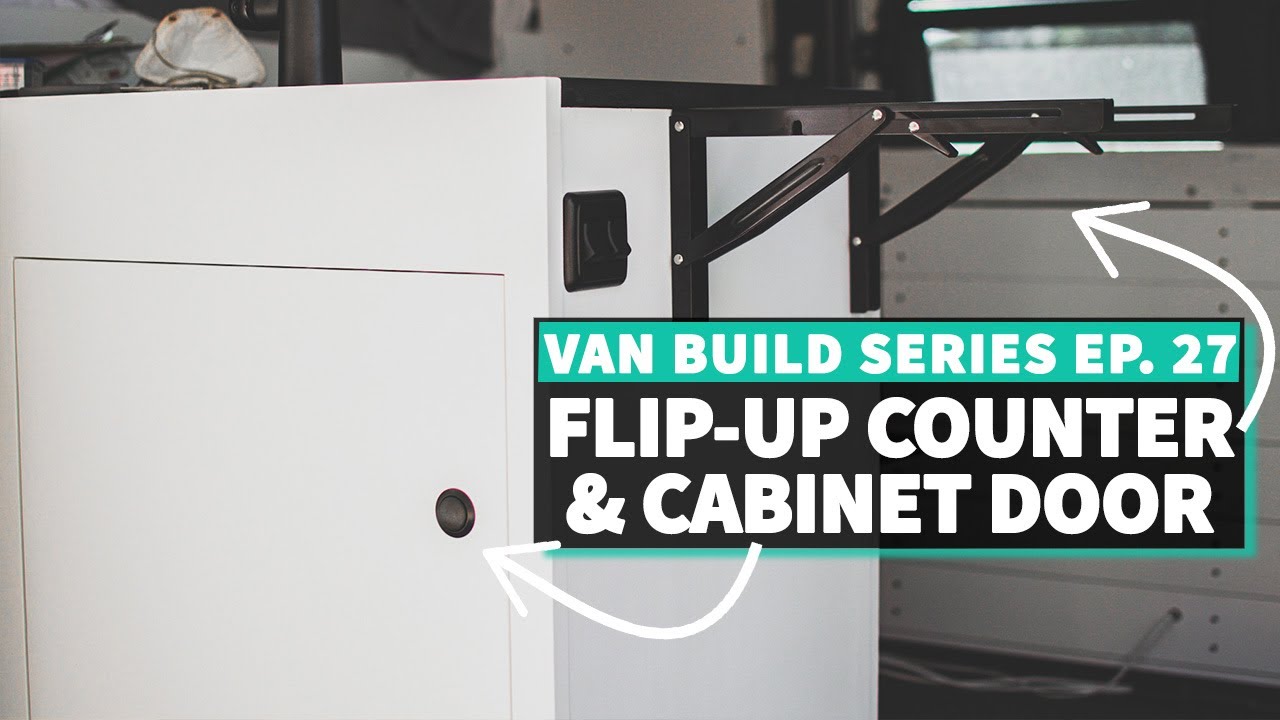
Hello my my name is Terry with Camco Manufacturing. Today I'd like to show you a basic installation of our countertop extension. Before we begin installation here's some helpful advice. You will need an assistant for this installation. Take your time. Be very exact following the procedures in these instructions.
Paper templates are supplied to make this process easier. This extension works on countertops with or without an overhang. In any RV extra counter space can be extremely beneficial. By installing our counter top extension you'll be able to add an extra 12" to your countertop. It's hinged design allows you to be able to pull it up easily and drop it down quickly when not in use. Quality made from solid oak finish hardwood with a nontoxic gloss finish. Use section A for countertops with overhang, use section B for countertops without overhang.
Today we will be installing the countertop extension to a countertop with an overhang, so we will be following section A in the installation instructions. Begin by using the enclosed overhang measurement tool. Measure the counter overhang and center of location where you plan to mount the extension. Place the overhang tool under overhang with dimension lines facing upward. Slide the tool forward under overhang until it touches the cabinet side. Note which line the edge of the overhang comes closest to.
You may have to round off depending on your counter. Record the corresponding letter for this dimension line. Have your assistant hold extension flush to counter edge in fully-extended position and level with inside of overhang. Due to variations in countertop thickness, countertop extension may not be flush with countertop. There should be no gap between the extension and the counter. Mark pilot hole locations through piano hinge on the underside of overhang. Drill holes using 3-32" drill bit.
Before you drill place masking tape on your drill bit to mark 3/8" depth as a guide so you do not drill through the countertop overhang. Now you can install the extension with screws. Locate template 1 and find the proper hole set by matching the letter on your overhang measurement tool. With a nail or pen carefully punch through both corresponding holes. Have your assistant hold extension up so you can work under it. Hold template number 1 squarely against cabinet with top edge touching the bottom over the overhang, centering the pilot holes with the piano hinge. Carefully mark cabinet through holes punched in the template. These will be pilot hole locations for the support bracket. Using 3/32" drill bit, drill pilot holes on both marks. With flat side of support bracket facing down, attach bottom of support bracket, the longer section, to the cabinet side with screws provided. Have your assistant hold extension outward so it is level with the countertop. This is the in use position. With hinge extended move the support bracket upward so the top, or the shorter side makes contact with the extension board. Make two marks for pilot holes through the support's screw holes. Carefully drill pilot holes with 3/32" drill bit. Be sure to recheck that the masking tape on the drill bit is at 3/8" depth so you do not drill through the extension. Finally complete the installation by attaching top of support bracket to extension with screws. Check for proper operation. .
Повторяем попытку...

Доступные форматы для скачивания:
Скачать видео
-
Информация по загрузке: