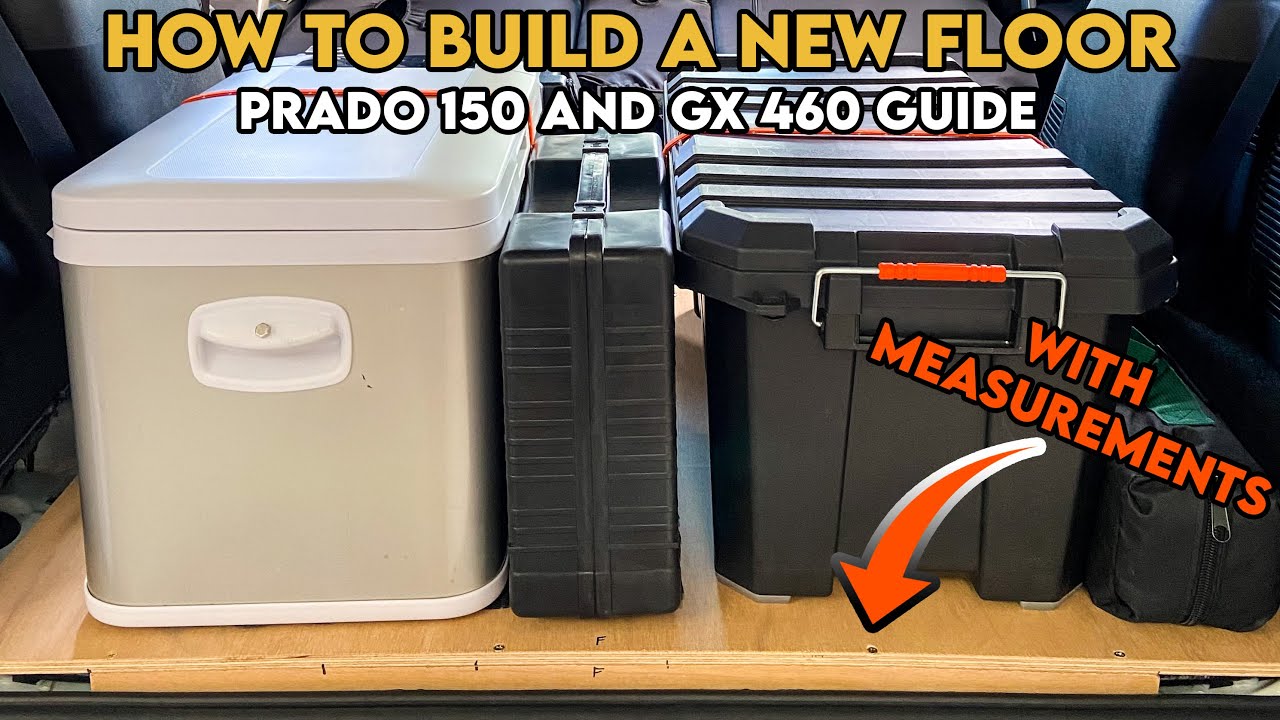
How to Build a New Rear Floor in Prado 150 (Lexus GX460) // Perfect Prado Build // Drawer Base Unit
Автор: North Oz
Загружено: 2022-01-04
Просмотров: 23778
Описание:
Welcome to another Toyota Landcruiser Prado Build episode. This video is the final video of a 3-part series I am releasing. In part 1, I showed you in detail everything you need to know to be able to take out the rear seats of the Prado to open up a nice space for a new floor and a drawer unit. In part 2, I showed you how to sound deaden the rear of your Prado to ensure you don’t interfere with any vehicle functions as well as demonstrating the minimum amount of material needed to save you money. In this video, I will show you how to build a new floor and how to bolt this down saving you hundreds of dollars and hours of experimenting in the process.
Before we get started, be sure to click the subscribe button. Lets begin.
The material you will want to get is Marine Plywood. That is what I have used here. I purchased a project panel from bunnings which comes precut to the size of 810mm x 1220mm and I used a thickness of 12mm. It cost $85 for this piece. If you were to build your shelves and drawers entirely out of this stuff, it would cost quite a lot of money. There is some debate about the efficacy of marine ply compared to standard plywood. From my research, the general consensus is that marine ply fairs better in conditions where it is repeatedly exposed to water. Given I am making a floor, water tends to find its way down so if water is going to sit anywhere, its going to be on the floor.
Step 1. I intend on keeping the side wings for aesthetic purposes, but these have plastic pieces that interfere with the perfectly rectangular shape of the rear of the car. I thought it would be the perfect time to test out my Dremel tool which has a cut off wheel function. I used this to trim the pieces and I used the mini drum sanding attachment to round off the edges.
Step 2. With the space now fully maximized, measure the length and width that you want your new floor to be. I was satisfied with the length dimension of the precut panel being 810mm but the 1220mm will need to be trimmed to fit the width of the car. I first cut the panel to 1150mm which ended up being too wide. So I made one final cut of 1100mm which ended up fitting flush.
Step 3. With the panel fitting in the car nicely, you will notice an issue. The panel will be sitting on top of the plastic key transponder module which could damage the unit and reduce the functionality of your keyless system. To fix this, I used my 50mm offcut and screwed it down on the rearmost edge of panel to provide some clearance for the keyless module.
Step 4. I noticed that there is a slight curve from side to side of the prado’s rearmost floor panel. You can jigsaw your support to compensate for this however, I chose to use sticky gel spots designed to keep furniture from slipping which I placed over the 5 holes that were left over from removing the rear plastic fascia. This does 2 things. One, it stops dust and water entering the vehicle as the plastic clips were blocking dust and water from coming in. And two, it provides dampened contact points meaning you’re not getting plywood on metal creaking and squeaking. With these placed on those holes the final job is to drill out the holes for the 4 mounting bolts to tie the floor to rear.
Step 5. To make drilling the holes for the bolts to go through easier, place the bolts that you took from their holes and put them into their holes about a half to a full turn in. Colour the top of the bolt with a marker and push down on the plywood panel. Repeat this for all of the bolts. Remove the plywood and drill out the holes where the marker left ink. You might be off by a little bit so drill out the holes to where they need to be. I only had 2 holes that were off by about 3mm.
Step 6. With the holes drilled you can use the factory seat bolts for the 2 middle frontmost holes as the panel sits straight on top of the ridge where the holes are. However, because of the support we made for the rear, your factory bolts will not reach as they are about 15 mm too short. If you can find a bolt that will do the job then by all means use that, but I couldn’t find a bolt that would work so I did the next best thing which is step 7.
Step 7. I went to the hardware store and purchased this, which is essentially just a rod of thread. Make sure you by 2 nuts and washers that fit this thread but I had some at home already. I screwed the rod into the hole of the car and marked where the top of the bolt would be positioned. You will notice how I simulate the bolt pushing down on the panel as I don’t want excess thread hanging out of the nut. I then cut it off with an angle grinder.
Step 7. With your makeshift bolts done, put thread locker such as Loctite, on the end of the thread that goes into the car. Use pliers to twist it firmly into the hole. You should now have your 2 threads sticking out of the panel. Twist the nut onto the threads which will then push the panel down to the floor.
Повторяем попытку...
Доступные форматы для скачивания:
Скачать видео
-
Информация по загрузке:


