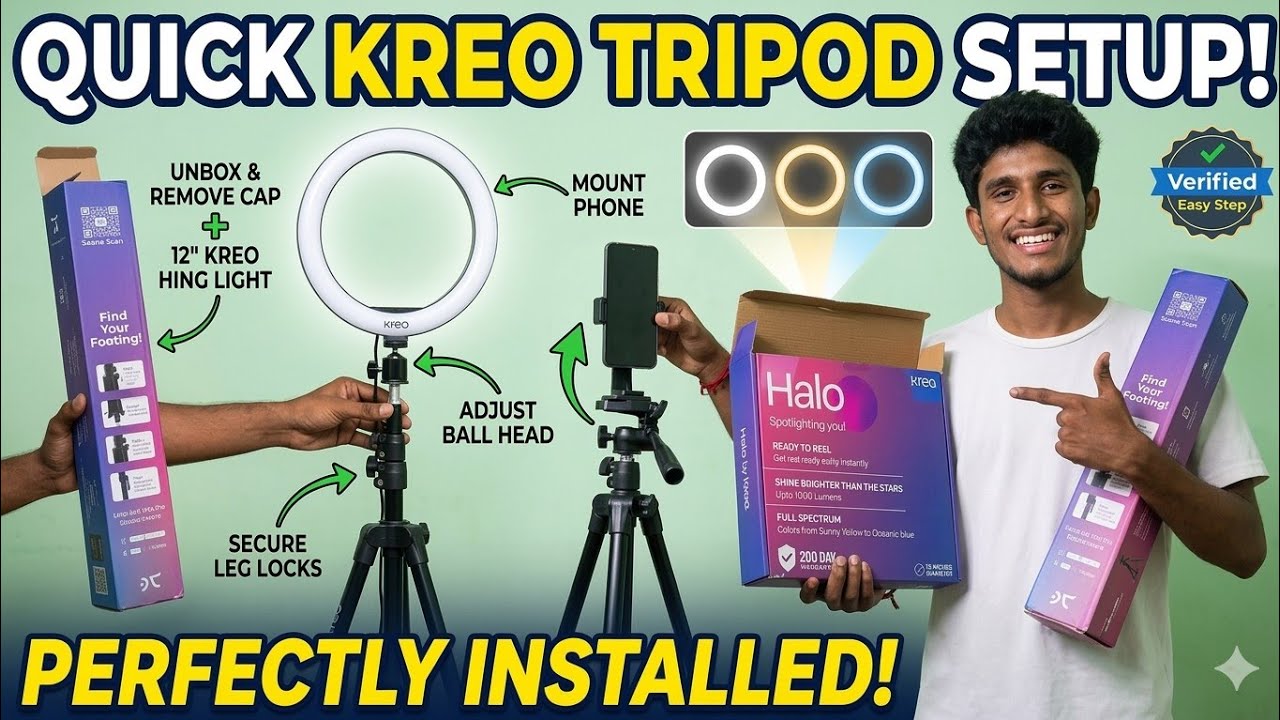
Tripod stand installation full details
Автор: pjrajvlogs
Загружено: 2026-03-13
Просмотров: 18
Описание:
Setting up a tripod might seem straightforward, but doing it correctly ensures your camera stays safe and your shots remain steady. Whether you are using it for a smartphone or a professional DSLR, here is a step-by-step guide to a proper installation.
1. Deploying the Legs
Most tripods use either flip-locks (latches) or twist-locks (knobs) to extend the legs.
Order of Extension: Always extend the thickest (top) leg sections first. The thinnest sections at the bottom are the least stable; only use them if you need the extra height.
The "Splay": Ensure the legs are pulled out to their widest default angle. Most tripods have a "stop" that prevents them from spreading too far.
Leveling: On uneven ground, adjust the length of individual legs rather than the center column to get the head level. Check the bubble level (usually a small green vial) if your tripod has one.
2. Setting the Center Column
The center column provides extra height, but it is the "weak point" for vibrations.
Keep it Low: Only raise the center column after the legs are fully extended.
Tighten the Wingnut: Once at the desired height, firmly tighten the locking collar or knob to prevent the camera from slowly "creeping" downward.
3. Mounting the Camera (The Quick Release Plate)
Most modern tripods use a Quick Release (QR) Plate so you don't have to spin the entire camera onto the tripod.
Remove the Plate: Flip the lever on the tripod head to release the small plastic or metal plate.
Attach to Camera: Screw the plate into the threaded hole at the bottom of your camera (or phone mount). Use a coin or the built-in D-ring to get it finger-tight.
Aligning: Ensure the plate is facing forward (usually marked with an arrow) so your camera points in the right direction when clipped in.
Lock it In: Slide the plate back into the tripod head until it clicks. Double-check that the locking lever is fully closed.
4. Adjusting the Tripod Head
Depending on your tripod type, you will have different controls:
3-Way Pan Head: Use the individual handles to control Pan (left/right), Tilt (up/down), and Level (horizontal/vertical).
Ball Head: Loosen one main knob to move the camera freely in any direction, then tighten to lock.
Video Fluid Head: These usually have a long handle for smooth, cushioned movement. Ensure the "tension" or "drag" is set so the camera doesn't flop over when you let go.
Pro-Tips for Stability
The Hook: Many tripods have a hook at the bottom of the center column. Hang your gear bag there to add weight and lower the center of gravity in windy conditions.
Point One Leg Forward: Always position the tripod so that one leg points directly toward your subject. This gives you space to stand between the other two legs without tripping over them.
#vlog #pjvlogs #trending #pj #tripod #ringlight
Повторяем попытку...
Доступные форматы для скачивания:
Скачать видео
-
Информация по загрузке: