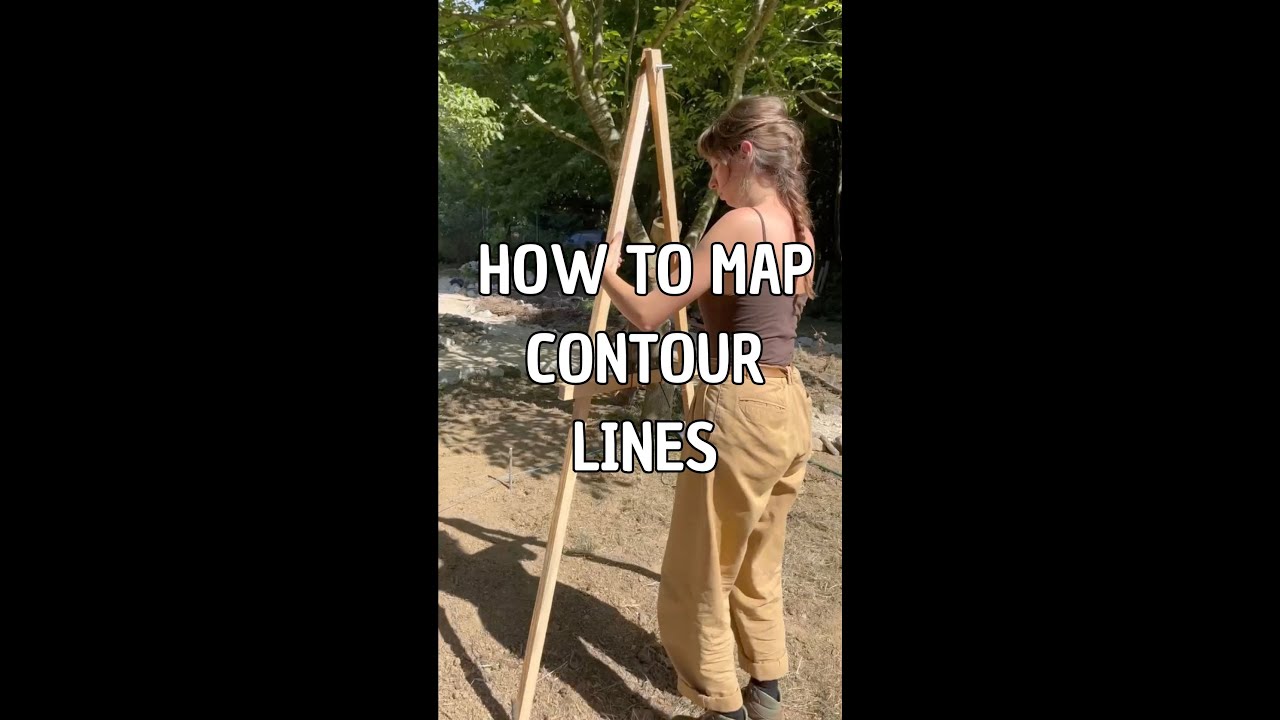
How to map contour lines using an A-frame
Автор: Quinta das Relvas
Загружено: 2023-12-27
Просмотров: 636
Описание:
Building an A-frame for mapping contour lines can be a useful tool for surveying and analyzing the topography of a given area. Here are the steps to construct an A-frame for mapping contour lines:
Gather the necessary materials:
Two sturdy wooden poles of equal length
Rope or string
A level
Measuring tape
Hammer or mallet
Bolts or screws
Drill
Sticks
Determine the desired height of your A-frame:
Consider the type of terrain you'll be working with and the accuracy required for your contour mapping project.
The taller the A-frame, the greater the distance you can cover when sighting contour lines, but it may also be more challenging to stabilize.
Mark the desired height on each pole:
Measure and mark the same height from the bottom of each pole. This will ensure the A-frame is balanced.
Attach the poles at the top:
Position the poles parallel to each other, with their marked heights facing upwards.
Align the poles at the top and bolt them together.
Position the poles with distance of 1m and connect the poles with another wooden pole that has a level zip tied on it
Set the A-frame on the ground:
Place the A-frame on a flat surface where you want to start mapping contour lines.
Ensure the A-frame is stable and upright.
Level the A-frame:
Use a level to ensure the A-frame is perfectly vertical.
Adjust the positioning of the A-frame until the level indicates that it is straight.
Begin mapping contour lines:
Mark the position of the A-frame on the ground with sticks
Repeat this process and connect all the sticks with a string
Remember to take necessary safety precautions while working with tools and equipment
Повторяем попытку...
Доступные форматы для скачивания:
Скачать видео
-
Информация по загрузке: