etrailer | Lippert Waste Master Replacement Hose with Clear View Port Review
Автор: etrailer
Загружено: 2021-01-02
Просмотров: 456
Описание:
Click for more info and reviews of this Lippert RV Sewer Hoses:
https://www.etrailer.com/Accessories-...
Check out some similar RV Sewer Hoses options:
https://www.etrailer.com/dept-pg-Acce...
https://www.etrailer.com
Don’t forget to subscribe!
/ etrailertv
Full transcript: https://www.etrailer.com/tv-review-li...
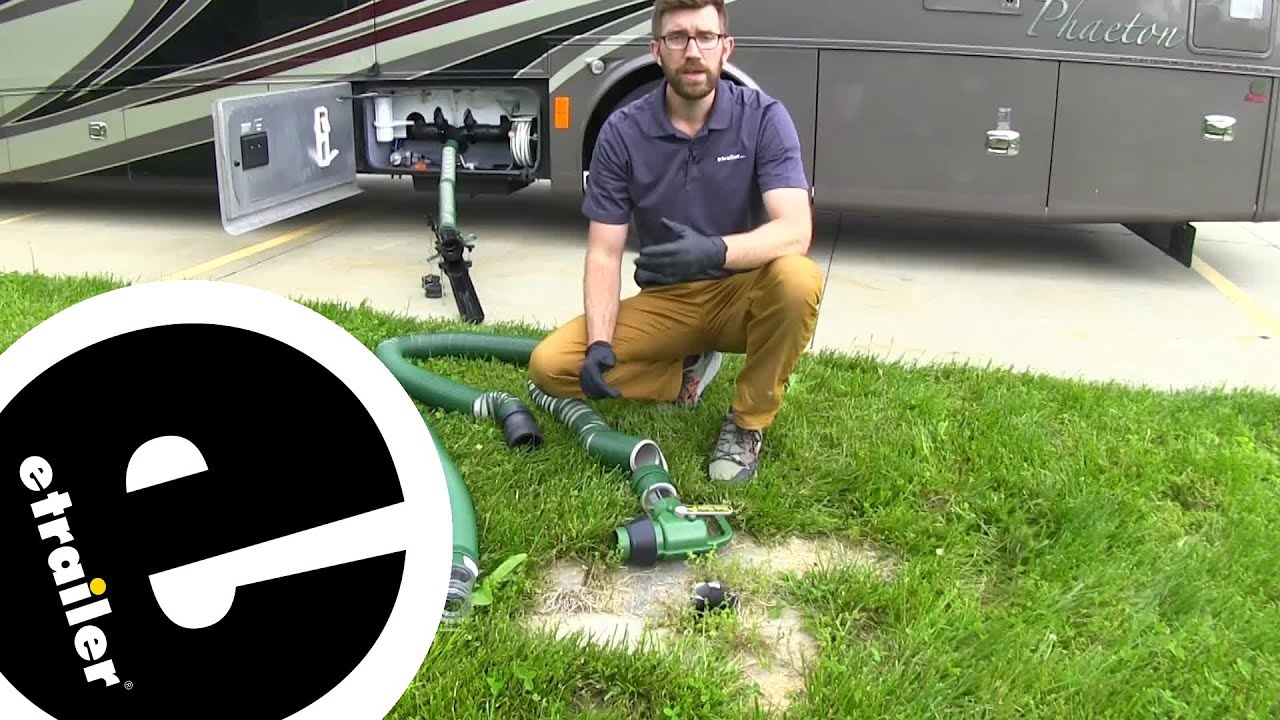
Zack: Hey guys, Zack here at trailer.com. Today, we're going to be taking a look at a replacement part for the Waste Master system. It's going to be the 20 foot hose with the Clear View end cap there. As you can see, this one was improperly used and it's been damaged. It is not even close to being repairable. So what we're going to do is we're going to take this piece off and we're just going to add it onto our new replacement hose.
That way we can get this system up and running again.To get this off of our old, damaged hose, we need to drive these two pins out right here, and you can use a small punch or a small screwdriver, but you don't want to be super aggressive with it because you don't want to damage anything. So I'm just going to take that and just give it a couple of taps, and you can see it starts to come out. So we'll just drive those out and we can take this off of our hose and put it on our new one. It looks like my screwdriver's a little short, so I have to grab a pair of pliers to get that pulled out the rest of the way. I'll get this other one started in the meantime.
Then, I'm just going to pull these pins out. We'll set those aside and make sure we don't lose those. I can take this off and we can put it on our new hose.We'll grab our new hose, and you can see this end right here doesn't have the seal that's in the factory one. So we're going to take that out, inspect it, make sure it's not damaged. If it is damaged, you're going to have to pick up a new one, but it should be good.
So we'll put that in place. And then we can just reverse that order that we took this off and get this put back in place. Now, one thing to keep in mind is, you want it to get it lined up so those holes are going right through here, because that's where those pieces slide through. So if you're off just a little bit, it's not going to be able to slide down in that cavity, so I'll make sure that that's lined up and we can start putting these pins back in place. And then I'm just going to give him a little tap to get those seated back down in there.
Make sure they're flush with it.Now we're up and running again. You can see once we get that secure, this one's going to spin just like the other one. It's a little bit more loose than the factory set up. The other one had a little bit more friction behind it, but with that secured in place, and with that seal back on there, we're not going to have any issues with leaks. We're going to see, we still have that clear side there so we can have a good idea of when we're done emptying our tanks out. We're going to have the same outside exterior coil there, so it has that smooth inside so we don't have anything getting trapped in there. This will be five feet when it's fully retracted. And then when we extend this out all the way, it's going to be 20 feet. We're going to have that same style female connector, but overall, this is going to be a really nice, easy way to get our system up and running again. We had that damaged hose, so now we can get this all hooked back up and be good to go.But that's going to do it for a look at the Waste Master hose replacement..
Повторяем попытку...
Доступные форматы для скачивания:
Скачать видео
-
Информация по загрузке: