#AD
Автор: Greenalink
Загружено: 2017-07-20
Просмотров: 4085
Описание:
Labelled as #AD as I was given a Switch Game Key from Inti Creates. This video is not a paid sponsor.
Timing:
Starts when you gain control of the tank.
Ends:
When the light coloured bar of M.Overlord goes away.
The run itself is decent and can be improved by a few seconds but the real challenge is to get a cleaner run and vital RNG against the final boss along with it because, if you don't get the luck required, the time you've saved before the fight will be all for nothing.
Area notes:
Area 1:
Fairly straight forward, a few minor hiccups in 2 of the tall rooms. Didn't get the big cyan special bar (worth 4 bars) drop against the wall enemy.
Area 2:
Easier to optimise than Area 1, I use up some dashes to kill the green critters and hopefully get good item drops.
Area 3:
This room is unique because none of the enemies in this area are actual threats and so item drop RNG isn't a thing. Using a Spark Dash allows Sophia to dash underneath the falling pillars unharmed.
Area 7:
Using a Joy-con instead of a Switch Pro Controller has a nice advantage as I can mash the UP button as Jason slowly crawls inside a crawlspace. I used the cannon to quickly destroy any extra bugs from the security lights without wasting time and then before entering the dungeon, I select crusher as it deals reasonable damage against Skeleton Boss (5 hits overall to kill by using 4 shots and a dash). Inside the dungeon, I select Turret to lure the security guard enemies and ignore Jason completely.
Area 8:
This area is the least consistent part because item drops can make a difference in the last set of rooms. After dashing across mini spike pits, I select cannon to destroy any blocks below the player and a bunch of enemies underwater. After the underwater section, I select laser to destroy a bunch of blocks quickly in the last room before the dungeon entrance, Spark Dash through the spikes and enter the last dungeon.
One major flaw this game has (as of V1.1) is that if you dash and successfully eject as soon as possible, the game crashes. Inti Creates is aware of this and will be fixed in a future patch (probably on the same day Gunvolt DLC is available).
/ 844323547698905089
The last dungeon is a labyrinth and the fastest route is left door 3 times and then right door. This skips any sequences where the doors are locked and the player has to destroy any enemy in sight.
Underworld Lord:
Using Striker deals decent damage per second at close range, stronger than wave gun. A Turret is used to attract the lightning beam.
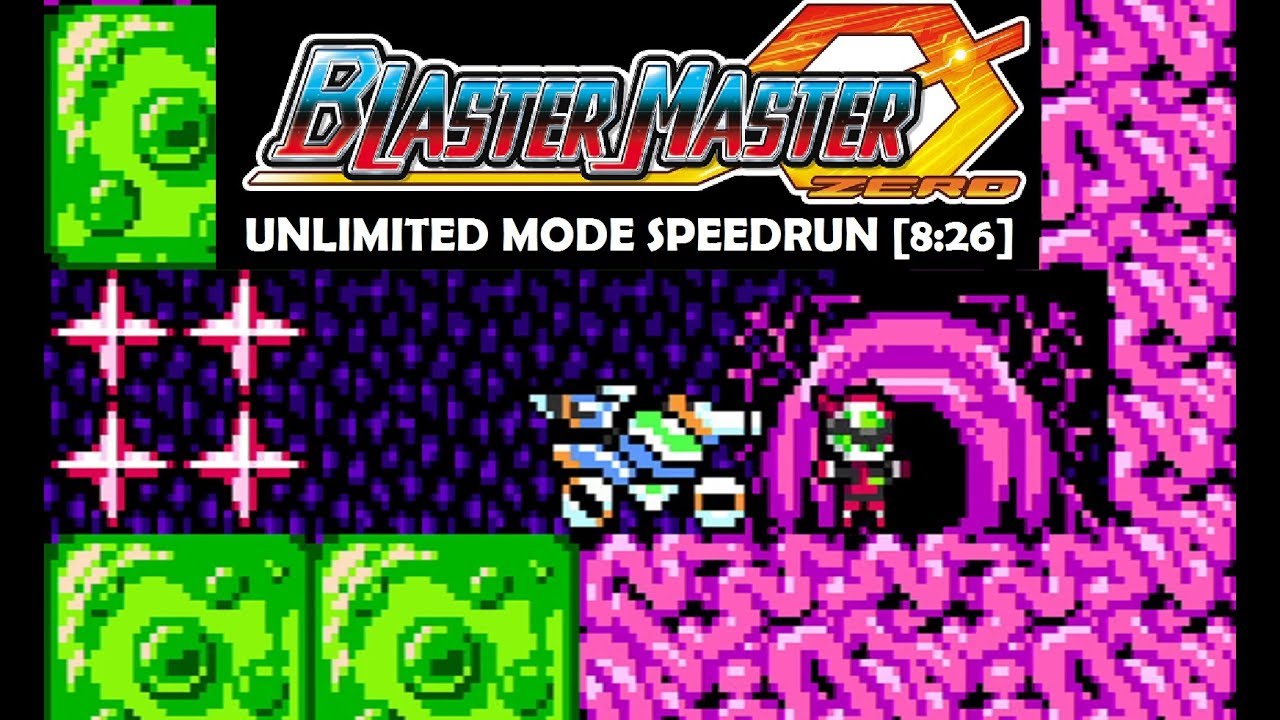
Multidimensional Overlord:
This fight decides whether or not the entire run is a success or a failure, I had a lot of good runs died due to average or terrible RNG.
The boss can change colour that not only it changes its main attacking move but also defensive weakness/resistances as well.
Here is the order of forms from best RNG to worst.
Best form:
Brownish-Orange: This form turns out to be the best as it takes more damage from Striker than any other form and it can flinch from the weapon as well, you can see the HP bar suddenly jump to 0% with good mashing skills. This form's move is unleashing a small shockwave around the boss itself, it disappears and then re-appears based on the player's location. This form gets stunned for a few seconds after taking a hit from a Striker
Acceptable forms:
Blue: This form can take damage from Striker and can get flinched from it too but, it will require a few more hits than Brownish-orange mode. Blue mode's move is laying glowing mines which will explode in 8 directions. This is the only form that will drop power-ups after destroying a mine. This form gets stunned for a few seconds after taking a hit from a Striker
Red: This form can take damage from Striker but cannot get flinched from it. Red mode's move is using homing underground spikes that will hit the player if they stop moving for a brief second. This form gets stunned for a few seconds after taking a hit from a Penetrator
Worst form:
Green: This form is immune to Striker, if this happens during your serious run, you can kiss your PB goodbye. Green mode's attack is summoning 4 rocks, 1 starting at each corner, they go around the perimeter of the stage, increasing in size. This form gets stunned for a few seconds after taking a hit from a Flame
Possible improvements:
Area 1:
Better optimisation and item drop RNG
Area 2:
None (but more dashes if I got vital item drop in Area 1)
Area 3:
None
Area 7:
Use dash a few more times in some of the long straights.
Area 8:
Optimisation can be improved before the dungeon segment but the tough part is to get the same decent RNG against Multidimensional Overlord. Also playing a later version that has the Spark Dash eject bug fixed should enable me to save a few extra frames before entering the dungeon.
Повторяем попытку...
Доступные форматы для скачивания:
Скачать видео
-
Информация по загрузке:


![[TAS] NES Blaster Master](https://image.4k-video.ru/id-video/DuxNC3_Oc6o)


![[TAS] SNES Mega Man X2](https://image.4k-video.ru/id-video/Aoesyy3cbtQ)

