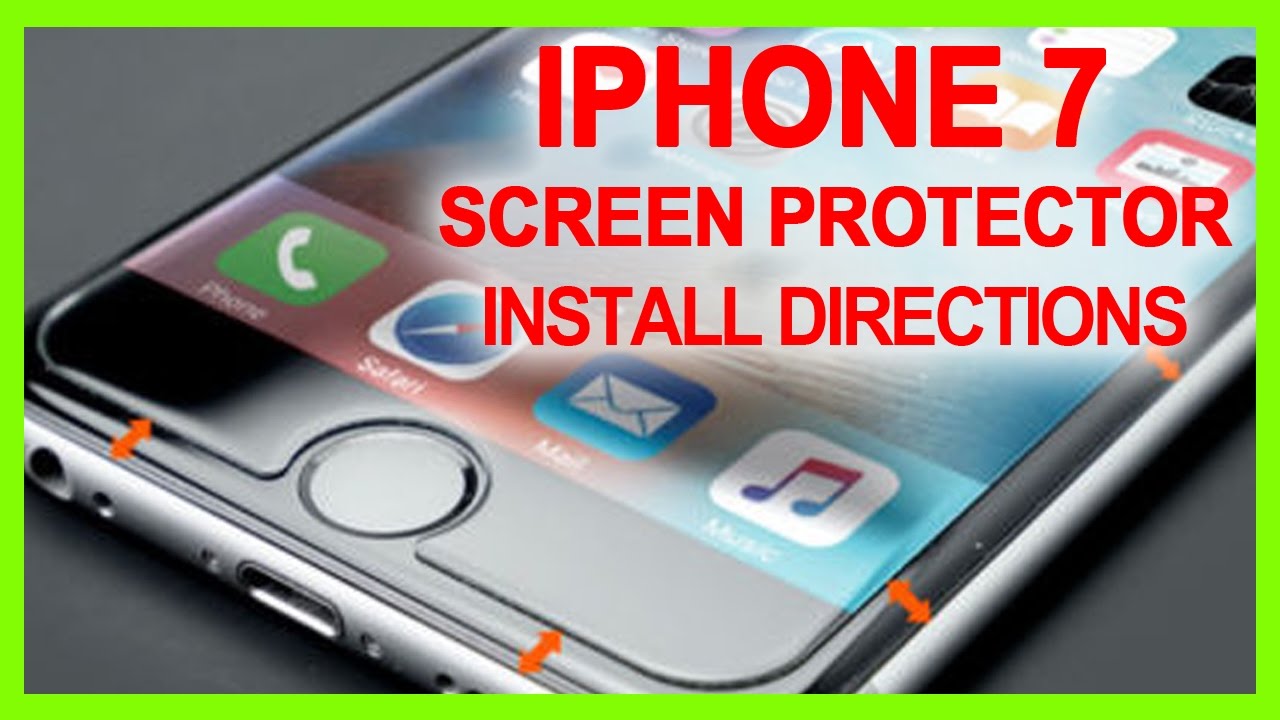
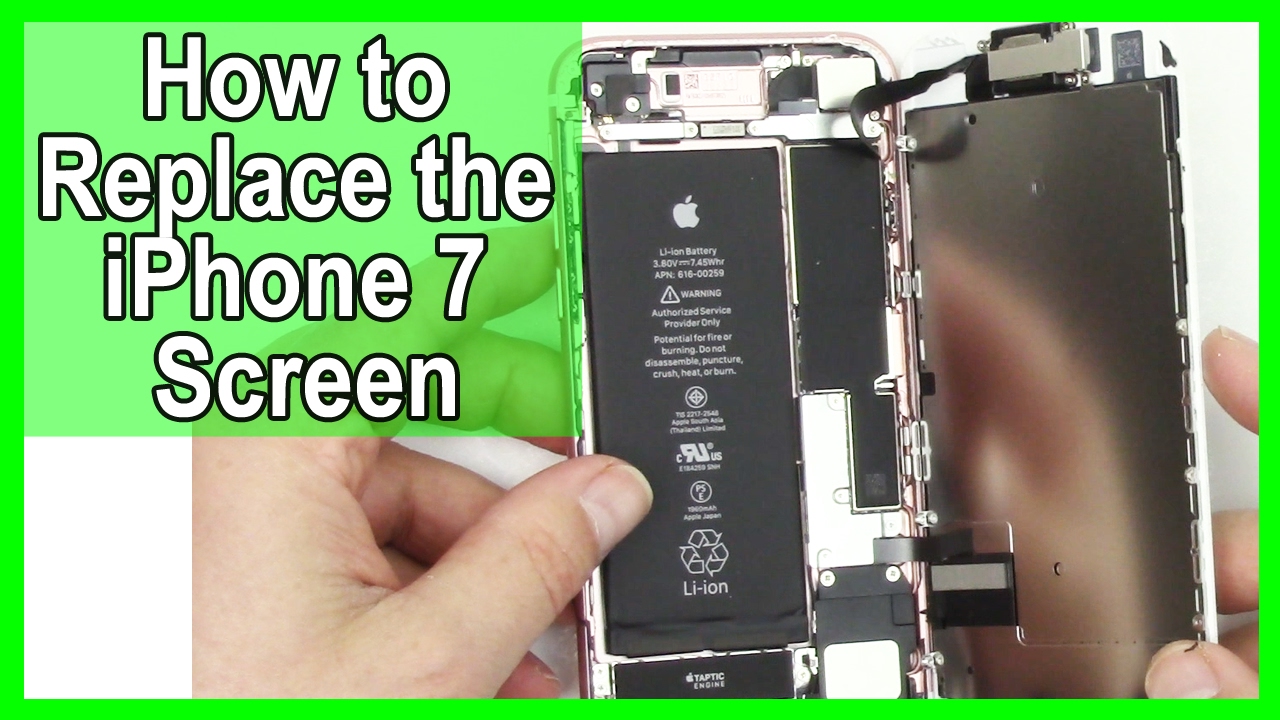
How to iPhone 7 Screen Replacement and Repair
Автор: DirectFix
Загружено: 2017-02-13
Просмотров: 1638
Описание:
These directions will show you the steps to replace iPhone 7 screen in 4 minutes. We cover everything from the iphone 7 screen replacement to the re-assembly.
Reassembly directions start at 2:30. You will still need to transfer parts over from the iPhone 7 broken screen. We have another video listed below on those directions. How to iphone 7 broken screen replacement directions. Replacing the iphone 7 screen is easy and we show you the steps in under 4 minutes.
Get screen replacement iphone 7 here: http://www.directfix.com/category/iPh...
Below we have also listed all the tools we used in the video. If you need a iphone 7 screen repair part or an iphone tool take a look at the list below. Our step-by-step 7 repair videos are unparallel to any other directions on the market. No worries our support team is only and email away if you need help.
Subscribe to our channel: http://www.youtube.com/subscription_c...
****
iPhone 7 Screen and Tools:
****
iPhone 7 Screen Replacement http://www.directfix.com/category/iPh...
ScrewMat for the phone 7: http://www.directfix.com/product/SCR-...
Y 0.6mm Tri-point Screwdriver: http://www.directfix.com/product/IP-2...
Pentalobe Screw Driver: http://www.directfix.com/product/IP-2...
Suction Cup: http://www.directfix.com/product/XX23...
Plastic Pry Tool: http://www.directfix.com/product/XX15...
#00 Phillips Screwdriver: http://www.directfix.com/product/XX22...
****
Social Links:
****
Like Us on FaceBook: / directfix
Google Plus: https://plus.google.com/1081514112819...
Follow us on Twitter: / directfix
iPhone 7 Repair Directions:
****
Remove the two pentalobe screws on the bottom of the iPhone.
Attach a suction cup to the lower half of the display assembly, just above the home button.
Be sure the suction cup does not overlap with the home button, as this will prevent a seal from forming between the suction cup and front glass.
Pull up on the suction cup to create a small gap between the display assembly and the rear case.
Insert the flat plastic pry tool in the gap.
Slide the pry tool to the left along the lower edge of the iPhone. Twist the pry tool to help widen the gap between the display and rear case.
Remove the suction cup tool and open the iPhone screen.
Do not raise the display too much as there are ribbon cables along the right edge of the device connecting the display to the logic board.
Pull the display assembly slightly away from the top edge of the phone to disengage the clips holding it to the rear case.
Now remove the 4 tri-point screws. One of them at the orange arrow is longer so keep track of it.
Remove the lower connector bracket.
Bend the connector cable up slightly to prevent it from making contact with the socket and providing power to the phone.
Use the point of a spudger to lift the battery connector out of its socket on the logic board.
Bend the connector cable up slightly to prevent it from making contact with the socket and providing power to the phone.
To re-attach press connectors, press down on one end until it clicks into place, then repeat on the other end. Do not press down on the middle. If the connector is even slightly misaligned, the connector can bend, causing permanent damage.
Use the flat end of a spudger or a fingernail to disconnect the two lower display connectors by prying them straight up from their sockets on the logic board.
To re-attach press connectors, press down on one end until it clicks into place, then repeat on the other end. Do not press down on the middle. If the connector is even slightly misaligned, the connector can bend, causing permanent damage.
Remove the metal bracket.
Remove the two Phillips screws holding the metal bracket over the front panel sensor assembly.
Now remove the metal bracket.
You are now going to remove by popping them up the 2 of 3 connectors that go to the screen.
Now remove the final screen connector again by lifting up.
Remove the display assembly.
Now move over all the parts over from the old screen to the new screen.
No following the directions in reverse you can start the process of re-installing the iphone 7 screen.
Trademark DirectFix 2017. All rights reserved. iPhone, iPod, and iPad are trademarks of Apple Inc. DirectFix is in no way affiliated with Apple Inc.
~-~~-~~~-~~-~
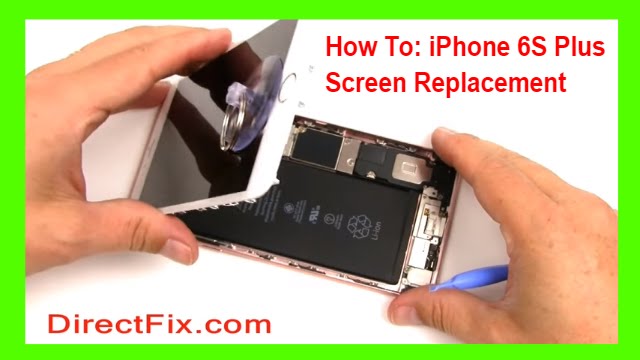
Please watch: "iPhone 6S Screen Replacement done in 3 Minutes"
• How To: iPhone 6S Screen Replacement done ...
~-~~-~~~-~~-~
Повторяем попытку...
Доступные форматы для скачивания:
Скачать видео
-
Информация по загрузке: