etrailer | Setting up the Air Lift 1000 Air Helper Springs for Coil Springs on a 2013 Honda Odyssey
Автор: etrailer
Загружено: 2018-12-26
Просмотров: 3206
Описание:
Click for more info and reviews of this Air Lift Vehicle Suspension:
https://www.etrailer.com/Vehicle-Susp...
Check out some similar Vehicle Suspension options:
https://www.etrailer.com/suspension-e...
Search for other popular Honda Odyssey parts and accessories:
https://www.etrailer.com/vehicle/2013...
https://www.etrailer.com
Don’t forget to subscribe!
/ etrailertv
Full transcript: https://www.etrailer.com/tv-install-a...
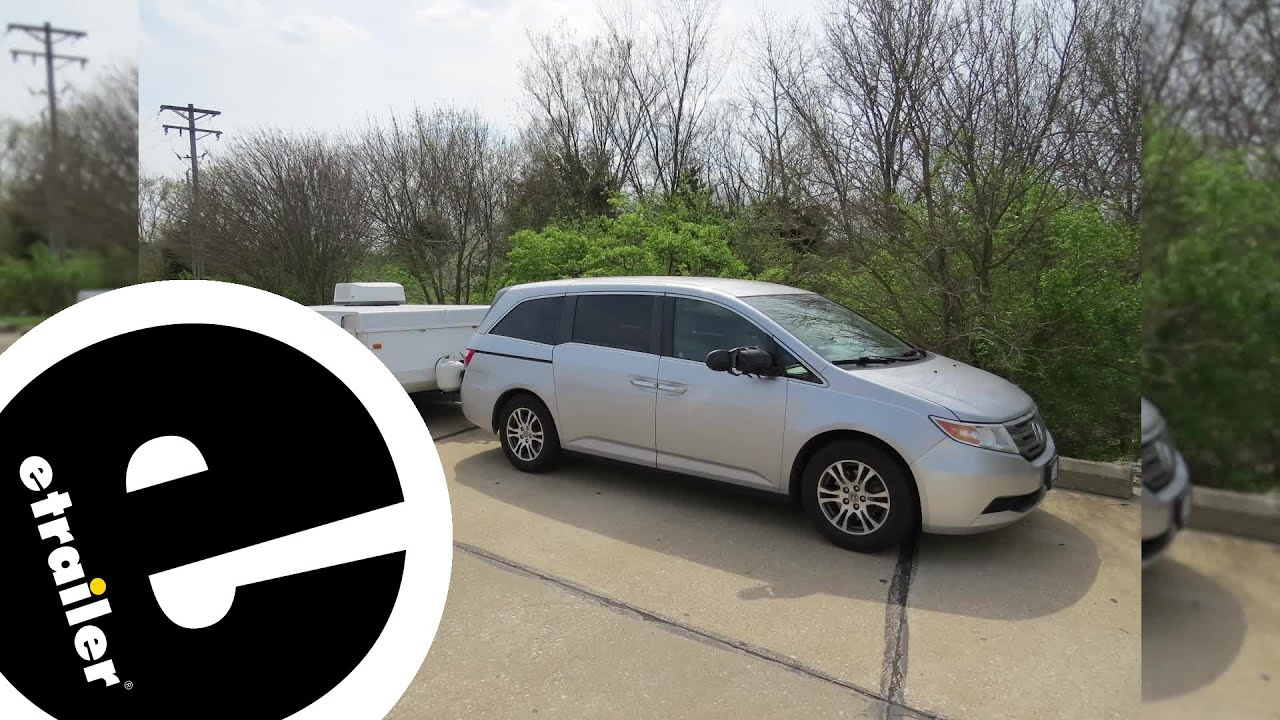
Speaker 1: Today on our 2013 Honda Odyssey, we're going to be installing Air Lift's AirLift 1000 Air Helper Springs, part number AL60815.These air bags are going to help support the load at the back of your vehicle. These air bags fit between your coil spring. While this doesn't increase the carrying capacity of your vehicle, it does help support loads of up to 1,000 pounds. Depending on the load that you're hauling, you can adjust the carrying capacity with various amounts of psi inflated inside your bag. This can be between 5 and 35 psi. The kit allows the air bags to be inflated independently from one another, and there's also a tee fitting included in the kit, so you can use one valve to control both and have equal inflation on both sides.Before we begin, we'll check some measurements on our vehicle while it's unloaded.
In the rear, we're measuring about 30-1/2". In the front, we're measuring about 30-1/4. And now we'll recheck our measurements with a load attached to our hitch. Measuring about 29-1/4", and in the front, we're measuring about 30-1/2, so what that means is our rear dropped about 1-1/4", and our front raised up about 1/4". So, this is going to affect how our vehicle brakes, handles, and the direction our headlights are going to point when going down the road at night.
Putting some helper springs in the back can help bring us back to that factory ride height.Now we'll take it out on our test course to load it up so we can see what our suspension looks like with no helper springs installed.Now, with our air bags installed and our trailer hooked up, loading down our vehicle, we'll recheck our measurements. Here at the rear, we're measuring 30-1/4, so we're only dropping down 1/4" from our factory ride height. And we're rechecking the front, we're measuring 30-1/2. So, we do still have our slight rise in the front, but we've leveled out the back, which will make an effect, and bring our headlights back down to true.Overall, returning our ride height closer to factory is going to bring back some of that braking performance, it's going to improve ride quality inside the vehicle, and also improve that handling. It does this because most of the braking is done in the front, so now our weight can properly distribute into the front, like it did when it was unloaded.
Handling has improved, because the ride height is now even, which makes our suspension geometry come more into its alignment when it's unloaded. This way, it'll help reduce tire wear when going down the road.We'll begin the installation by removing the wheels. You can do this with a 22 millimeter socket. After the vehicle's supported and both wheels are removed, you're going to want to place a floor jack underneath the lower control arm. Now it's safe to remove the bolt holding the lower control arm to the steering knuckle.
You'll remove this with a 17 millimeter socket.Now crack the jack slightly to lower the control arm down slowly. Now that all the tension's been relieved from our coil spring, we can safely remove it. Push down on the lower control arm. You can now set your spring aside. We'll now remove the jounce bumper with a 14 millimeter socket. You'll need a small extension so you can get up in there and remove it. We'll now set our jounce bumper aside, as we're not going to be re-installing this.Now cut out the template in your instructions. Place it on top of the coil spring seat with the hole facing slightly towards the inside, and tape it down. Now, to make it easier to drill, you can take a piece of wood and put it between your lower control arm and your brake caliper bracket. This'll hold it down and just get it out of your way to make it easier. I did take a strap as well to help support the wood because vibrations from the drilling is going to want to make it kind of wobble out of place, so this'll hold it in there for you.Now we'll drill out the hole in the location marked on the template. We're going to start with a small pilot hole, but we're eventually going to be drilling it up to a 3/4" diameter. Now place your air bag with the nozzle facing down inside your coil spring. Make sure both your upper and lower spring mounts are in place, and then set it back on top of your lower control arm. Make sure that it's rotated into the appropriate position. If you rotate it back and forth, you'll feel its seat. Now we can take our block of woo
Повторяем попытку...
Доступные форматы для скачивания:
Скачать видео
-
Информация по загрузке:


