How to open and Add/Install Expansion drive's SATA Drive to your Alienware PC? Easy Cheap Solution.
Автор: Rzak Techworld
Загружено: 2020-08-12
Просмотров: 3148
Описание:
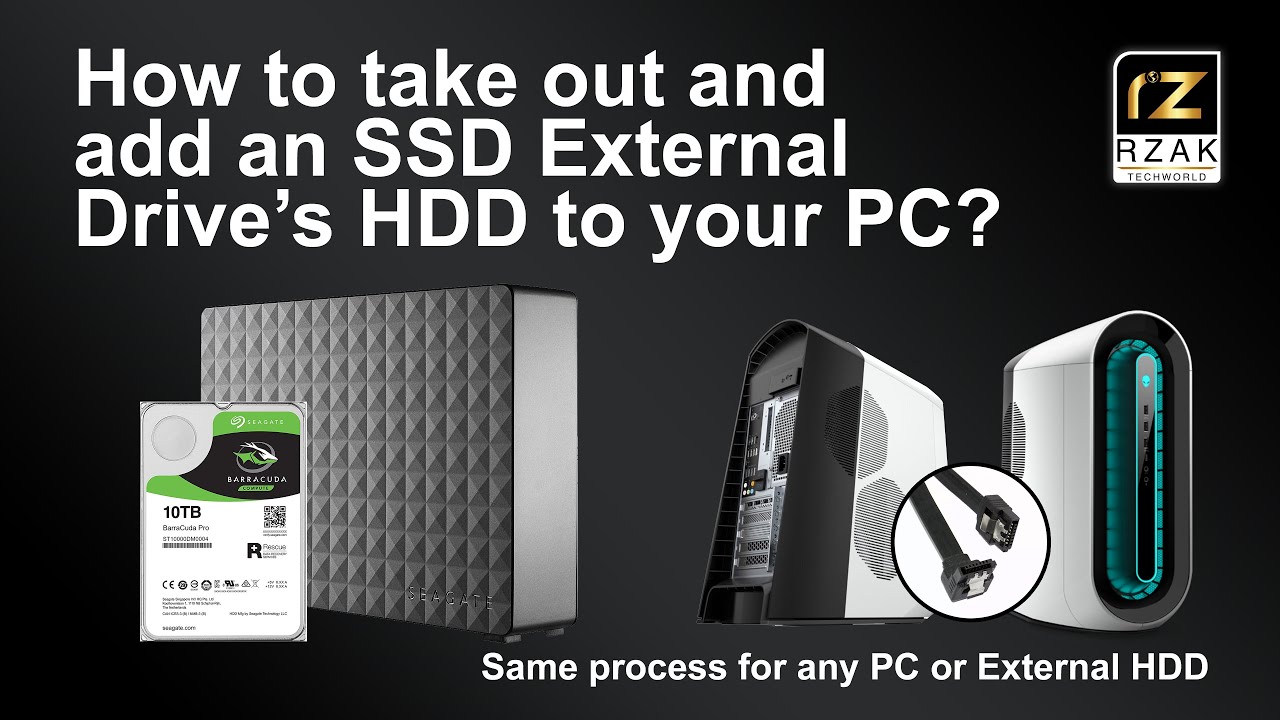
Easily Add / Upgrade / Install 10TB, 12TB, 14TB, 16TB or 20TB cheap and easy to your PC. If you are planning to extend the Hard drive memory on your PC here is a good trick that you can use to get a Cheaper HDD upgrade.
All you need to do is buy an External desktop HDD from the market which you will notice that you might get much cheaper than buying an Internal Hard Drive. I would suggest getting bigger external drives because they mostly come with 7200RPM premium drives. I have over 70TB of External Backup Drives at the moment. For my new PC I specifically got this Seagate 10TB Expansion Drive pretty cheap from Amazon Australia, I did a bit of research to confirm it was equipped with a 7200RPM Baracuda Pro drive. A 5400RPM would have been pretty slow as an add-on drive.
It’s a simple process to extract the Hard Drive from the expansion drive, just follow the instructions I have shown in this video. This trick works on almost all External Backup drives. First step is to open your External Drive. Some drives have inter-locking enclosures, some come with screw models. In my case there are no screws so I need to open it by using a prying tool, I used the butter knife in my case 😊 Just gently insert the prying tool into the gap and start unlocking these interlocks. You will hear a click sound confirming that it has opened. Continue working around all the sides of the case until its all opened.
Next open the top cover and you will see the Internal Drive tightly packed in the disk enclosure. The Hard Drive is connected with the adapter circuit board which you need to take out. Don’t throw it away as you can use it later if you need to. Carefully extract the Hard Drive from the enclosure. In my case I pulled the hard drive by using this aluminum kind of Safety Tape wrapped around the circuit and drive. You could use the screw driver or some other tool to pull it upwards.
I removed the Adapter circuit gently, then I removed these rubber pads to reveal the screws, you can re-use these rubber pads as well. I removed the screws and was able to successfully extracted this Brand New Baracuda Pro internal HDD ready to be installed on any PC.
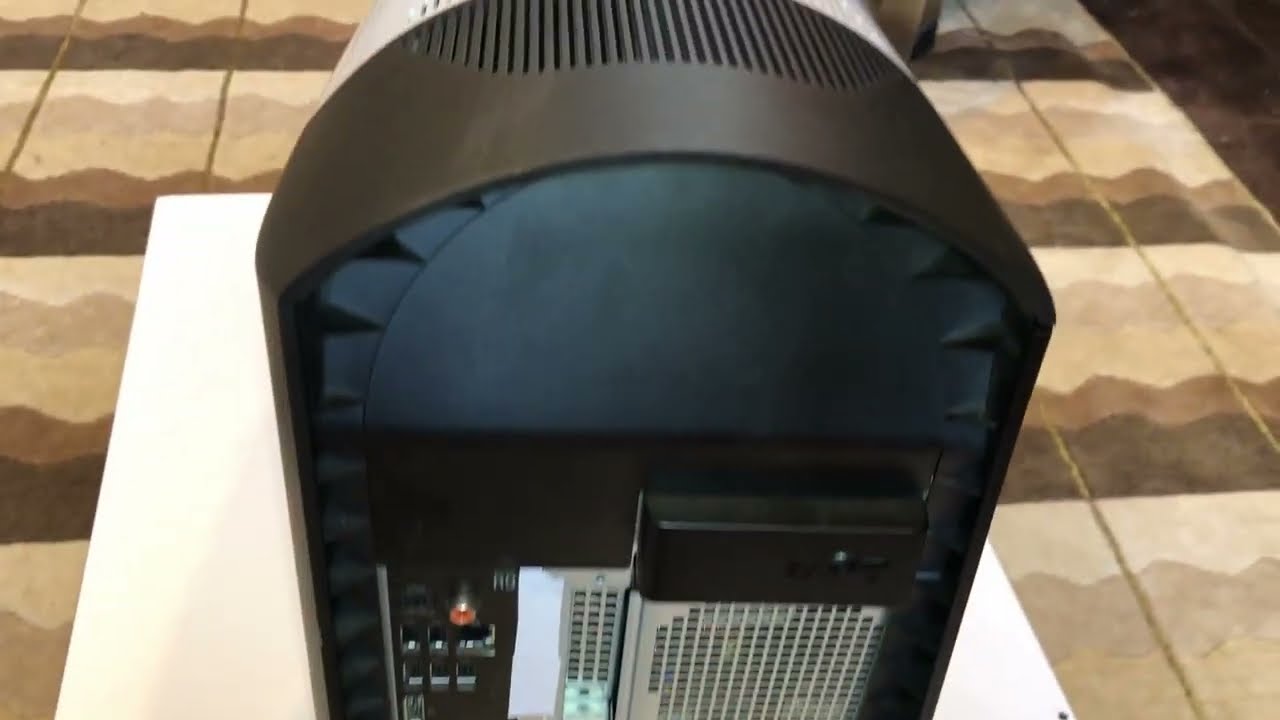
In my case I opened my R11 PC. I plan to install Two Sata drives on my PC. So first thing I did was to locate the Sata drive ports on my PC’s Motherboard. Connect the Sata connector to the motherboard on one side. And connect the Sata Cable along with the Power supply input cable to your Sata Drive.
Find a safe spot to put your SATA drive into your sytem. In my case the R11 does have space for putting extra peripherals. I find this spot at the bottom convenient and safe. Please make sure that your cables are not hindering the Case or GPU Fans and not touching any part of your motherboard. Secure it properly into the enclosure.
After installing the drive, turn on your PC and check if it has detected your Drive. And that’s it you are all done.
If you are happy with one partition that is great. I created two partitions for this drive. And now my Alienware R11 Aurora has 14TB of total Storage Memory which is great.
Повторяем попытку...
Доступные форматы для скачивания:
Скачать видео
-
Информация по загрузке: