Nameless Intake Installation: Crosstrek / Impreza / Outback / Legacy / Forester
Автор: Nameless Performance, Inc.
Загружено: 2024-09-04
Просмотров: 3018
Описание:
Here's a quick video of our installation for our intakes for the FB20 and FB25 engines in the Crosstrek, Outback, Forester, Legacy and Impreza, as well as some brief step by step details of the process of installation. Video shows a crosstrek, but functionally the process is the same across all FB20 and FB25 vehicles - kit parts differ in dimensions and components but the process of installation remains the same.
1. Loosen the hose clamp attaching the factory intake tube to the airbox.
2. Loosen the hose clamp attaching the factory intake tube to the throttle body.
3. Use a flathead screwdriver to pop the center pin out of the clip attaching the factory intake tube to the intake manifold. Once that center pops up, you can pull the whole clip out of the hole in the intake tube and intake manifold. This will not be re-used.
4. Locate the spring clamp that attaches the factory PCV tube leading from the factory intake tube to the connection under the drivers side of the intake. Use a pair of needlenose pliers to squeeze the tabs on the clamp and move it up the hose. Pull the hose off of the barb. You're now ready to remove the factory intake tube and PCV hose from the engine bay. There is a better view of this at the 3:40 point in the video.
5. Pull the intake tube out of the engine bay.
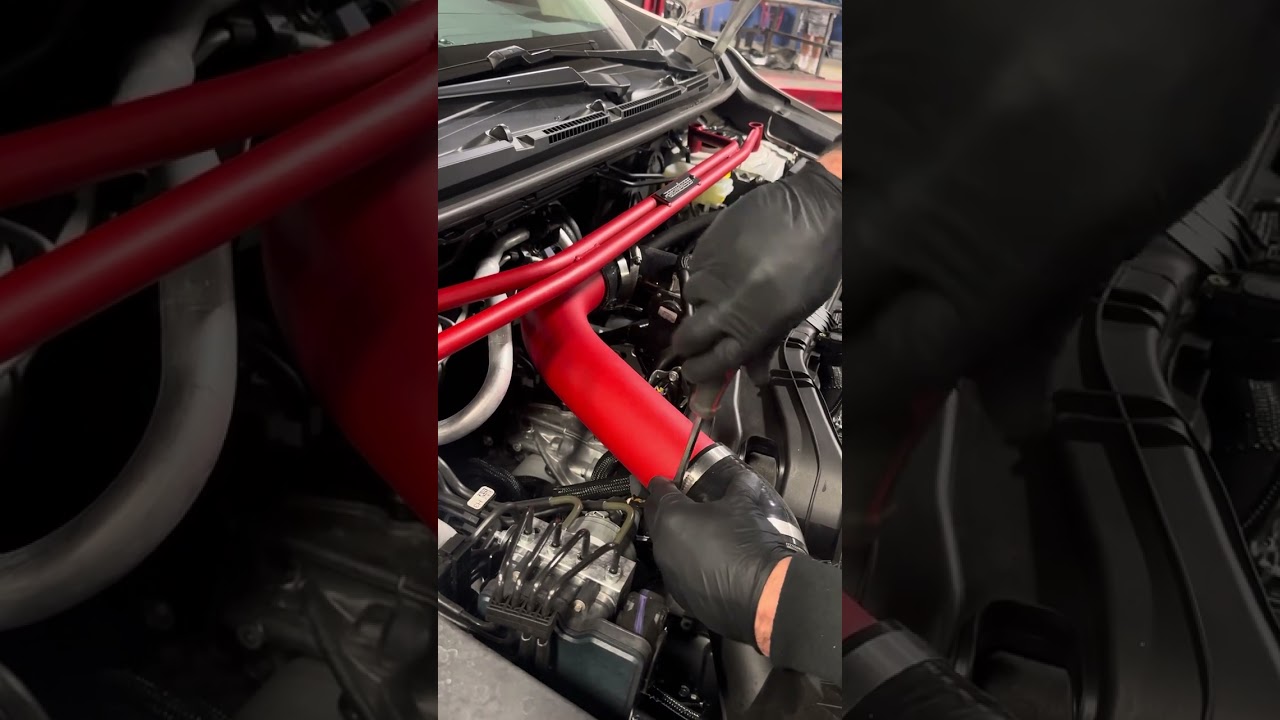
6. On the bench, get the new intake tube set up as shown in the video at 1:05 point, with the L shaped silicone hose attached to the fitting on the underside of the intake tube facing toward the driver side of the engine bay, with the plastic barbed fitting attached in the open end of the breather tube. Set up the intake with the silicone couplers on the ends of the intake tube and the hose clamps loose over the silicone hose. The 90 degree silicone coupler goes between the intake tube and throttle body, the 40 degree coupler goes between the intake tube and the airbox. The throttle body end of the intake tube is the one with the stainless fitting for the PCV on it.
7. Once the couplers are over the throttle body and the airbox adjust the tube and couplers so that you've got ample engagement of the tube, airbox and throttle body into the couplers and make sure that the intake tube is routed in a way that it lines up straight and isn't off-angle as it goes into the couplers. Align the hose clamps perpendicular to the couplers and tighten them down with a screwdriver or nut driver until they are snug. Once they're all snug and the parts are still lined up nicely, tighten them down fully - no need to go too tight, just enough to see that there are not gaps in the hose clamp and that it's got firm engagement with the coupler.
8. Attach the factory PCV hose over the plastic barbed fitting at the end of the silicone breather tube on our intake, squeeze the hose clamp again with the needle nose pliers and put the hose clamp over the hose and barbed fitting. No hose clamp is required at the intake end of the PCV breather - the barbed fitting does the trick on its own, but you could certainly add a clamp if you prefer one.
Повторяем попытку...
Доступные форматы для скачивания:
Скачать видео
-
Информация по загрузке:

![Subaru Impreza 2.0L [#69-8010TTK] Air Intake Installation](https://imager.clipsaver.ru/O9EOCcdMWzY/max.jpg)