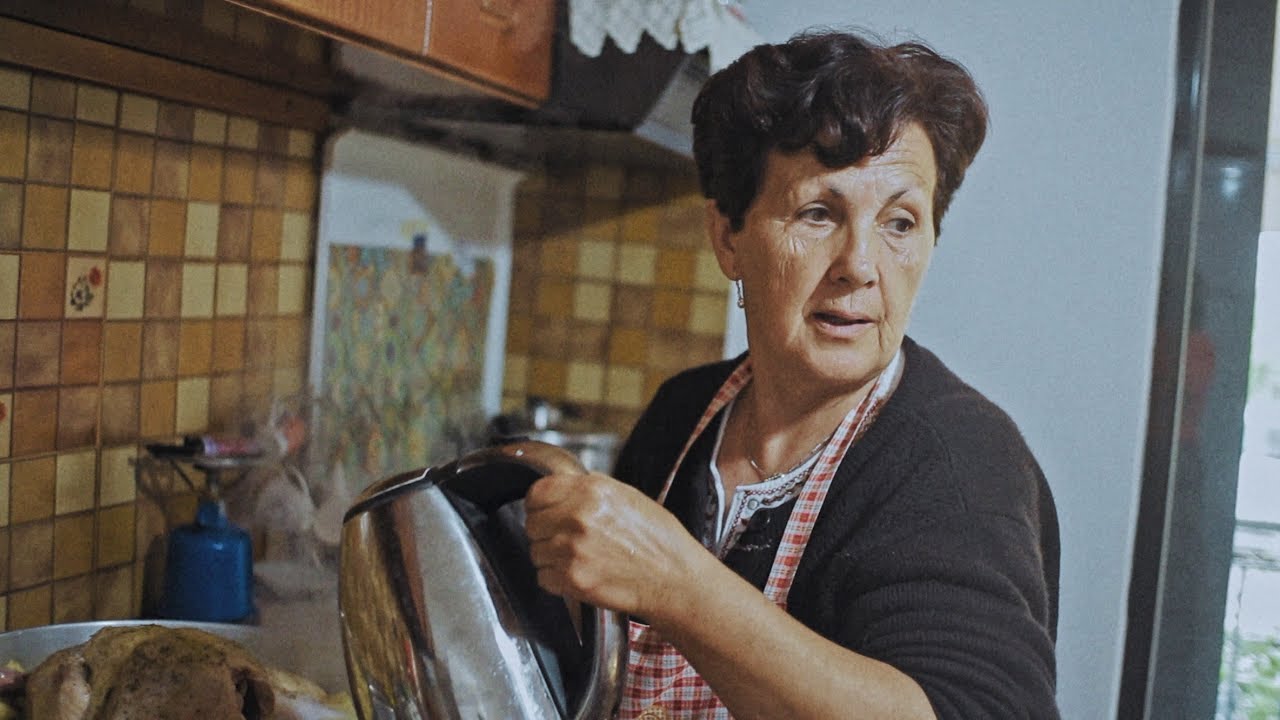
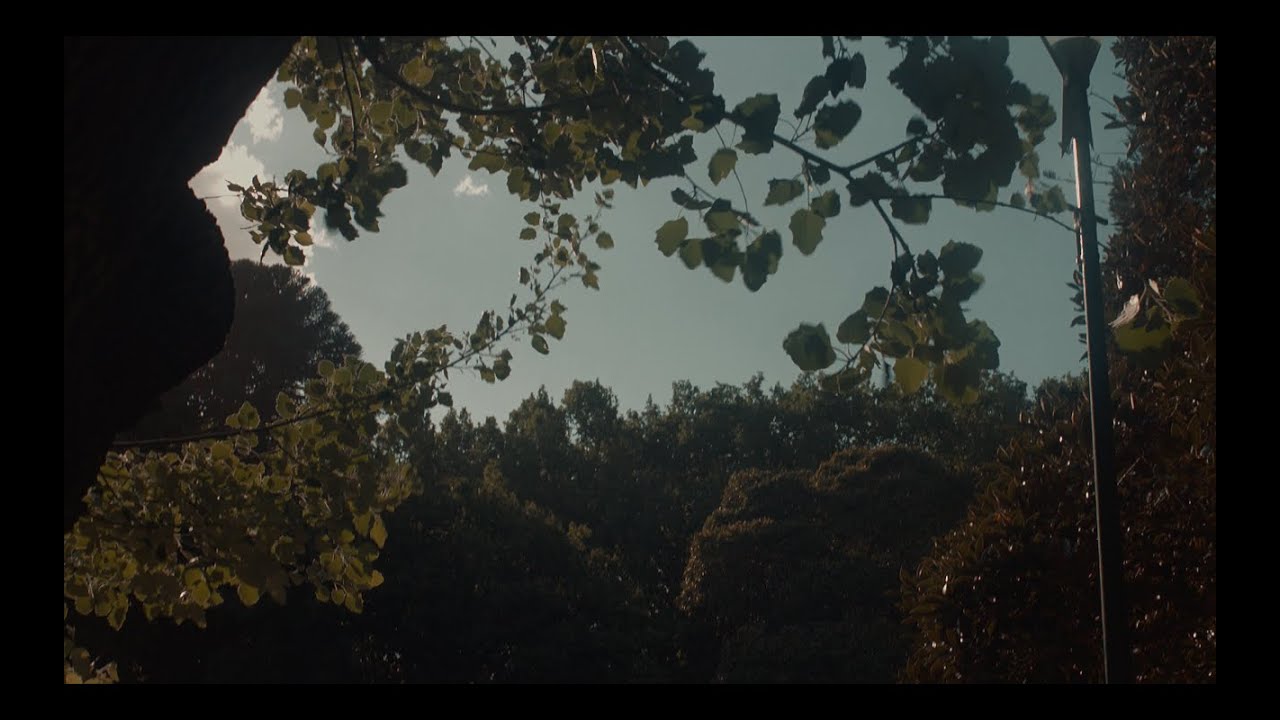
Epirus, Greece (vintage film-like look)
Автор: Eugenia Loli
Загружено: 2019-06-05
Просмотров: 4271
Описание:
A small video of my family in Greece, from my recent vacations.
Shot handheld with a Canon EOS M at1080/24p, using the VisionColor CineTech picture profile. I used the internal h.264 encoder, not Magic Lantern. Slightly graded with DaVinci Resolve's color wheels, and FilmConvert. I used a variable ND filter, and the 7Artisans 25mm f/1.8 lens (wide open).
Here's the tutorial on how I got that look:
1. Install VisionColor's CineTech picture profile on your Canon camera ($15). I've tried the same process with other profiles or other cameras (e.g. Panasonic's CineLike D, BMPCC) and it doesn't quite look the same. Thankfully, an EOS M + a fast 25mm lens is overall about $220 on eBay. You get the added benefit of being able to run Magic Lantern for RAW video too on that camera as long as it comes with firmware 2.0.2 (v2.0.3 is not support by Magic Lantern).
2. Modify the Cinetech profile to be -5 sharpness, -5 contrast, -4 saturation, +2 hue.
3. Enable the D+ Highlight Tone Priority on your Canon camera. This will give you half a stop more of highlight dynamic range. Turn that off for dark scenes.
4. Set your camera to 1080/24p (or 25p in PAL), 1/50th shutter speed, ISO 200. If you rather use half stops, go for ISO 320 (although these won't be available if you enable D+).
5. Turn OFF continuous/servo AF unless you use a DPAF Canon model. I personally use manual lenses (best cheap options for ~35mm equiv look are the 7Artisans 25mm f/1.8 or the Kamlan 21mm f/1.8).
6. I personally shoot wide open, and I control my exposure with a variable ND filter ($20) outdoors, and with ISO changes indoors/night. While I didn't use one, it's best to couple the ND filter with an IR CUT filter ($35), because NDs shift colors a lot and don't grade well.
7. Set the white balance, set your exposure until your subjects aren't overexposed (I use both the exposure info and the RGB histogram on screen to guess my exposure), and shoot your movie! Thankfully, Canons don't shift too much during AWB recording, but Panasonics do, so be aware of that.
8. Bring in to DaVinci Resolve and create proper project properties: 1080p, 23.976 fps (or 25.00 for PAL).
9. Do your edit, and then go to the color tab.
10. For the first node: use the Color Wheels, set the right temperature and tint if they require adjustment. Midtone Detail to 50.00. Now, look at your Parade scopes. For your main subjects highest peaks shouldn't be higher than 768, and the lowest should be about 50 (they should never touch the noise floor of 0). If they do, you need to bring Highlights down (the slider that's next to Color Boost and Shadows), and Shadows up. Also experiment with the Lift, Gamma and Gain, to bring the image to a good look both to your eyes, and your scopes. Do not use a lot of Contrast, only some scenes might require 50-100 points or so, but not more than that. Do the job via lift/gamma/gain instead and highlights/shadows. Add saturation at 60.00. On the THIRD page of the wheels (the one that has the wheels for Shadow/Midtone/Highlight) also bring Highlight down to 0.05 to -0.20 depending on the scene -- you should be greying out any hard whites.
11. On the second node: Load the FilmConvert plugin ($180). Choose the Fuji ET setting, and 35mm Academy film grain type. If you're using 4k footage, use the 16mm film grain type (you want your video to be soft, as real film would be).
12. On the third node: Go to the Curves, and change to Hue vs Hue. If you have sky there, or blues, click on the blues in your screen with the color picker, and then adjust the point on hue vs hue to be slightly up. This will make your blues to have the Hollywood teal look. Don't overdo it. Then go to Lum vs Sat and change the very far left point down to 0, but keep the colors to 1.0 on the second point (look picture as to how this looks). Finally, you might want to change a bit the OFFSET wheel (on the third tab of the wheels) to be a bit towards blue-green. Pictures that show all that: https://imgur.com/a/OSGz8Go
13. Export in 4k/24p (or 25p) h.264, using a constant bitrate of 85000 kbps and 192 kbps for AAC audio. Youtube/Vimeo favor 4k encoding, so it looks better in 4k despite being really 1080p footage.
Повторяем попытку...
Доступные форматы для скачивания:
Скачать видео
-
Информация по загрузке:


![Мини-кинокамера Canon EOS M! [2020]](https://imager.clipsaver.ru/MuKLwDvg_5M/max.jpg)


![Canon EOS M 2.8K RAW | 'Cinematic Isle' | Short Film | ARRI 16mm Look | 8K [2021]](https://imager.clipsaver.ru/ohDS3ErANOs/max.jpg)