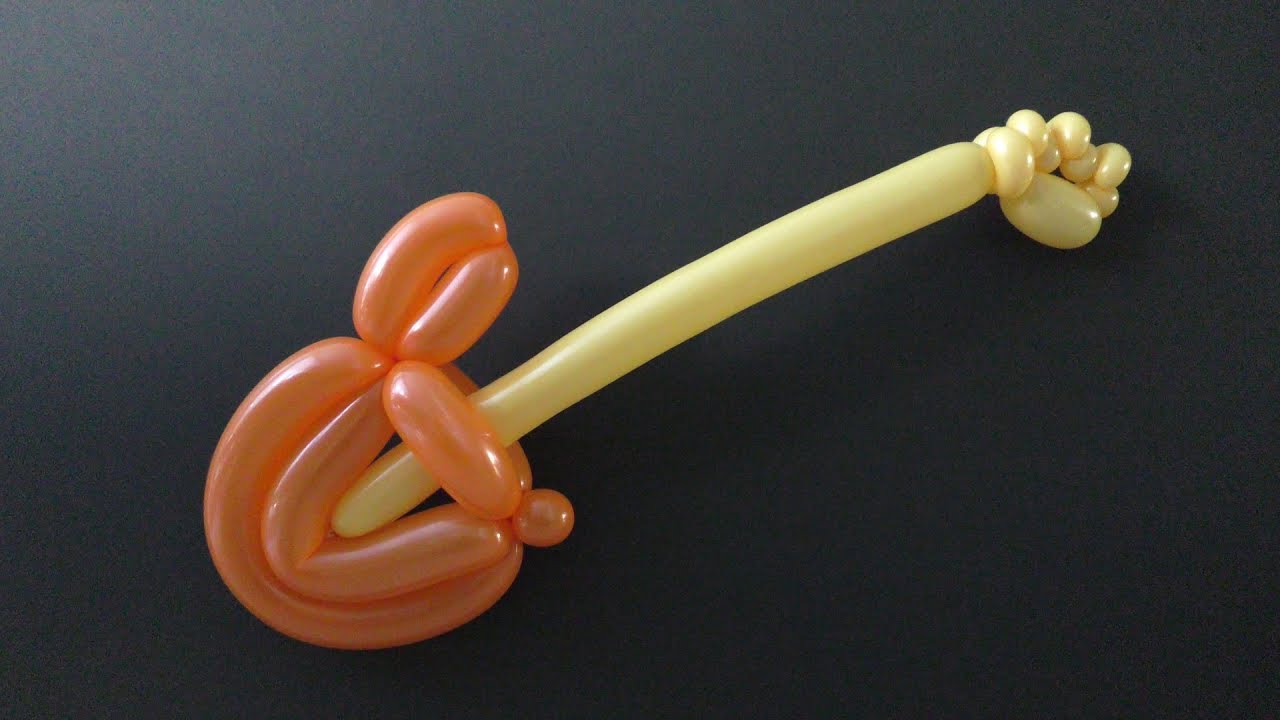
Balloon Guitar
Автор: CLASSICAL
Загружено: 2017-10-23
Просмотров: 5685
Описание:
In this video instruction you will learn how to make electric guitar of balloons using 260's balloons and balloon twisting technique.
Supplies: balloons and an air pump.
Inflate a balloon of appropriate color for the guitar body leaving about 3-4 cm flat tail.
Twist the first about 10-12 cm bubble.
Twist the next about 10-12 cm bubble.
Lock both ends of the chain of the first two bubbles in one lock twist.
Twist the next about 20-25 cm bubble.
Lock the free end of the last bubble between the first two bubbles.
You have to pull the end of the balloon through the loop of the first two bubbles.
Bend the last bubble to shape a "V".
Twist the next about 8 cm bubble.
Twist the next about 12 cm bubble.
Lock both ends of the chain of the last two bubbles in one lock twist.
Squeeze the rest of the balloon to make it soft and to inflate the flat end of the balloon (if you have any).
Loop the rest of the balloon around the "V" bubble to measure the size of the next bubble.
Twist the next bubble.
In this example, I twist about 3 cm bubble at the end of the balloon.
Lock the last bubble between the first two bubbles.
Fix all bubbles in proper positions.
We made the body of the guitar.
This is the front view.
This is the side view.
The front and the back looks the same.
Inflate a balloon of desirable color for the guitar neck leaving about 8-10 cm flat tail.
Twist the first about 7-8 cm bubble.
Twist the next about 2 cm bubble.
Twist the next about 2 cm bubble.
Lock both ends of the last bubble in one lock twist.
Twist the next about 2 cm bubble.
Twist the next about 2 cm bubble.
Lock both ends of the last bubble in one lock twist.
Twist the next about 2 cm bubble.
Twist the next about 2 cm bubble.
Lock both ends of the last bubble in one lock twist.
Twist the next about 3 cm bubble.
Lock both ends of the last bubble in one lock twist.
Twist the next about 3 cm bubble.
Lock both ends of the last bubble in one lock twist.
Lock the nozzle of the balloon between the last two bubbles.
Fix all bubbles in proper positions.
We have made the headstock.
This is the front view.
This is the side view.
The front and the back looks the same.
The headstock can be fixed in different position on the neck.
Measure the desirable length of the guitar neck.
Twist the next bubble of desirable size.
Twist the next about 3 cm bubble.
Lock both ends of the last bubble in one lock twist.
Cut off the rest of the balloon.
You can keep it as it is.
Or deflate the last small bubble and tie off the end.
We have made the neck of the guitar with headstock.
Insert the neck of the guitar (the second balloon) between the first two bubbles of the guitar body.
Congratulations! We have made the balloon electric guitar!
Have fun and happy twisting :)
Step by step instructions with photos and text on blog post: http://balloonotherapy.blogspot.com/2...
Visit http://www.fewdoit.com for many more balloon animals, balloon sculptures, balloon decorations, balloon twisting and balloon twisting techniques.
Views as Money: • Views as Money
В этом видео уроке вы научитесь как сделать гитару из шариков используя технику плетения твистинг из модельных шариков 260 ШДМ.
Детальная инструкция с фотографиями и описанием на блоге: http://fewdoitrussian.blogspot.com/20...
На сайте http://www.fewdoit.com вы найдёте огромное количество инструкциий и примеров скульптур, декораций, животных из воздушных шаров и множество другой информации касающейся воздшных шариков.
Повторяем попытку...
Доступные форматы для скачивания:
Скачать видео
-
Информация по загрузке:


