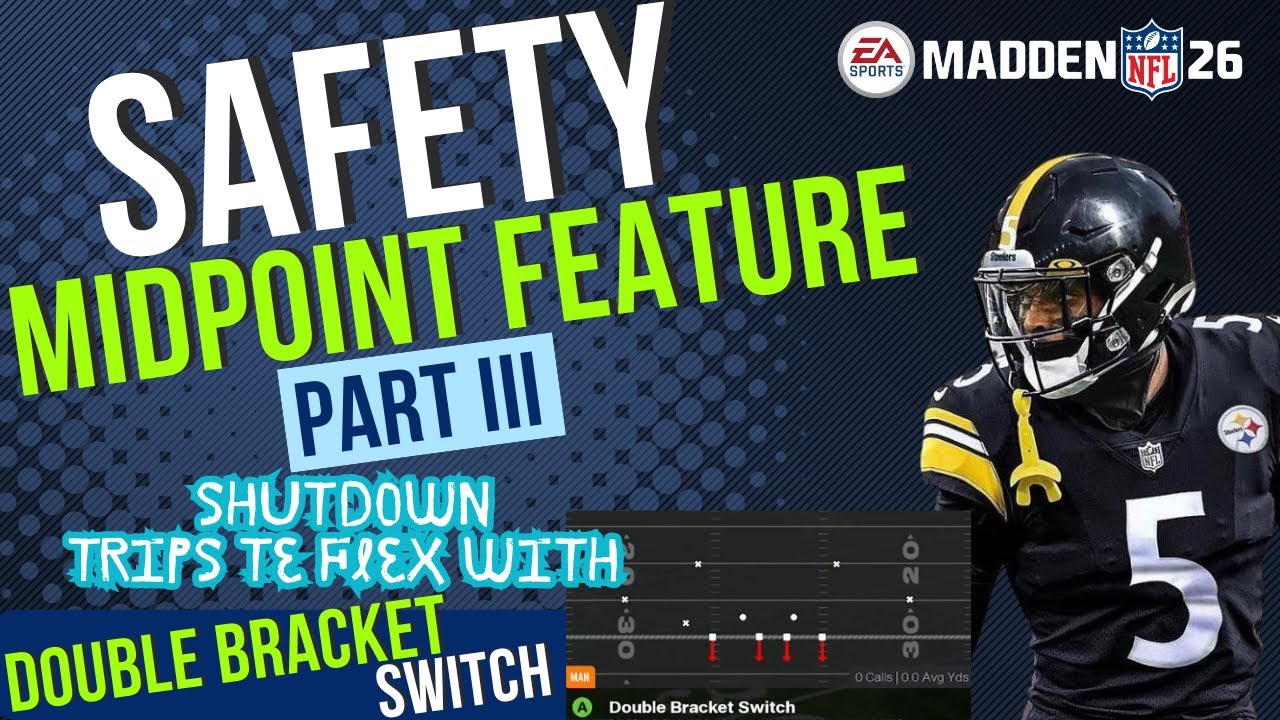
Using Safety Midpoint feature Part III with DOUBLE BRACKET SWITCH - Completely bagging Trips Te Flex
Автор: Xando Football
Загружено: 2025-09-07
Просмотров: 2968
Описание:
Members - Immediate access. Video wont drop for a while.
0:00 - 1:50 = Purpose of video and what Part I and part II was about in using the safety midpoint feature.
1:51 - 2:30 = Double Bracket Switch is doubling who?
2:31 - 7:15 = 1st Play . . . . who I user . . . and what we want to do. Why? Interception.
7:16 - 8:40 = Pure Zone . . . Zone Match . . . Pure Man . . . and Man to Man Match. I play a lot of poker. I kept saying post flop. Sorry.
8:41 - 9:50 = 2nd Play . . . What we are doing . . .
9:51 - 11:00 = 3rd Play . . .
11:01 - 12:16 = 4th play . . . Against a different formation , and where it can be exploited. Where you are 1 on 1 or where you get greedy.
12:17 - 14:50 = DIAGRAM and why using the safety midpoint strong with this coverage makes this so much better. Appear strong where you are weak and weak where you are strong. Putting players in better position to do their assignment.
14:51 - 18:10 = The point of my videos are to spark interest in diving deeper into finding solutions to problems . . . or wanting to explore creative ways to helping your offense and defense.
18:11 - 20:10 = 5th play Killing 4 birds with one stone? Cutting off inside route, discouraging being attacked with fade to 1, discouraging inside zone and run plays, while also cutting off areas where we appear weak.
20:11 - 21:20 = 6th play.
21:21 - 21:55 = 7th and 8th play.
21:56 - 24:44 = 9th play. Interception Red zone.
Повторяем попытку...
Доступные форматы для скачивания:
Скачать видео
-
Информация по загрузке:


