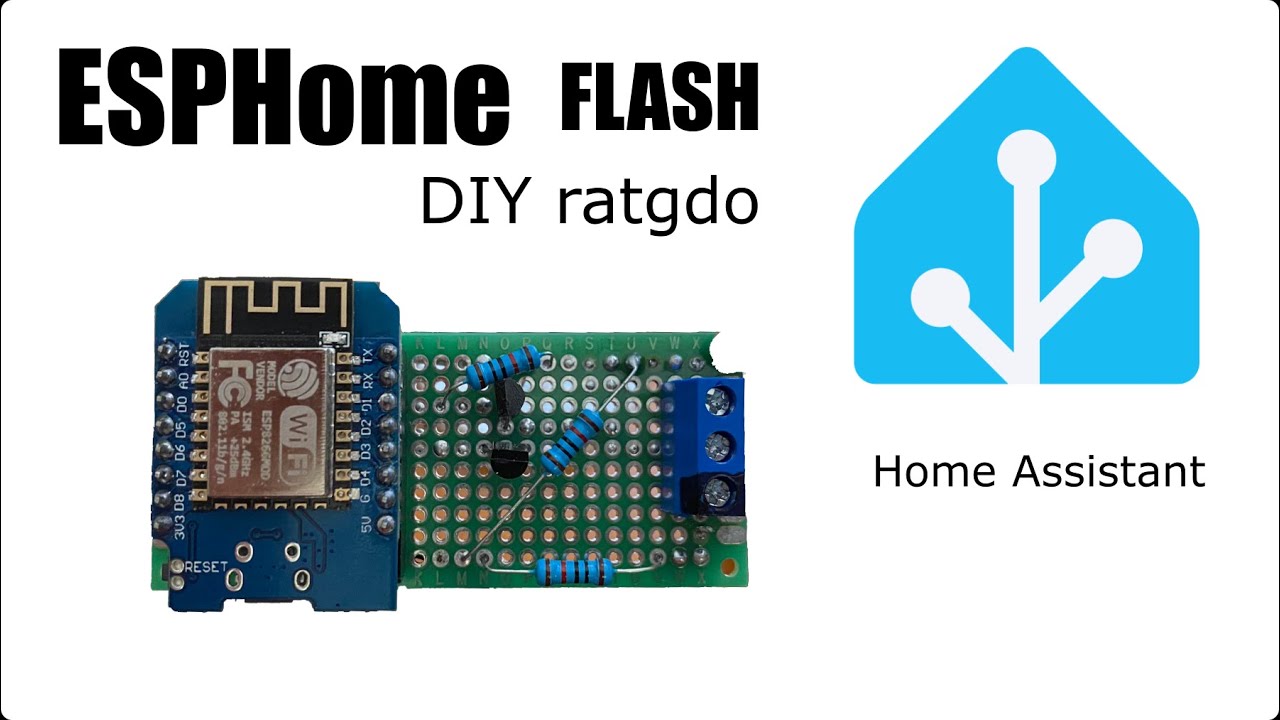
ESPHome Flash DIYratgdo | Home Assistant Import
Автор: The Daddy Show
Загружено: 2023-12-16
Просмотров: 2081
Описание:
Welcome to the Daddy Show! If this is your first video seen we do videos about Home Automation, Automotive Maintenance and Repair, helping Men be better at being men and
andything else we find around the house that might be helpful to show others.
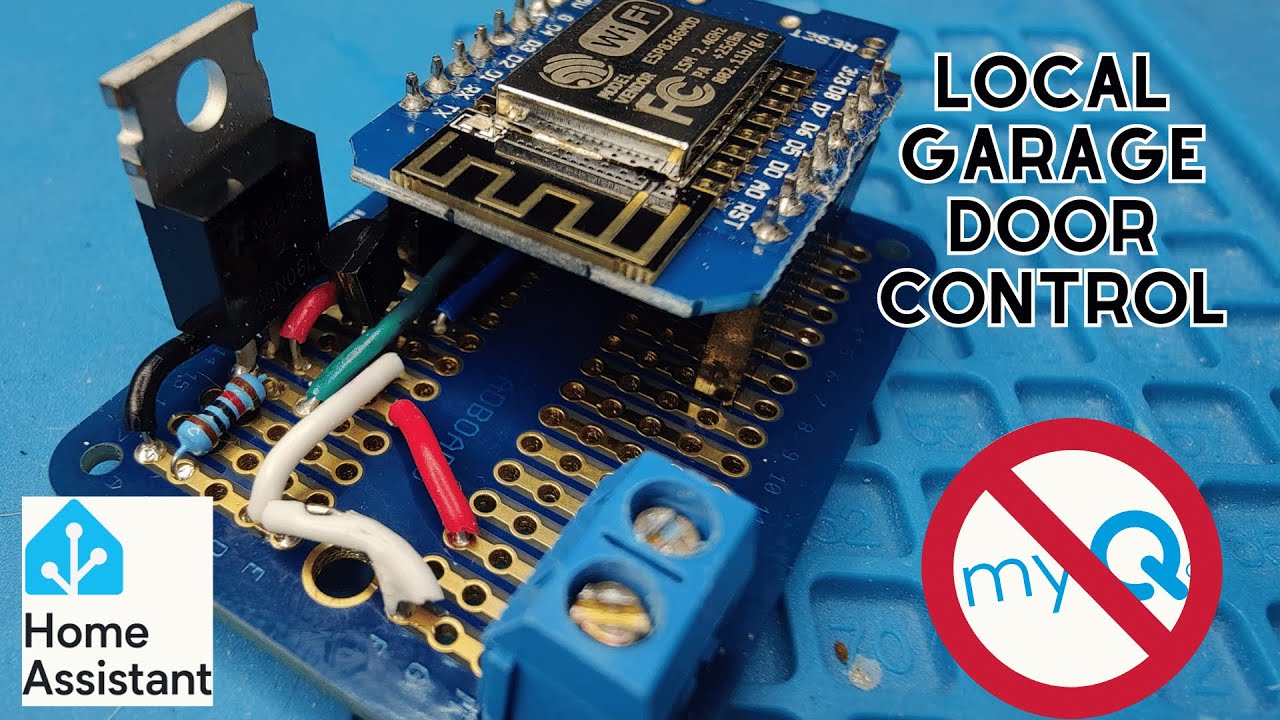
This video is about flashing the DIYratgdo board that I built in my previous video. This will help anyone looking to flash anything with ESPHome get a better understanding of the process but the main focus is on the specifics of the DIYratgdo flashing process. I also go over the process of bringing the device into Home Assistant and setting it up under ESPHome inside Home Assistant. You can find my previous video for reference here: • DIY ratgdo myQ Workaround | Home Assistant
Firmware flash url: https://ratgdo.github.io/esphome-ratgdo/
If you have any suggestions or questions please leave a comment. I do check them regularly and will address them to the best of my ability. Please consider supporting this project so that we can bring you more giveaways, more videos, and more perks. If you feel inclined to provide more support to the project you can do so at this link:
https://www.buymeacoffee.com/thedaddy...
Below is the yaml file you will need when flashing the DIY ratgdo. This is also contained in the description at the link above.
---
substitutions:
id_prefix: ratgdov2
friendly_name: "ratgdov2"
uart_tx_pin: D1
uart_rx_pin: D2
input_obst_pin: D7
status_door_pin: D0
status_obstruction_pin: D8
dry_contact_open_pin: D5
dry_contact_close_pin: D6
dry_contact_light_pin: D3
web_server:
esphome:
name: ${id_prefix}
friendly_name: ${friendly_name}
name_add_mac_suffix: true
project:
name: ratgdo.esphome
version: "2.0"
esp8266:
board: d1_mini_lite
restore_from_flash: true
dashboard_import:
package_import_url: github://ratgdo/esphome-ratgdo/v2board_esp8266_d1_mini_lite.yaml@main
packages:
remote_package:
url: https://github.com/ratgdo/esphome-ratgdo
files: [base.yaml]
refresh: 1s
Sync time with Home Assistant.
time:
platform: homeassistant
id: homeassistant_time
api:
id: api_server
ota:
improv_serial:
wifi:
ap:
logger:
My yaml setup for the api and wifi as an example is below. You can copy and paste this and then update the encryption key with your encryption key that is created when you import the device into ESPHome. You can input your exact wifi settings or use the secret file if you have that set up as I have below
api:
encryption:
key: [insert your encryption key here without the brackets]
ota:
improv_serial:
wifi:
ssid: !secret wifi_ssid
password: !secret wifi_password
logger:
Garage door home assistant
The music for the intro is by penguinmusic - stylish-rock-beat-trailer-116346 found on Pixabay
Повторяем попытку...
Доступные форматы для скачивания:
Скачать видео
-
Информация по загрузке: