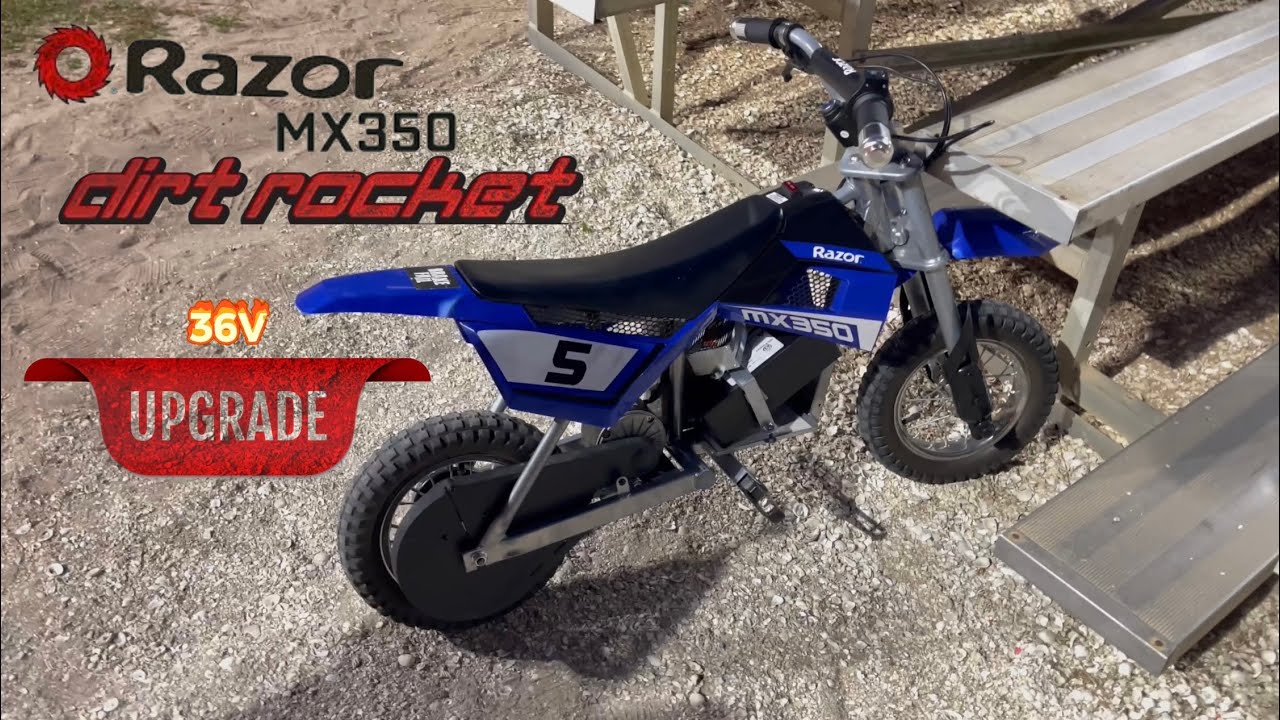
Cheapest Razor You Can Wheelie | mx350 Build
Автор: R.i.Pbikes
Загружено: 2025-01-03
Просмотров: 5404
Описание:
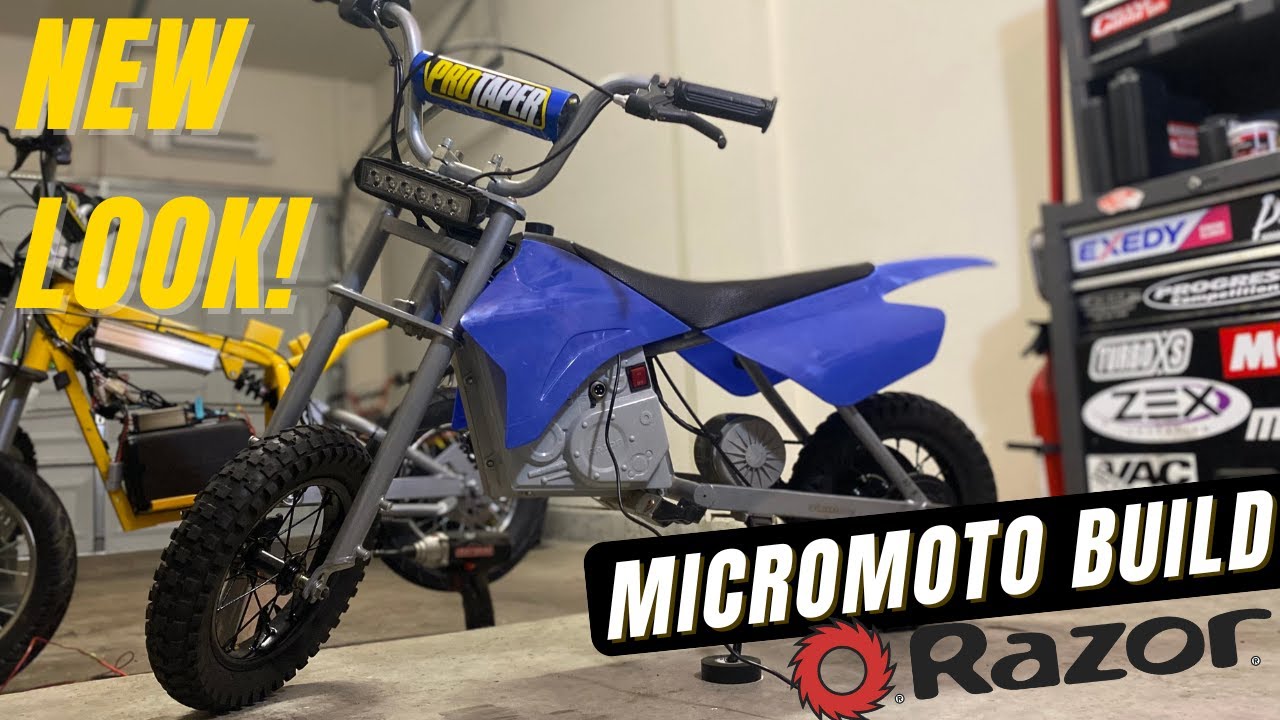
I bought my first razor as an over volted stock mx350. That bike was fun enough even for me at 230lbs. it was some homemade 40v battery that was kinda sketchy. but the bike hit a top speed of 18mph downhill. the older controllers were able to take quite a bit of voltage to them. but these newer ones have max limits. It was fun while it lasted, however I had to modify it because I can't ever leave things alone. so I built my first razor and it was the perfect combination. I found everything I need on amazon or eBay. use the Facebook group as a guide. but in my opinion. don't post in there. too many entitled brats that want to make themselves seem smart with a majorly condescending tone. I watched too many kids get flamed for asking basic questions. However, that leads me to my next point, that EVERYTHING in this video is MY opinion. remember, it doesn't matter what you ride. as long as you're having fun. these are little razor dirt bikes. to some they are laughable and to others they are everything they've ever ridden. I see a lot of kids asking why their bike looks ugly. It's pretty simple. the frame should stay a solid color. usually one that is gray and black. there are some builds that look okay with a bolder choice but they usually have stock colored swingarm and forks. the plastics usually match the colored part of the frame. There are different styles for different folks so do what you think you'll like. if you hate it, you'll have another chance to build again. I would not paint the plastics. if anything I'd use plastid because if it chips you can at least pull it off and do it again. usually doesn't run or have any cracking or orange peel if you don't hold it in one spot for too long and your plastics are properly cleaned. If you can just leave them stock color. looks best. just rip the razor stickers off and leave it a solid color. Again, these are just my opinions.
for parts:
-there are quite a few my1020 motor adapter plates online just look up "mx350 my1020 motor adapter". make sure you buy a motor with the mounting bracket still attached. this will make your life a lot easier. you can expect to pay around 70$.
Everything else you need can be bought on amazon.
-L-Faster 48v 1000w controller. a 36v version can be bought.
-48v 1000w motor. make sure its a my1020 motor. if you're buying the adapter. buy the motor with the bracket.
-variable throttle. there are many cheap options for throttles.
clone batteries from amazon
-greenworks 60v/80v adapter.
-charger for the battery if youre starting from scratch.
-xt 60 connectors.
-Bar, pad, grips
You can expect to pay around 450-460 if you're going to do this exact build from scratch. However, there are a few things to note that state in the video. I only would do this build if you find these frames for under 50$. It is very possible. If I had an mx500/650 or sx500 that I was planning to upgrade this bike would get the motor, and possibly even the controller and throttle. no soldering involved but you will need to make your own motor mounts so there would most likely be welding as there is no bracket for the adapter plate on the stock mx500/650 and sx500 motors.
for batteries, there are many better options that will equal to around the same value you would pay for the battery, adapter and charger. However, if you're living with your parents and mom or dad have green works lawn equipment, I would use their charger. cutting the cost down quite a bit. Which in turn makes this more affordable. a true 48v battery with a proper bus will do much more than this 60v green works. but the controller is only capable of so much. So keep all of this in mind when choosing your next build. think of ways to save old parts for other builds. keep it fun don't over spend.
Comment down below and I will try to help with any questions you have.
SAFETY TIPS:
the on off switch does not go between the battery and controller. DOES NOT!
you will melt your on off switch. create a fire...
If you're going to be doing your battery setup similarly,
WORK on the wires without the battery in. you will have no chance of shocking yourself.
Be very careful when building these. Remember I am not a professional. you should seek the advice of a professional. Everything you do is at your own risk.
Thank you for watching.
Повторяем попытку...

Доступные форматы для скачивания:
Скачать видео
-
Информация по загрузке: