DC Motor Speed Control Using BJT + Arduino PWM | Step-by-Step TinkerCAD Simulation for Beginners
Автор: Kalams & Krishnans Biomedical
Загружено: 2025-08-04
Просмотров: 270
Описание:
Special thanks to all my students—for your enthusiasm, energy, and blessings. Your support and shared journeys have made these challenging efforts not just feasible, but truly enjoyable and meaningful. Feeling fortunate and blessed, as always. 😇 — Dr. J
🔧 DC Motor Speed Control Explained | Beginner-Friendly TinkerCAD Simulation
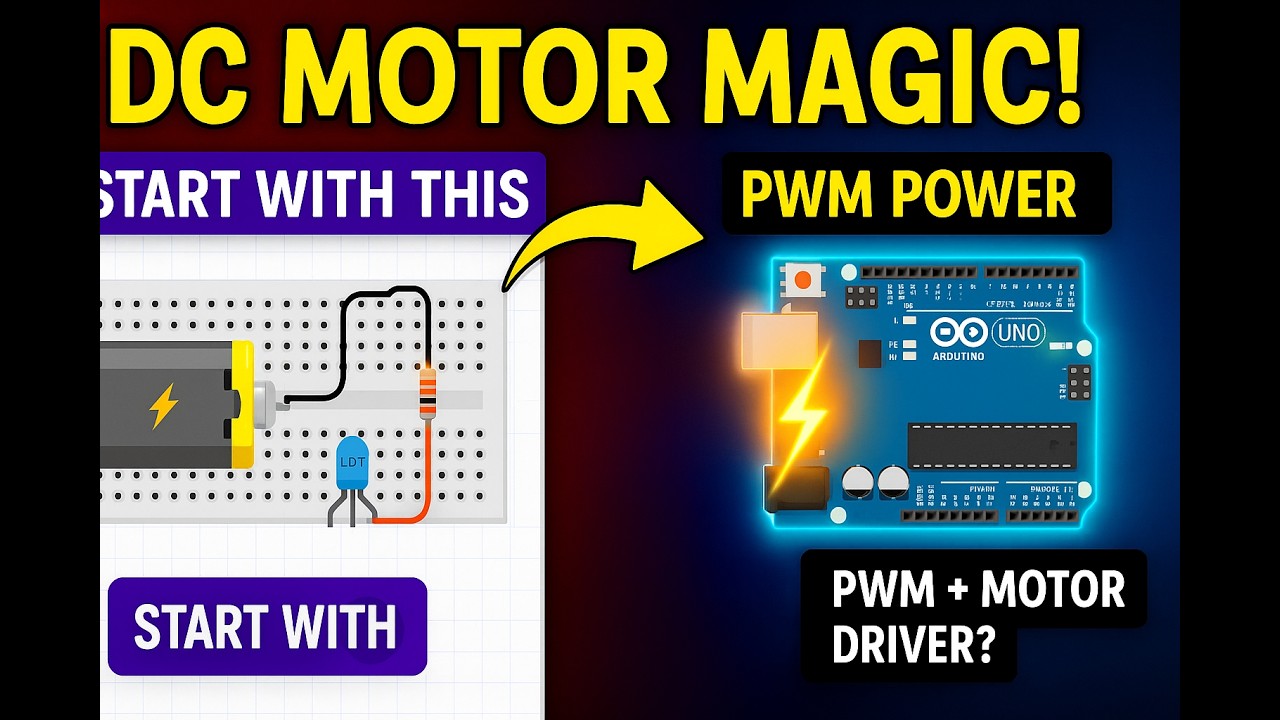
In this hands-on tutorial, we explore how to control the speed of a DC motor using basic components like a BJT transistor, photoresistor (LDR), resistor, diode, and eventually PWM with Arduino.
We build the circuit step-by-step in TinkerCAD, adding layers of complexity and understanding how each component contributes to motor control.
🔍 What you'll learn in this video:
How to control DC motor speed using BJT transistor as a switch/amplifier
Using photoresistor (LDR) to make a light-based control system
Importance of flyback diodes in motor protection
Basics of biasing a BJT
Introduction to Pulse Width Modulation (PWM) using Arduino UNO
Preview of using a motor driver IC for more efficient control (covered in next video)
🎓 Ideal for:
Engineering students
Robotics and electronics beginners
Hobbyists using Arduino or TinkerCAD
Anyone preparing for BME, EC, EE, or IN GATE exams
🧪 Tools Used:
✅ TinkerCAD (Free online electronics simulator)
✅ Arduino UNO
✅ DC motor, BJT (NPN), resistors, diode, photoresistor (LDR)
📺 Stay tuned for Part 2 – where we implement PWM with a motor driver module (e.g., L298N) for better efficiency and control.
👉 Don’t forget to like, subscribe, and share if this helped you!
#DCMotorControl
#ArduinoProjects
#TinkerCADTutorial
#ElectronicsForBeginners
#PWMwithArduino
Повторяем попытку...
Доступные форматы для скачивания:
Скачать видео
-
Информация по загрузке:


