How to Install: Universal Installation Kit for Trailer Brake Controller on your 2004 Ford Expedition
Автор: etrailer
Загружено: 2014-02-07
Просмотров: 29405
Описание:
Click for more info and reviews of this etrailer Trailer Brake Controller:
https://www.etrailer.com/Accessories-...
Check out some similar Trailer Brake Controller options:
https://www.etrailer.com/dept-pg-Acce...
Search for other popular Ford Expedition parts and accessories:
https://www.etrailer.com/vehicle/2004...
https://www.etrailer.com
Don’t forget to subscribe!
/ etrailertv
Full transcript: https://www.etrailer.com/tv-install-t...
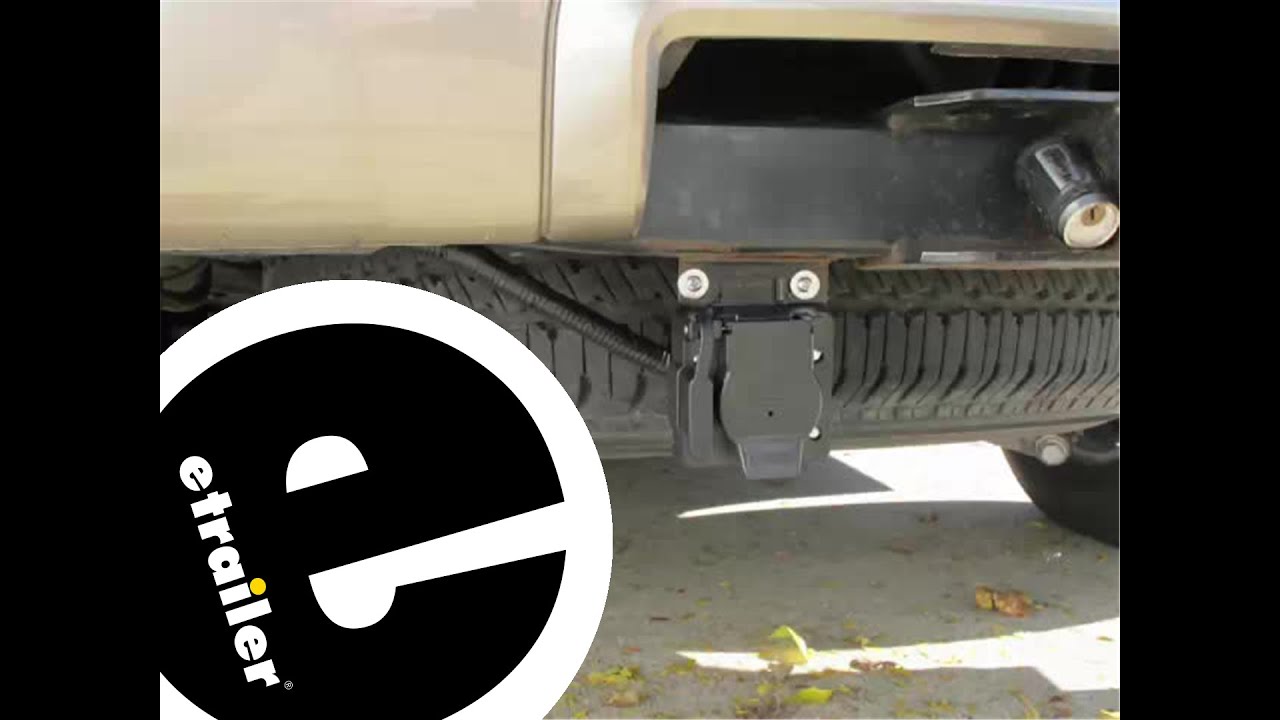
Today on our 2004 Ford Expedition, we'll be installing the universal kit for trailer break controller 7 way RV and 4 way flat with 10 gauge wires. Part number ETBC7. This vehicle already has a 4 way flat installed on the back. We're going to go ahead and do a quick test to make sure everything's working fine here. Now that we've done that, we're going to go ahead and mount our bracket. We'll need to mount the bracket that will hold the 7 and 4 way. Now because this has a factory hitch on it, there's a little tab here that the 4 flat used used to sit up in. we're going to go ahead and drill a couple small holes to attach our bracket that holds the 7 and 4 way to the factory 4 way bracket that's part of the hitch. We'll go ahead and use a paint marker and mark our holes, then we'll drill the holes on the bracket on the hitch, followed by drilling the on the bracket that hold the 7 and 4 way. Once that's done, we'll go ahead and use 2 of the bolts, washers, lock washers and knots that come with the kit to hold it in place. Next we'll go ahead and attach our 7 and 4 way plug to the bracket we just installed.
Again, using the hardware supply inaudible 00:01:09 kit. Now let's first go ahead and connect the 4 flat connection on the back of the plug as well as the vehicle. Before we make this connection though, we'll add a little dielectric grease on the electrical connections. This is part number 11755. Once we've put the grease on and push out 4 flat connection together. we're going to go ahead and put a zip tie on it as well to make sure it stays securely together. we'll also go ahead and add a little electrical tape to help hold it in place as well as give it a little extra protection. Next we'll go ahead and take the long gray wire that comes with the kit and strip back some of the outer sheeting.
This will expose a black and a white wire inside. We'll go ahead and strip a little wire back on both the black and the whiter wire so we can connect it to our blue and black wire on the back of the 7 and 4 way. Using the butt connector, it's already connected to the wires on the 7 and 4 way. the black wire will go to the black wire and the blue wire will go to the white wire. Next we'll go ahead and use a section of the wire loom that comes with the kit and put it on the wires that come out of the back of the 7 and 4 way. We'll go ahead and take the wires up to protect them, we'll also use a couple of zip ties to help secure the wiring. Now for the ground wire, the white wire with the ring terminal on it and we can use the self-tapping screw and ground it to our frame. Next we'll route the white and the black wire along the factory wiring harness up to where the plug is located, just below the driver side rear door. Now as you can see here, there's a double plug.
The bottom plug is actually the one that has the trailer lines in it. We'll go ahead and disconnect this plug for now as we'll be needing to tie the black and the wire into the blue and the read color wire on our plug. We'll need to cut the blue wire in half. Again, we'll be using some butt connectors here, we'll connect the white wire in line with the blue wire and we'll be connecting the black wire in line with a reddish color wire. Now for our installation, we're not actually installing a break controller, we just have the wire set up to where a break controller can be installed at a later time. Once we have these connections made, we'll go ahead and tape everything up. Now we'll go ahead and put our connection back together. Once our connection's back together, we can go ahead and put the wires back into the frame by putting in the tabs that we pulled out to secure the wire to the frame. Now in this case, to get your 12 volt battery power to work, you need to install the relay in the relay 5 position and you'll need to install a 30 amp fuse in position 106.
This is a trailer battery charged. And with that, that will conclude our installation of the universal kit for trailer break control. Part number ETBC7. On our 2004 Ford Expedition. .
Повторяем попытку...
Доступные форматы для скачивания:
Скачать видео
-
Информация по загрузке:


