Tire Linc LCD Display Installation V1
Автор: Lippert
Загружено: 2025-01-16
Просмотров: 3265
Описание:
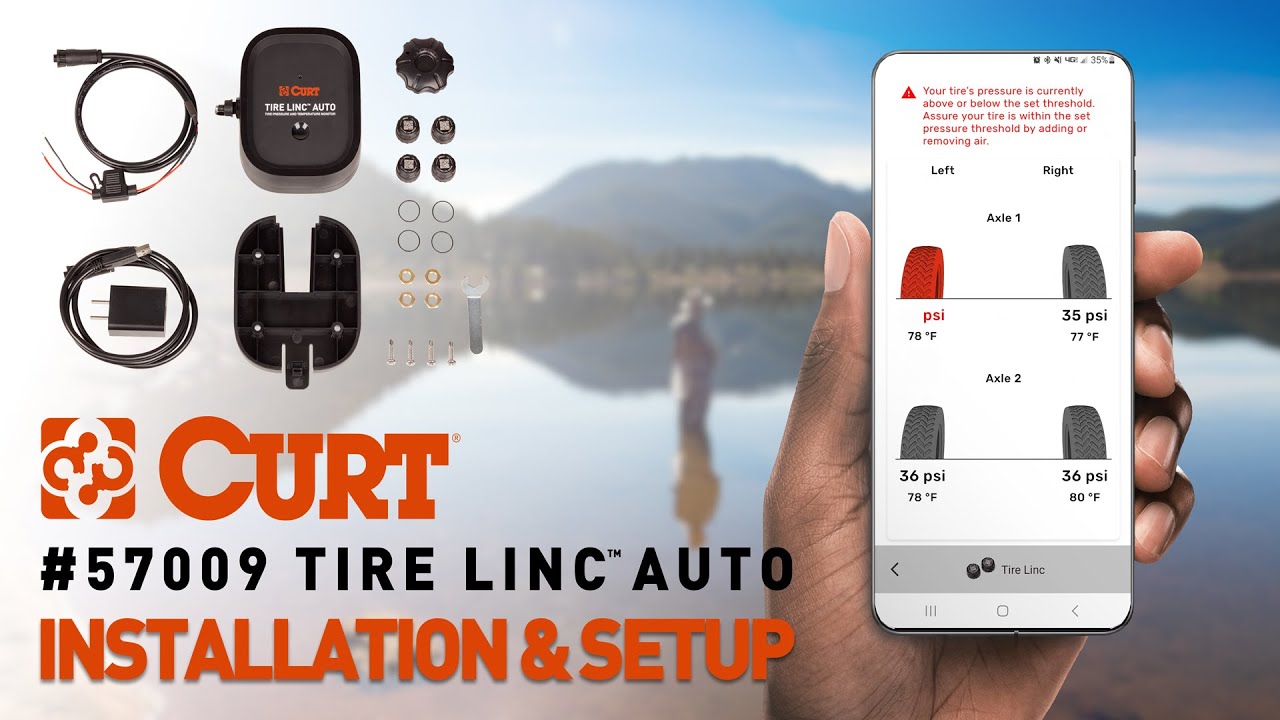
Learn how to install and set up the Tire Linc LCD display with this step-by-step guide. This video walks you through the complete process — from powering on the display to pairing your tire sensors and configuring pressure and temperature thresholds. Whether you're installing the system for the first time or adding it to a new vehicle, this walkthrough ensures you're covered.
First, power up the Tire Linc LCD display using the button located at the bottom. Once it's on, scan for new Bluetooth devices and select the Tire Linc from the list. After selecting your vehicle class and tire layout, you’ll be guided through pairing each sensor. Simply hold the display next to the tire and press the sensor’s sync button until a red dot appears, then screw the sensor onto the valve stem. The dot will turn green once the connection is successful. This may take up to 90 seconds.
Continue this process for all tires, from front to back, following the order shown on the display. After completing the sensor pairing, you can choose whether to add another vehicle. Once that’s done, proceed to configure your tire pressure and temperature thresholds using the display’s settings menu.
This video ensures you get the most out of your tire pressure monitoring system by setting it up properly for safety and efficiency. Watch now and travel with confidence.
Shop our store at https://www.lippert.com/rv-camping/co...
For technical resources and support, visit https://support.lci1.com/, and don’t forget to subscribe to our channel!
Повторяем попытку...

Доступные форматы для скачивания:
Скачать видео
-
Информация по загрузке: